Style Guide: How to Mix Bathroom Tiles Like a Pro
Today there are more tile selections than ever before. This is great for creating a unique look in your space, but makes the decision process even harder. Our three-step approach for coordinating bathroom tiles is an easy and replicable way to simplify the tile selection process for your next bathroom remodel.
This process also takes the rest of your home’s style into consideration, and ensures a cohesive look throughout your home. We’ll use our client’s recent primary bathroom remodel as an example throughout this guide.
Take a look at our guide on 2024 Bathroom Trends for more bathroom renovation inspiration!
Mix Tile Patterns in 3 Easy Steps:
Choose A Base Stone
Selecting a base stone sets the foundation for your entire tile color palette. This stone serves as the primary element that dictates the overall tone, style, and mood of the bathroom tiles. It's essential to choose a stone that resonates with your personal aesthetic preferences and complements the overall design scheme of your home.
When selecting a base stone, consider factors such as color, texture, and veining patterns. Opt for a stone that not only appeals to you visually, but also harmonizes with other design elements in your bathroom (think cabinetry, fixtures, and decor). Popular choices for base stones include Carrara marble, travertine, slate, and granite, each offering distinct characteristics and aesthetics.
Pick a Secondary Tile Color
Once you've established your base stone, it's time to select a secondary tile color that complements and enhances the overall color palette. This secondary color should harmonize with the hues present in the base stone, creating visual interest and variation within the space.
To coordinate the secondary tile color, consider extracting a hue from the veining or subtle undertones of the base stone. By pulling a color from the natural variations of the base stone, you ensure a seamless transition between the primary and secondary tiles, fostering cohesion and continuity throughout the bathroom design.
Experiment with different shades and tones to find the perfect balance between contrast and harmony. Whether opting for a complementary color or a subtle variation of the base stone, the secondary tile color should contribute to the overall aesthetic while adding depth and dimension to the space.
Choose a Repeating Pattern
To maintain consistency and cohesion throughout your home, select a tile pattern that repeats from existing designs in your kitchen, other bathrooms, or living spaces. This repeating pattern serves as a unifying element that ties together various areas of your home, creating a cohesive and harmonious aesthetic.
Look for inspiration from existing tile patterns that have proven successful in other rooms of your home. Whether it's a classic subway layout, a timeless herringbone pattern, or a contemporary geometric design, choose a pattern that complements the overall style and theme of your home.
By incorporating a repeating pattern, you not only streamline the design process but also create a sense of flow and continuity between different spaces. Whether it's through consistent layouts, shapes, or motifs, the repeating pattern reinforces the visual identity of your home, elevating its overall design appeal.
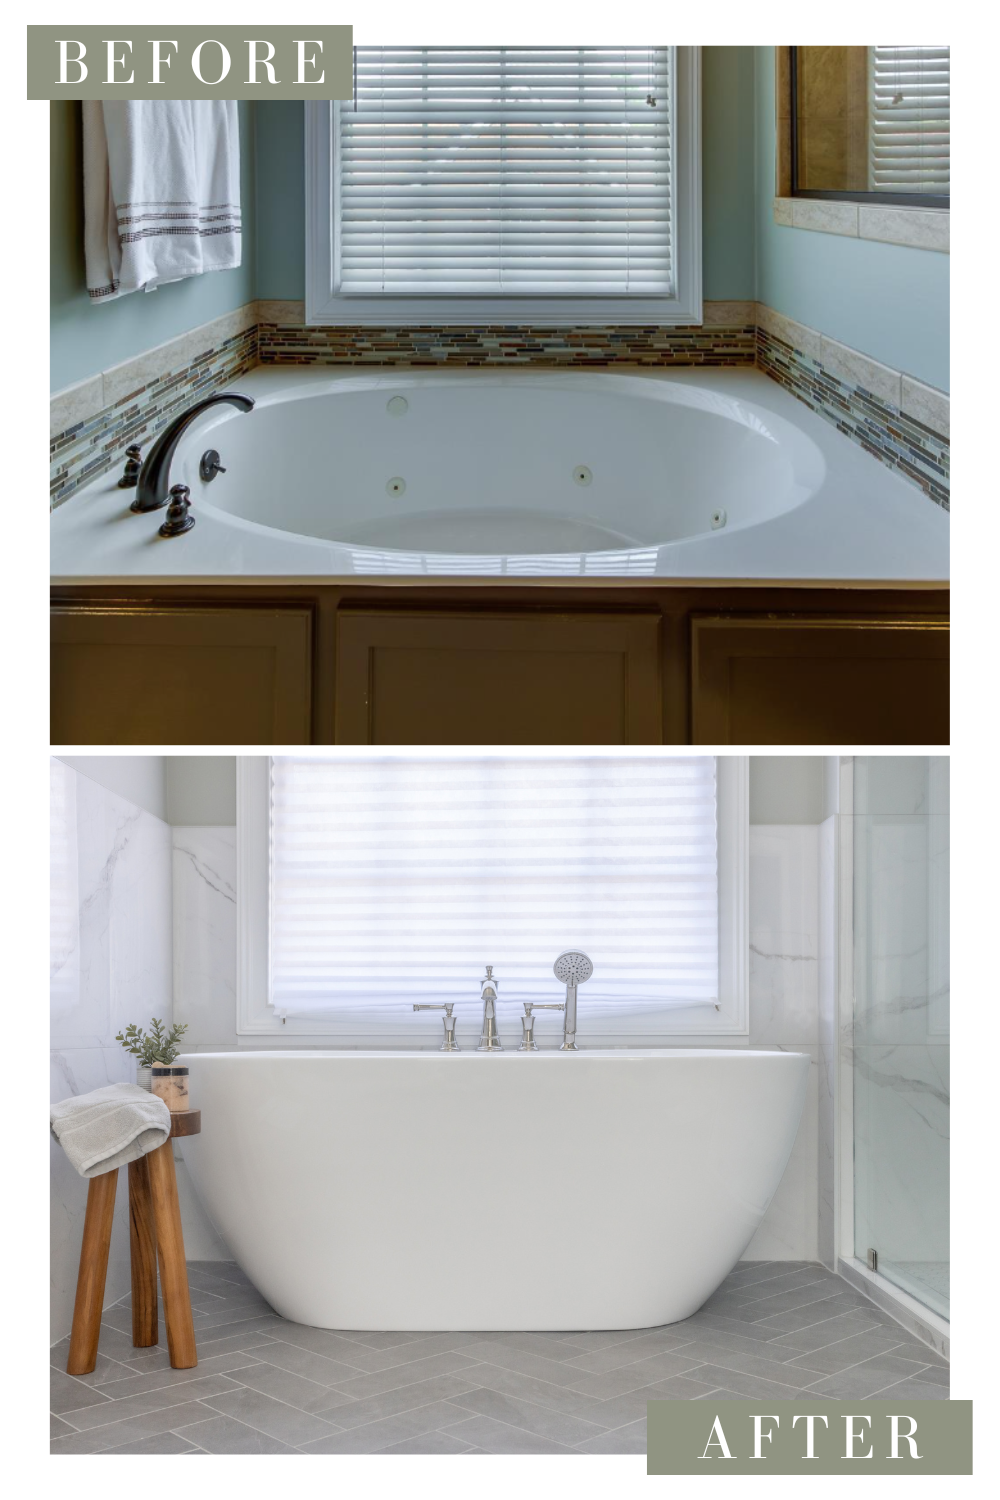
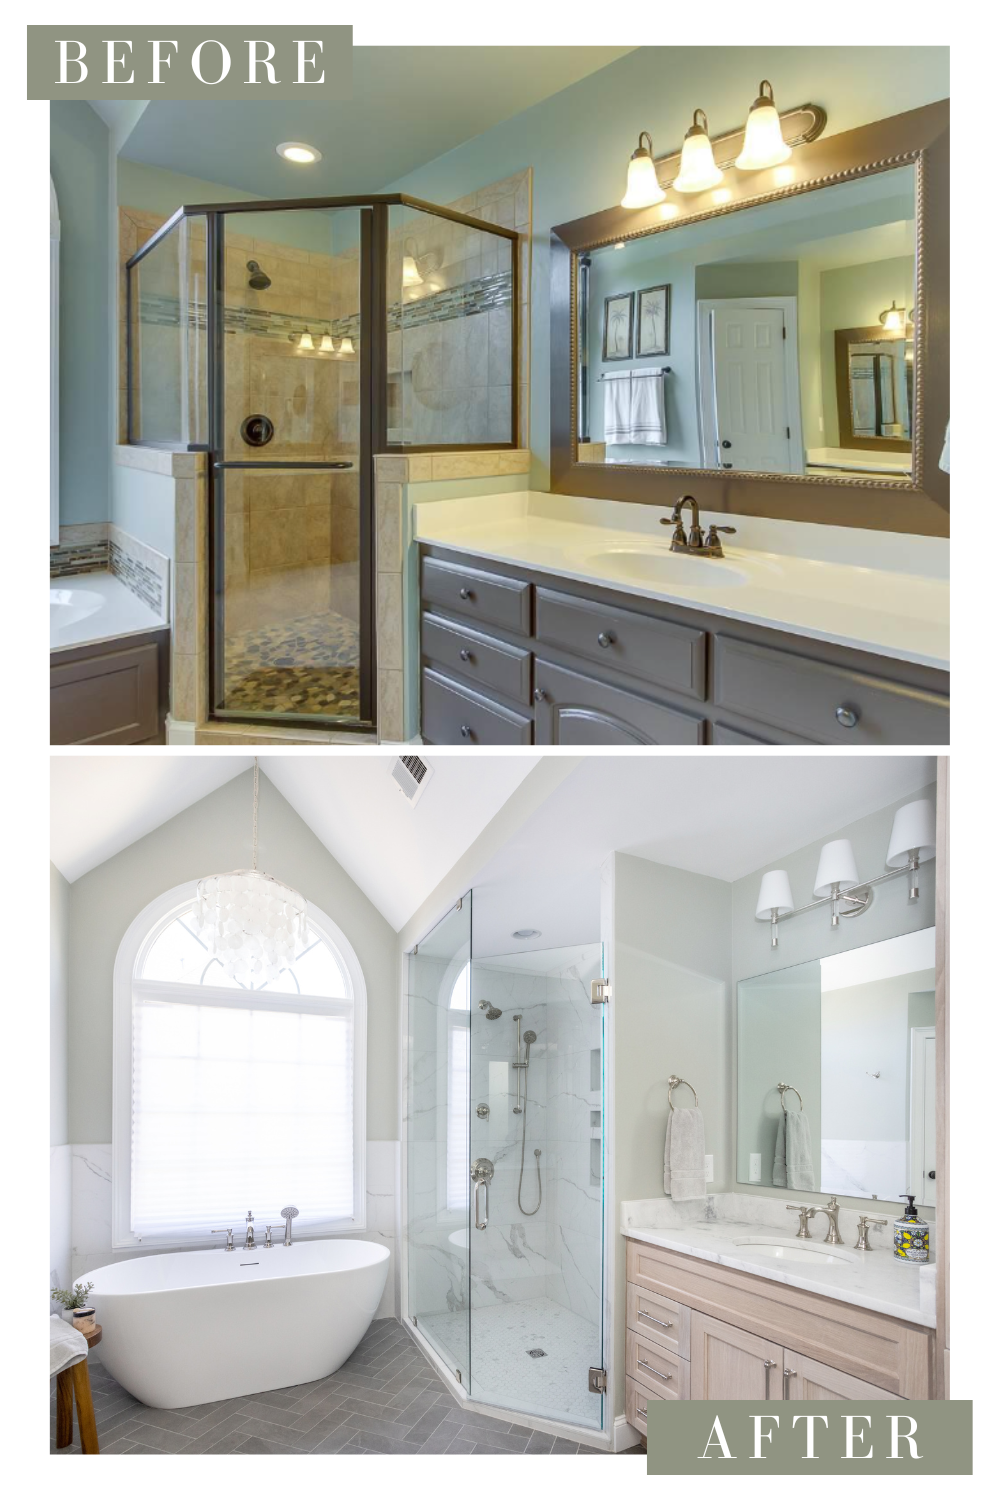
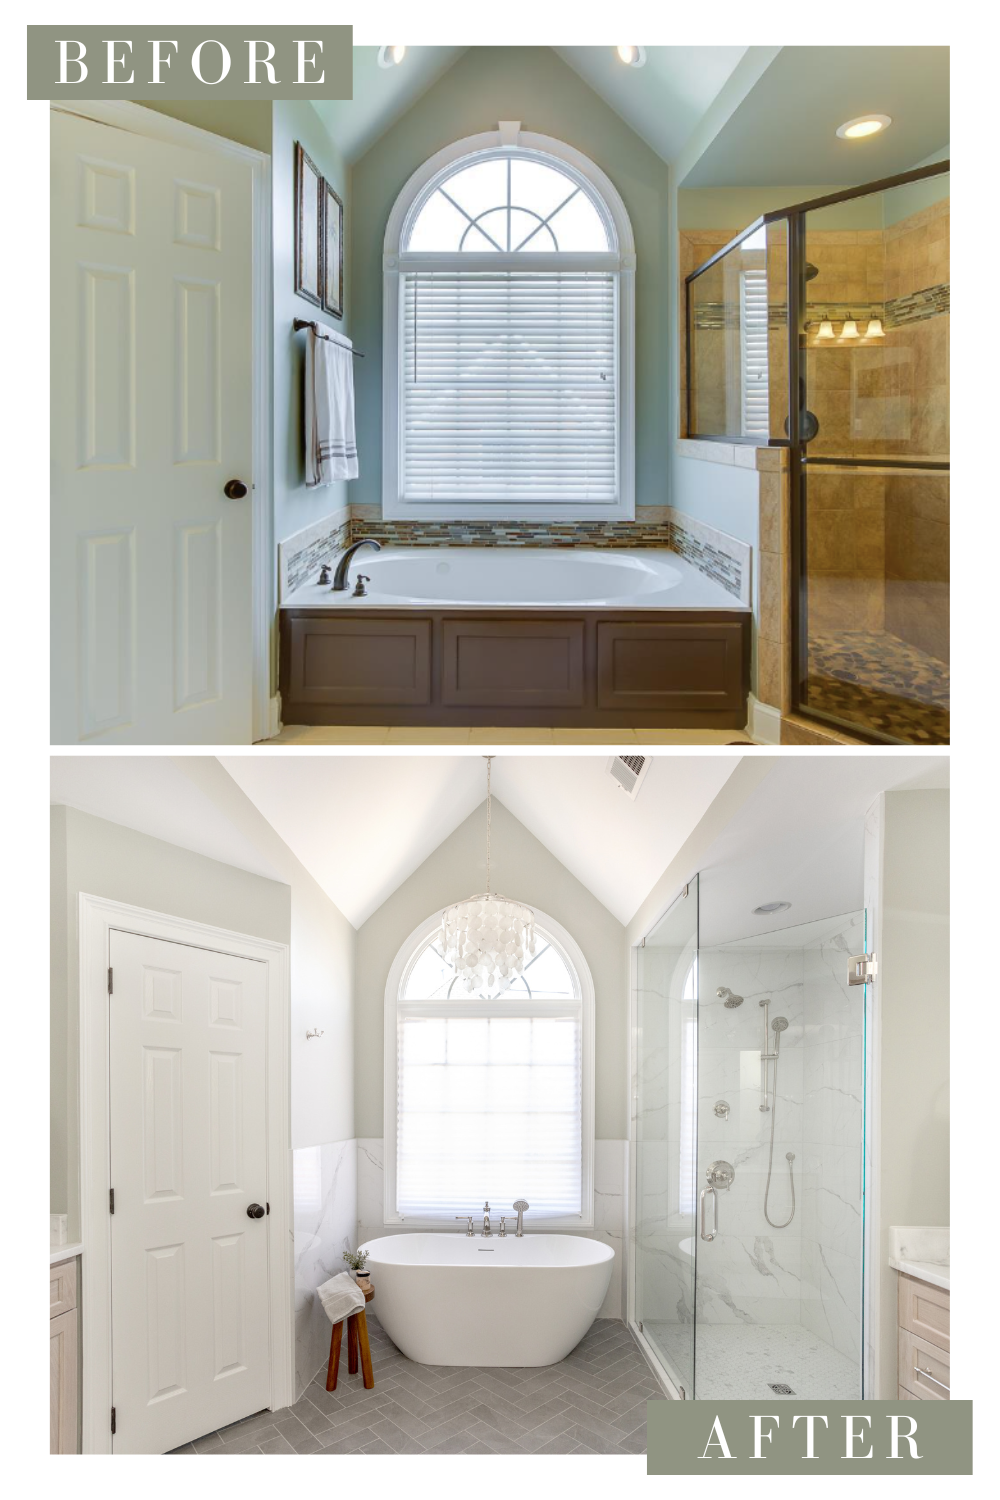
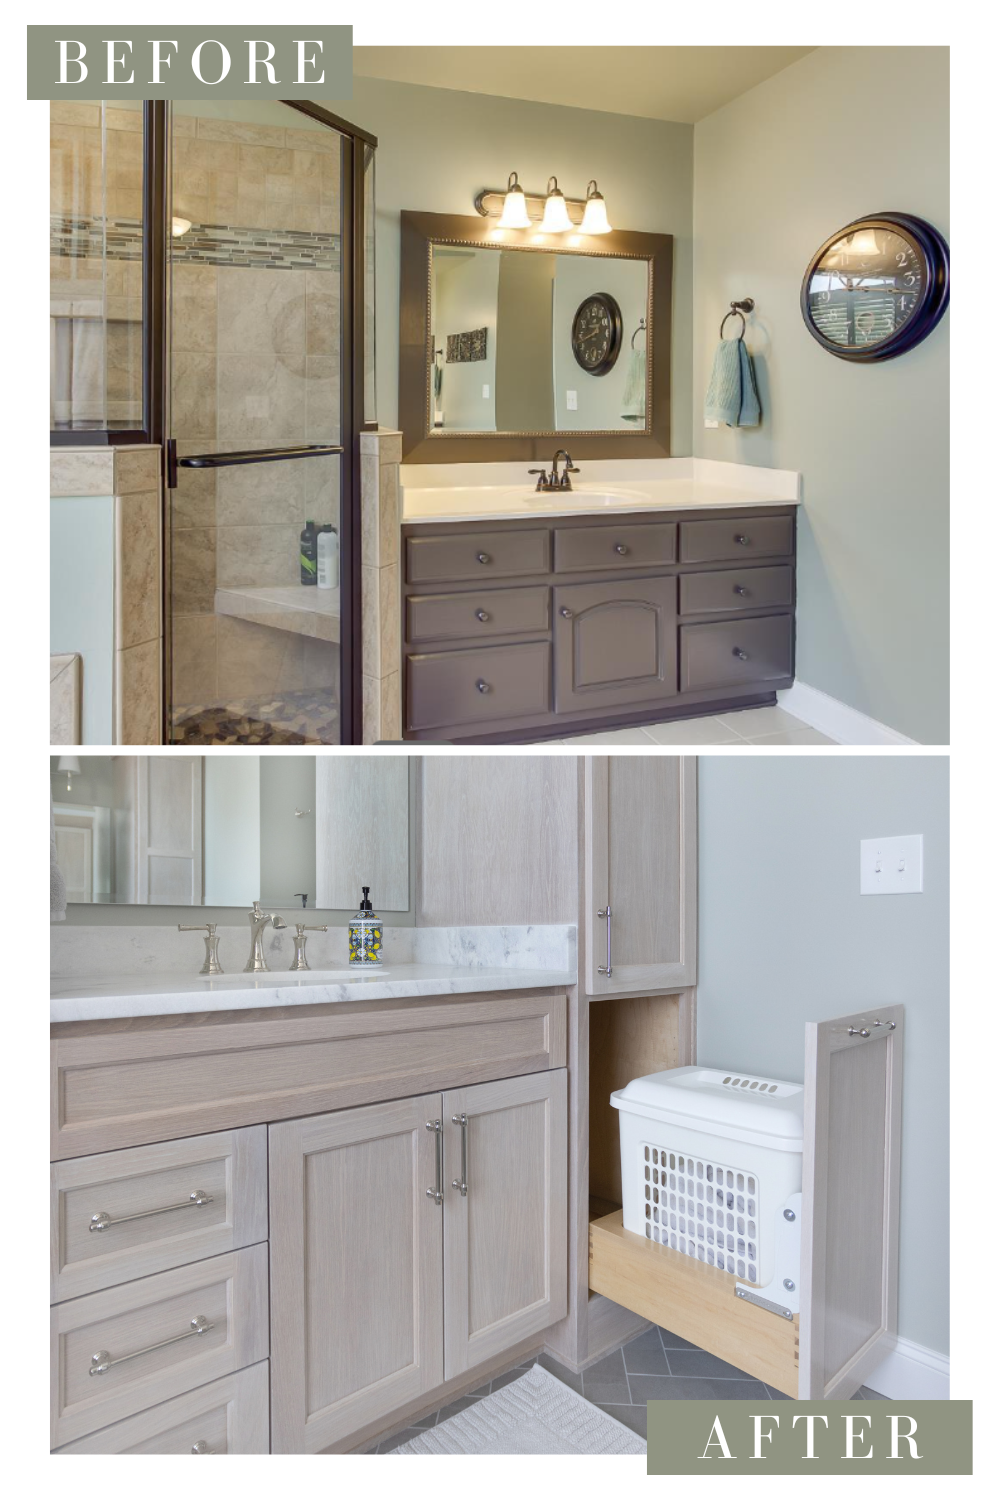
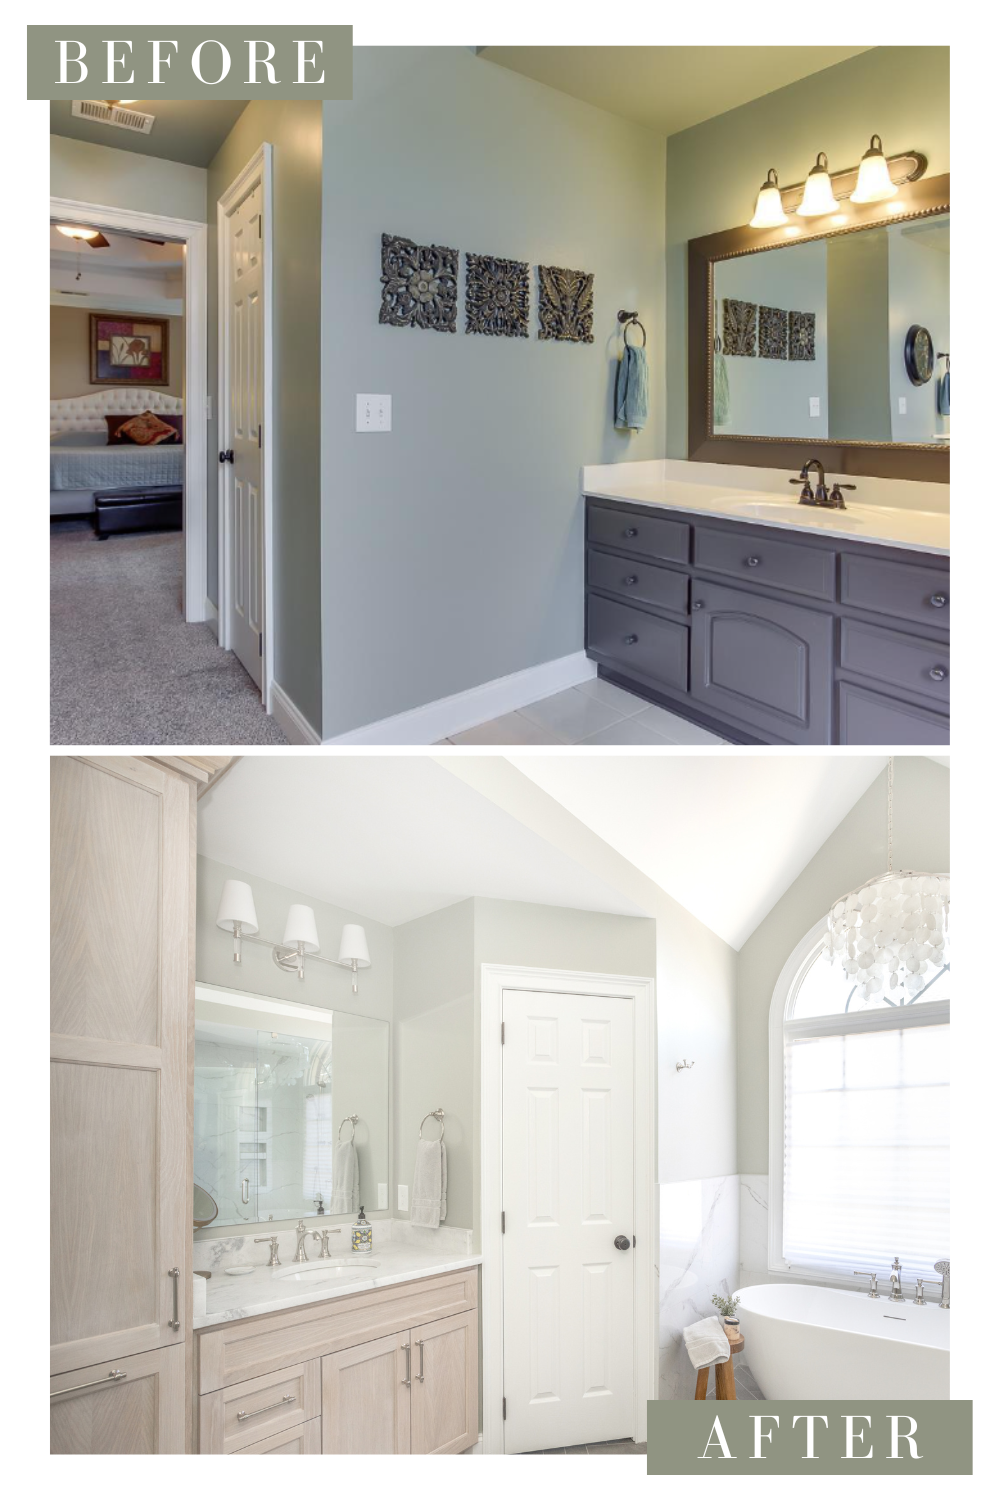
Greer, SC Primary Bath Remodel
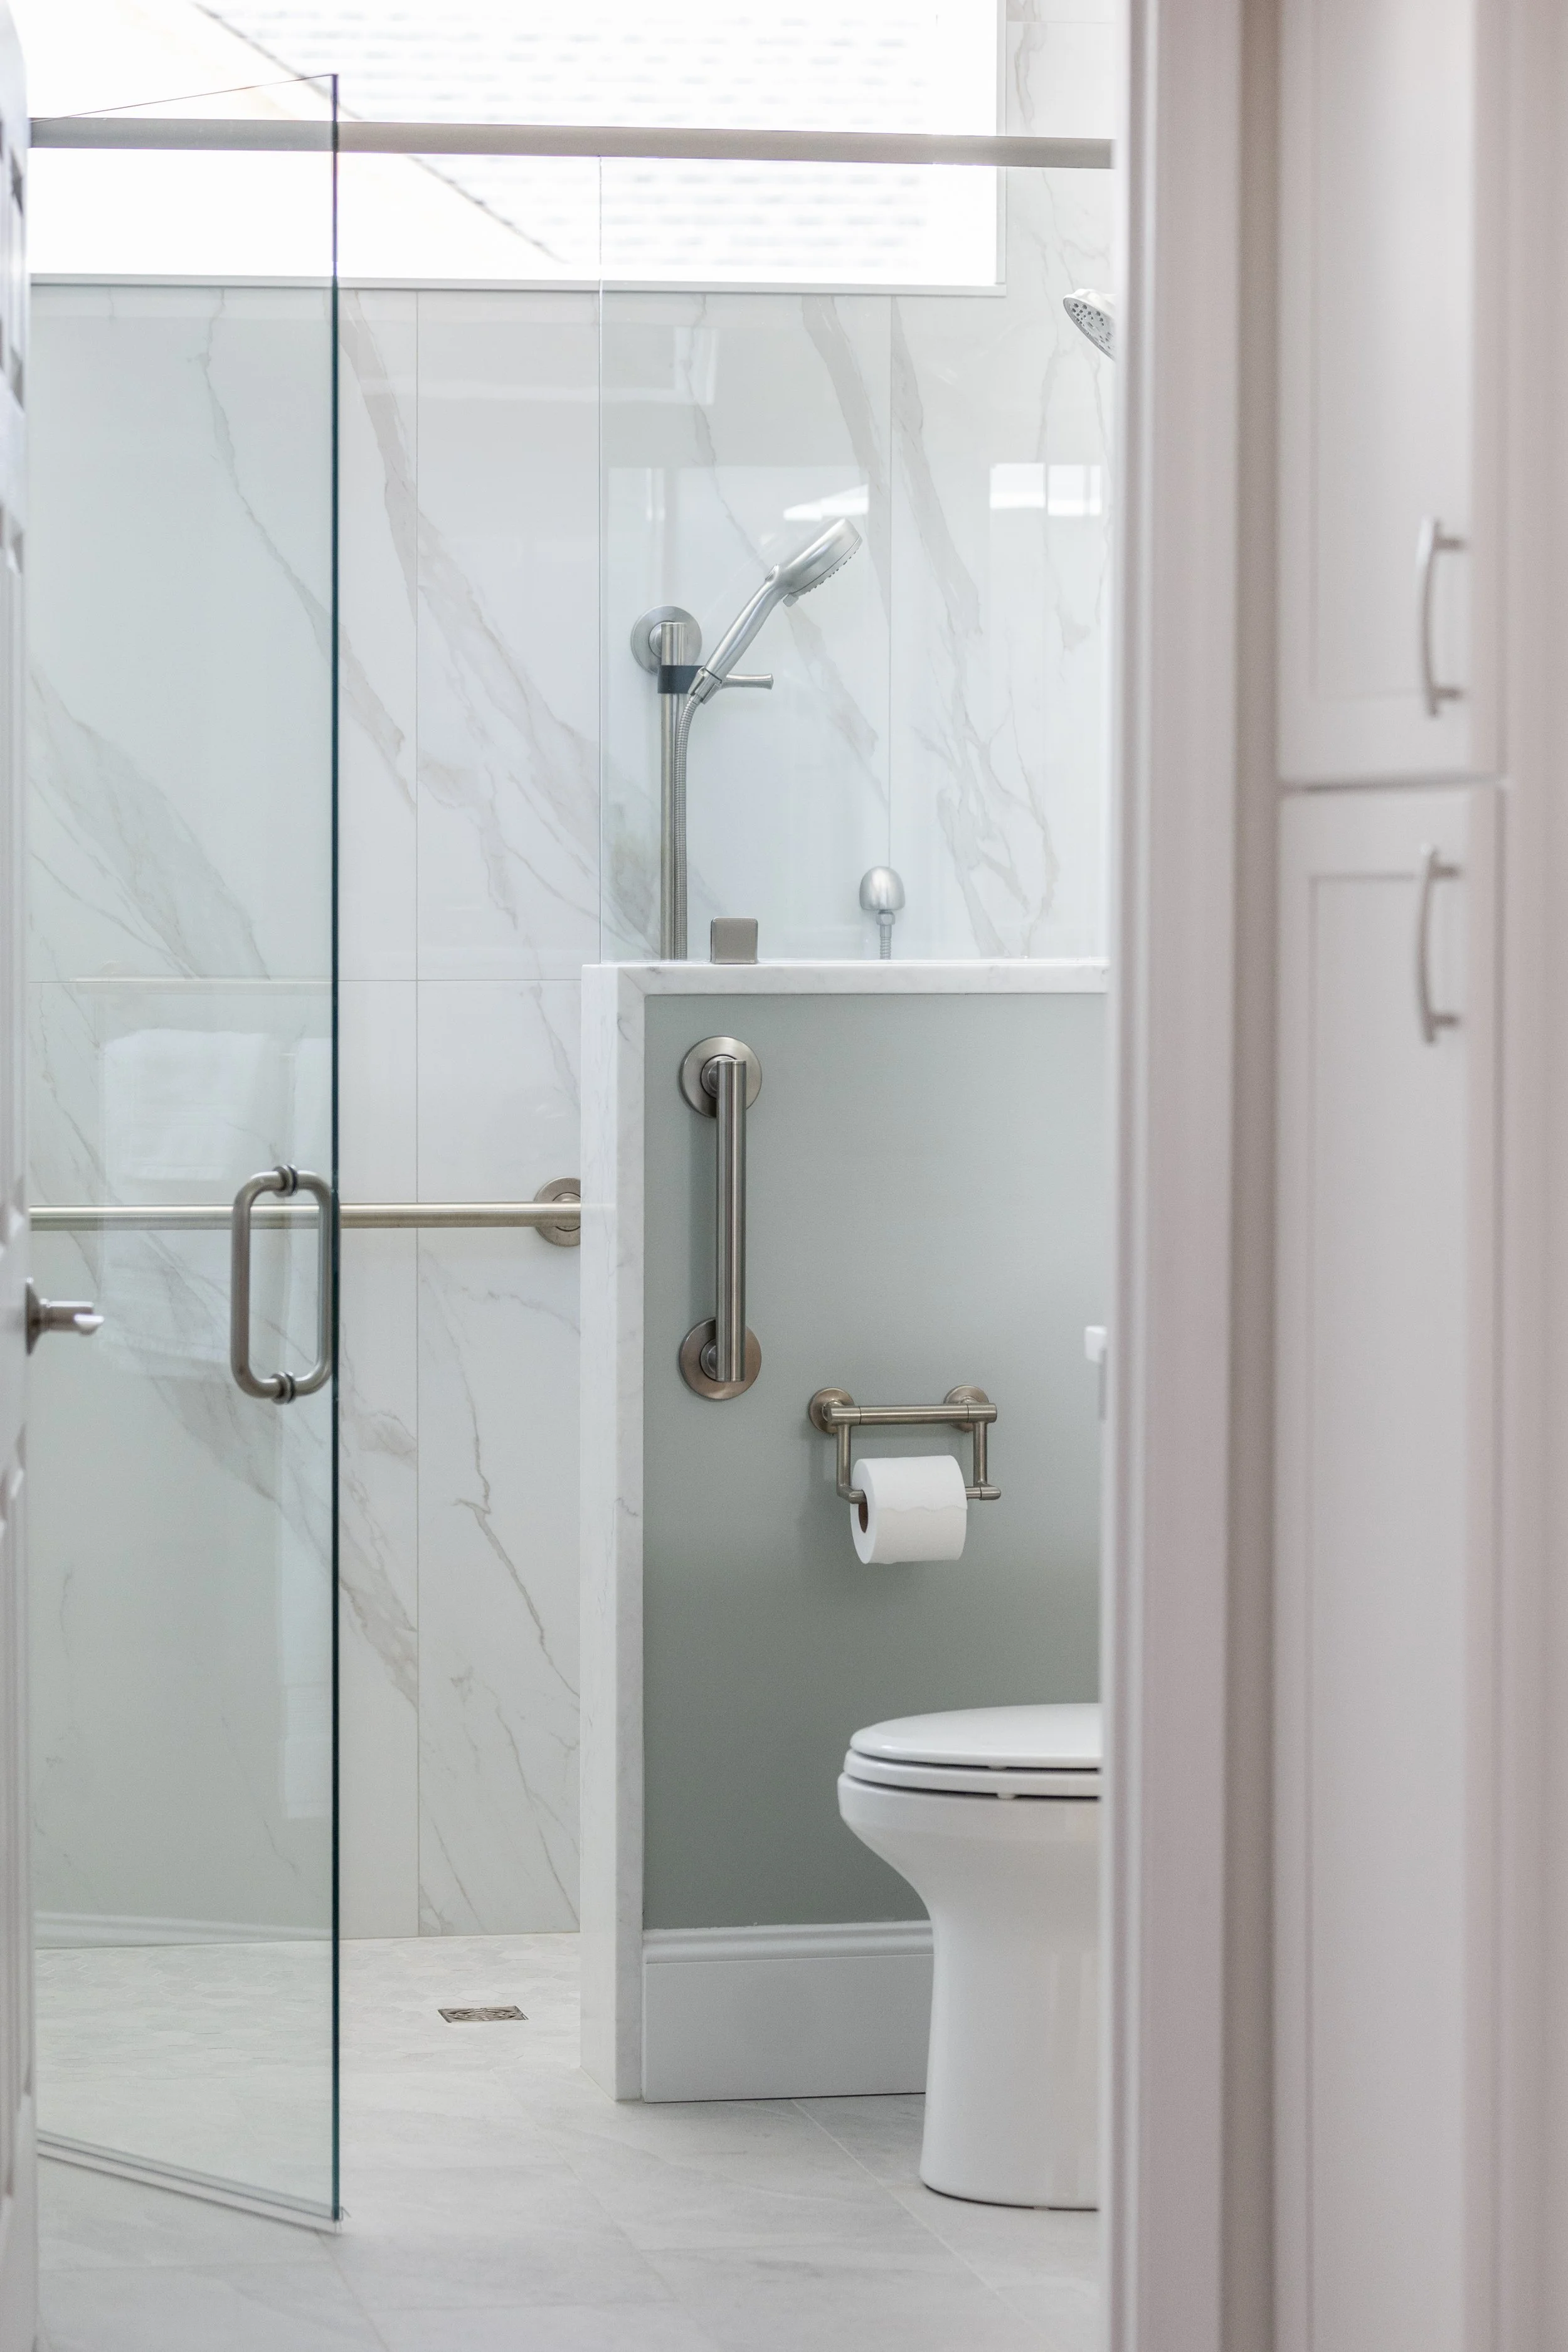
Our clients’ primary bath utilizes a cool, white and gray color scheme with natural wood vanities for a calming look. They chose to carry the shower’s polished, porcelain tile through their entire bathroom as both a large format wall tile and as a small, hexagonal shower floor tile.
Our clients pulled from the the deep gray veining in the porcelain tile, and selected a slate tile for the bathroom’s flooring.
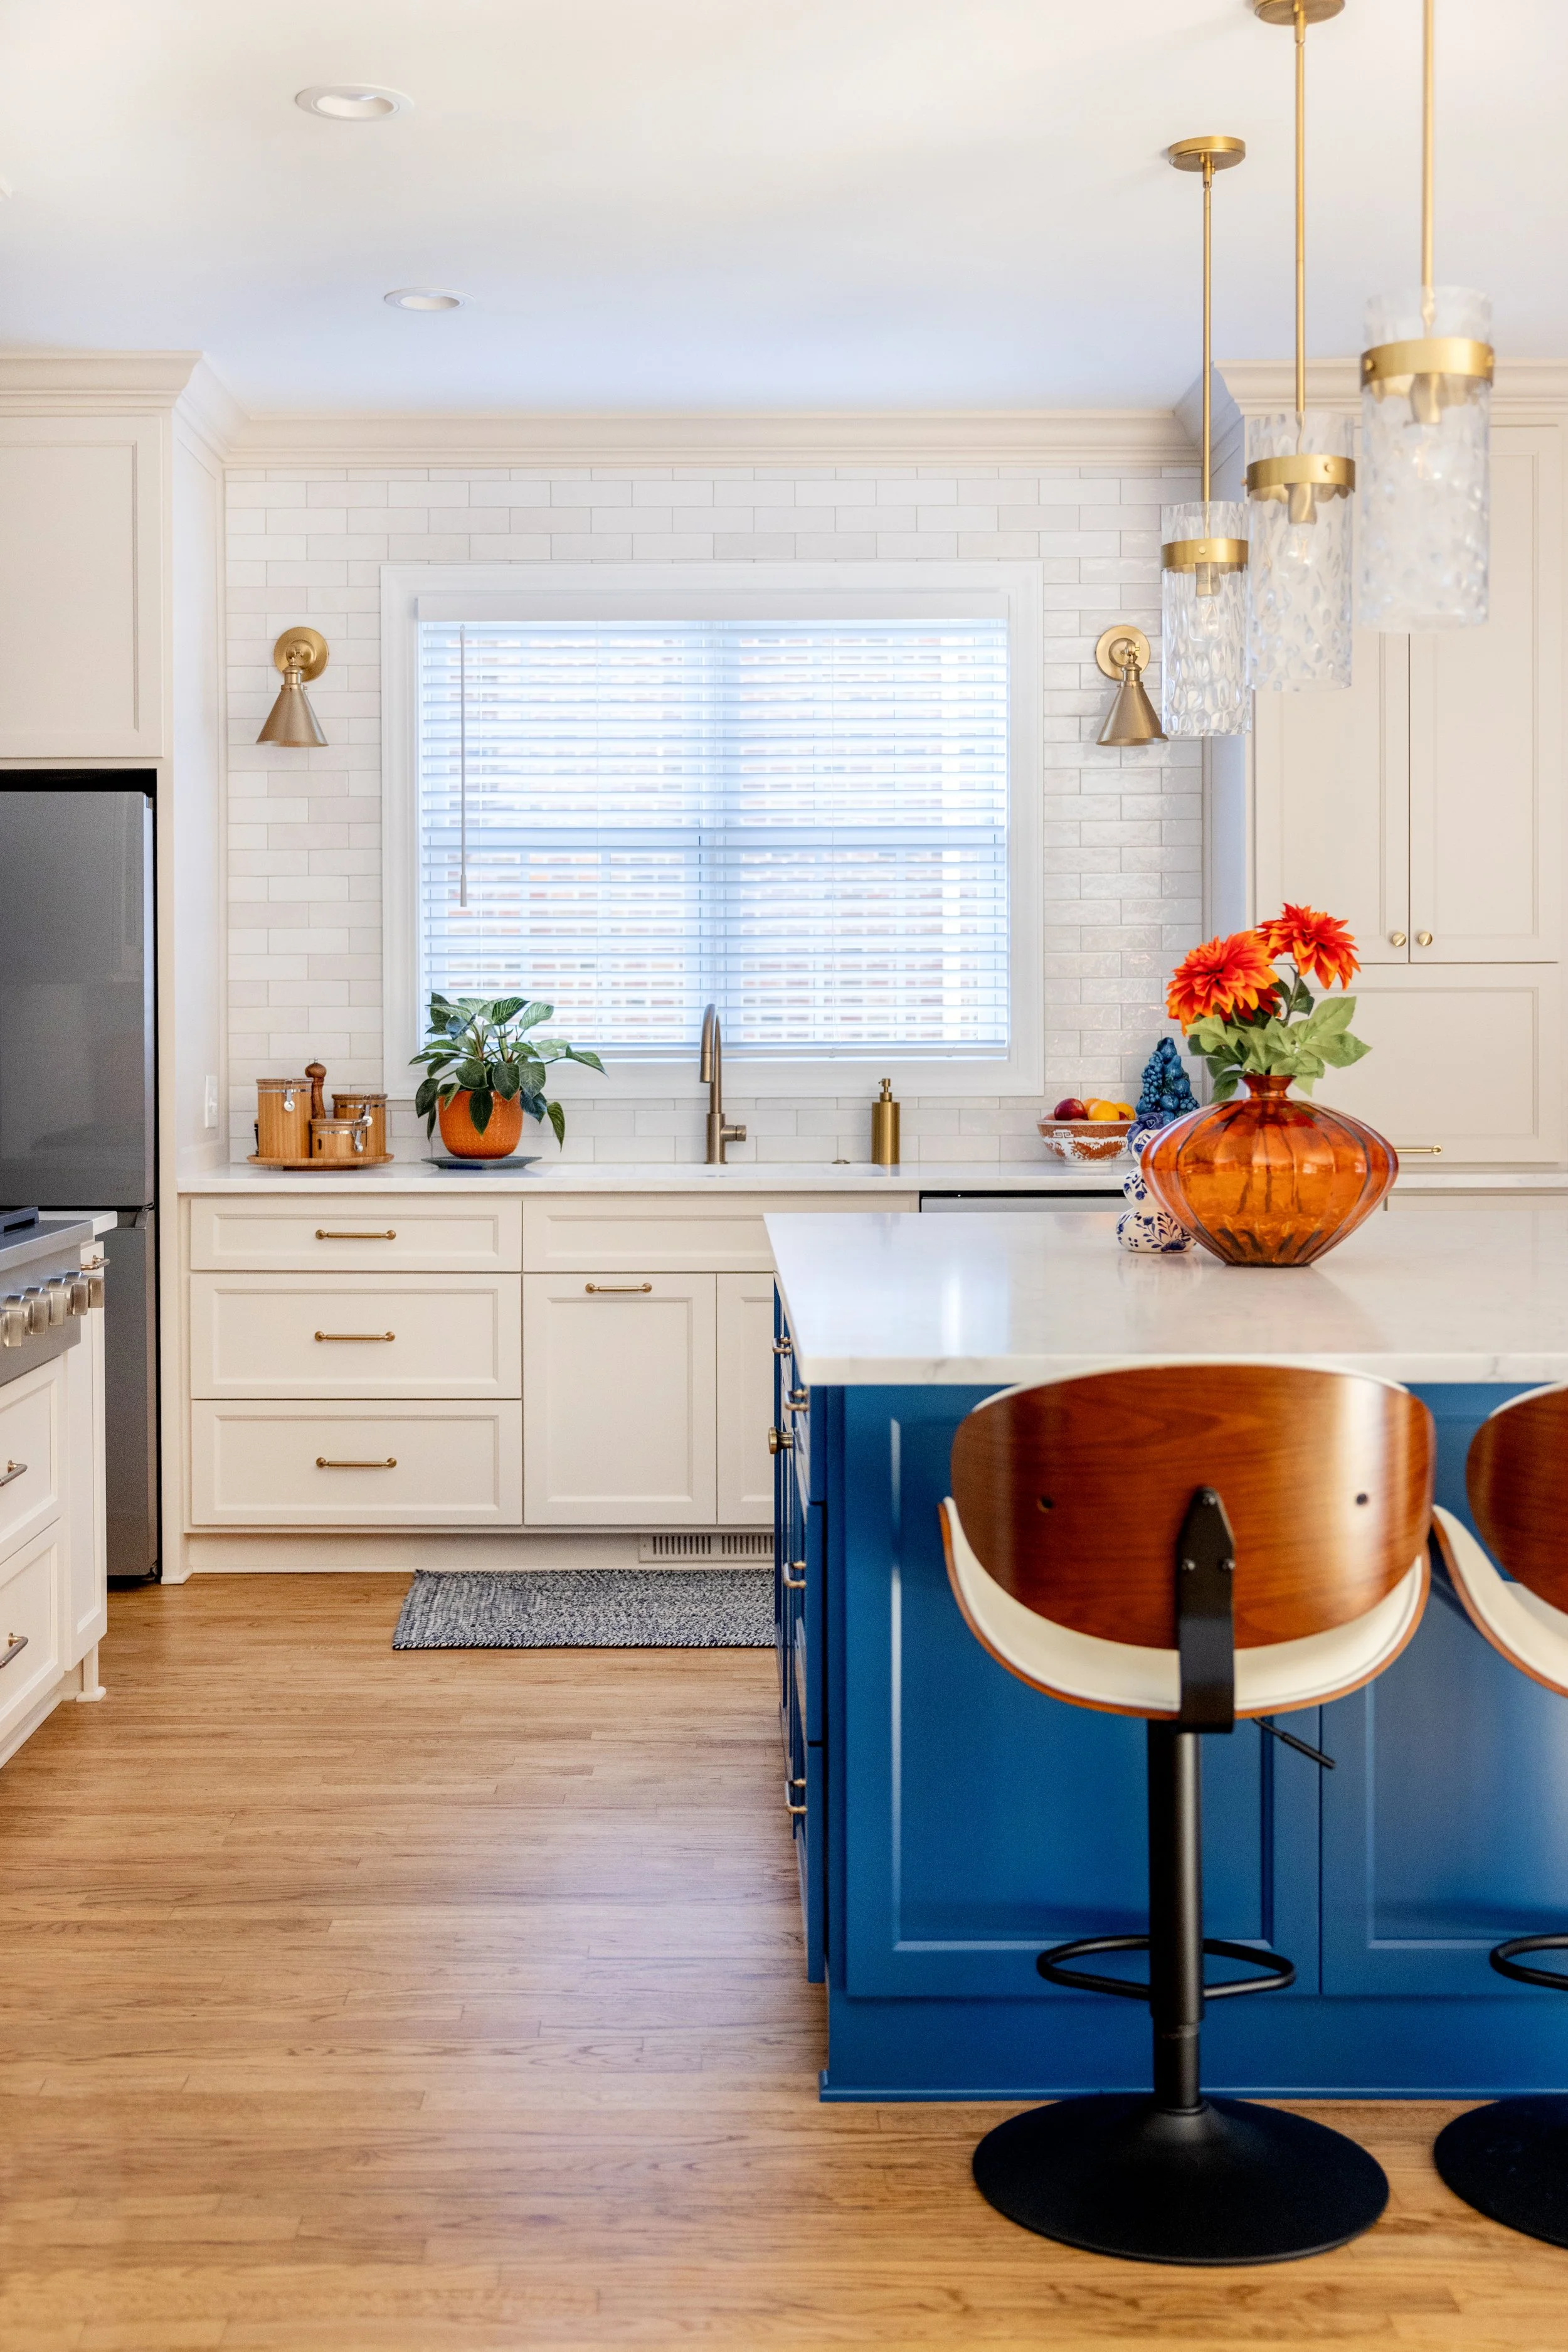
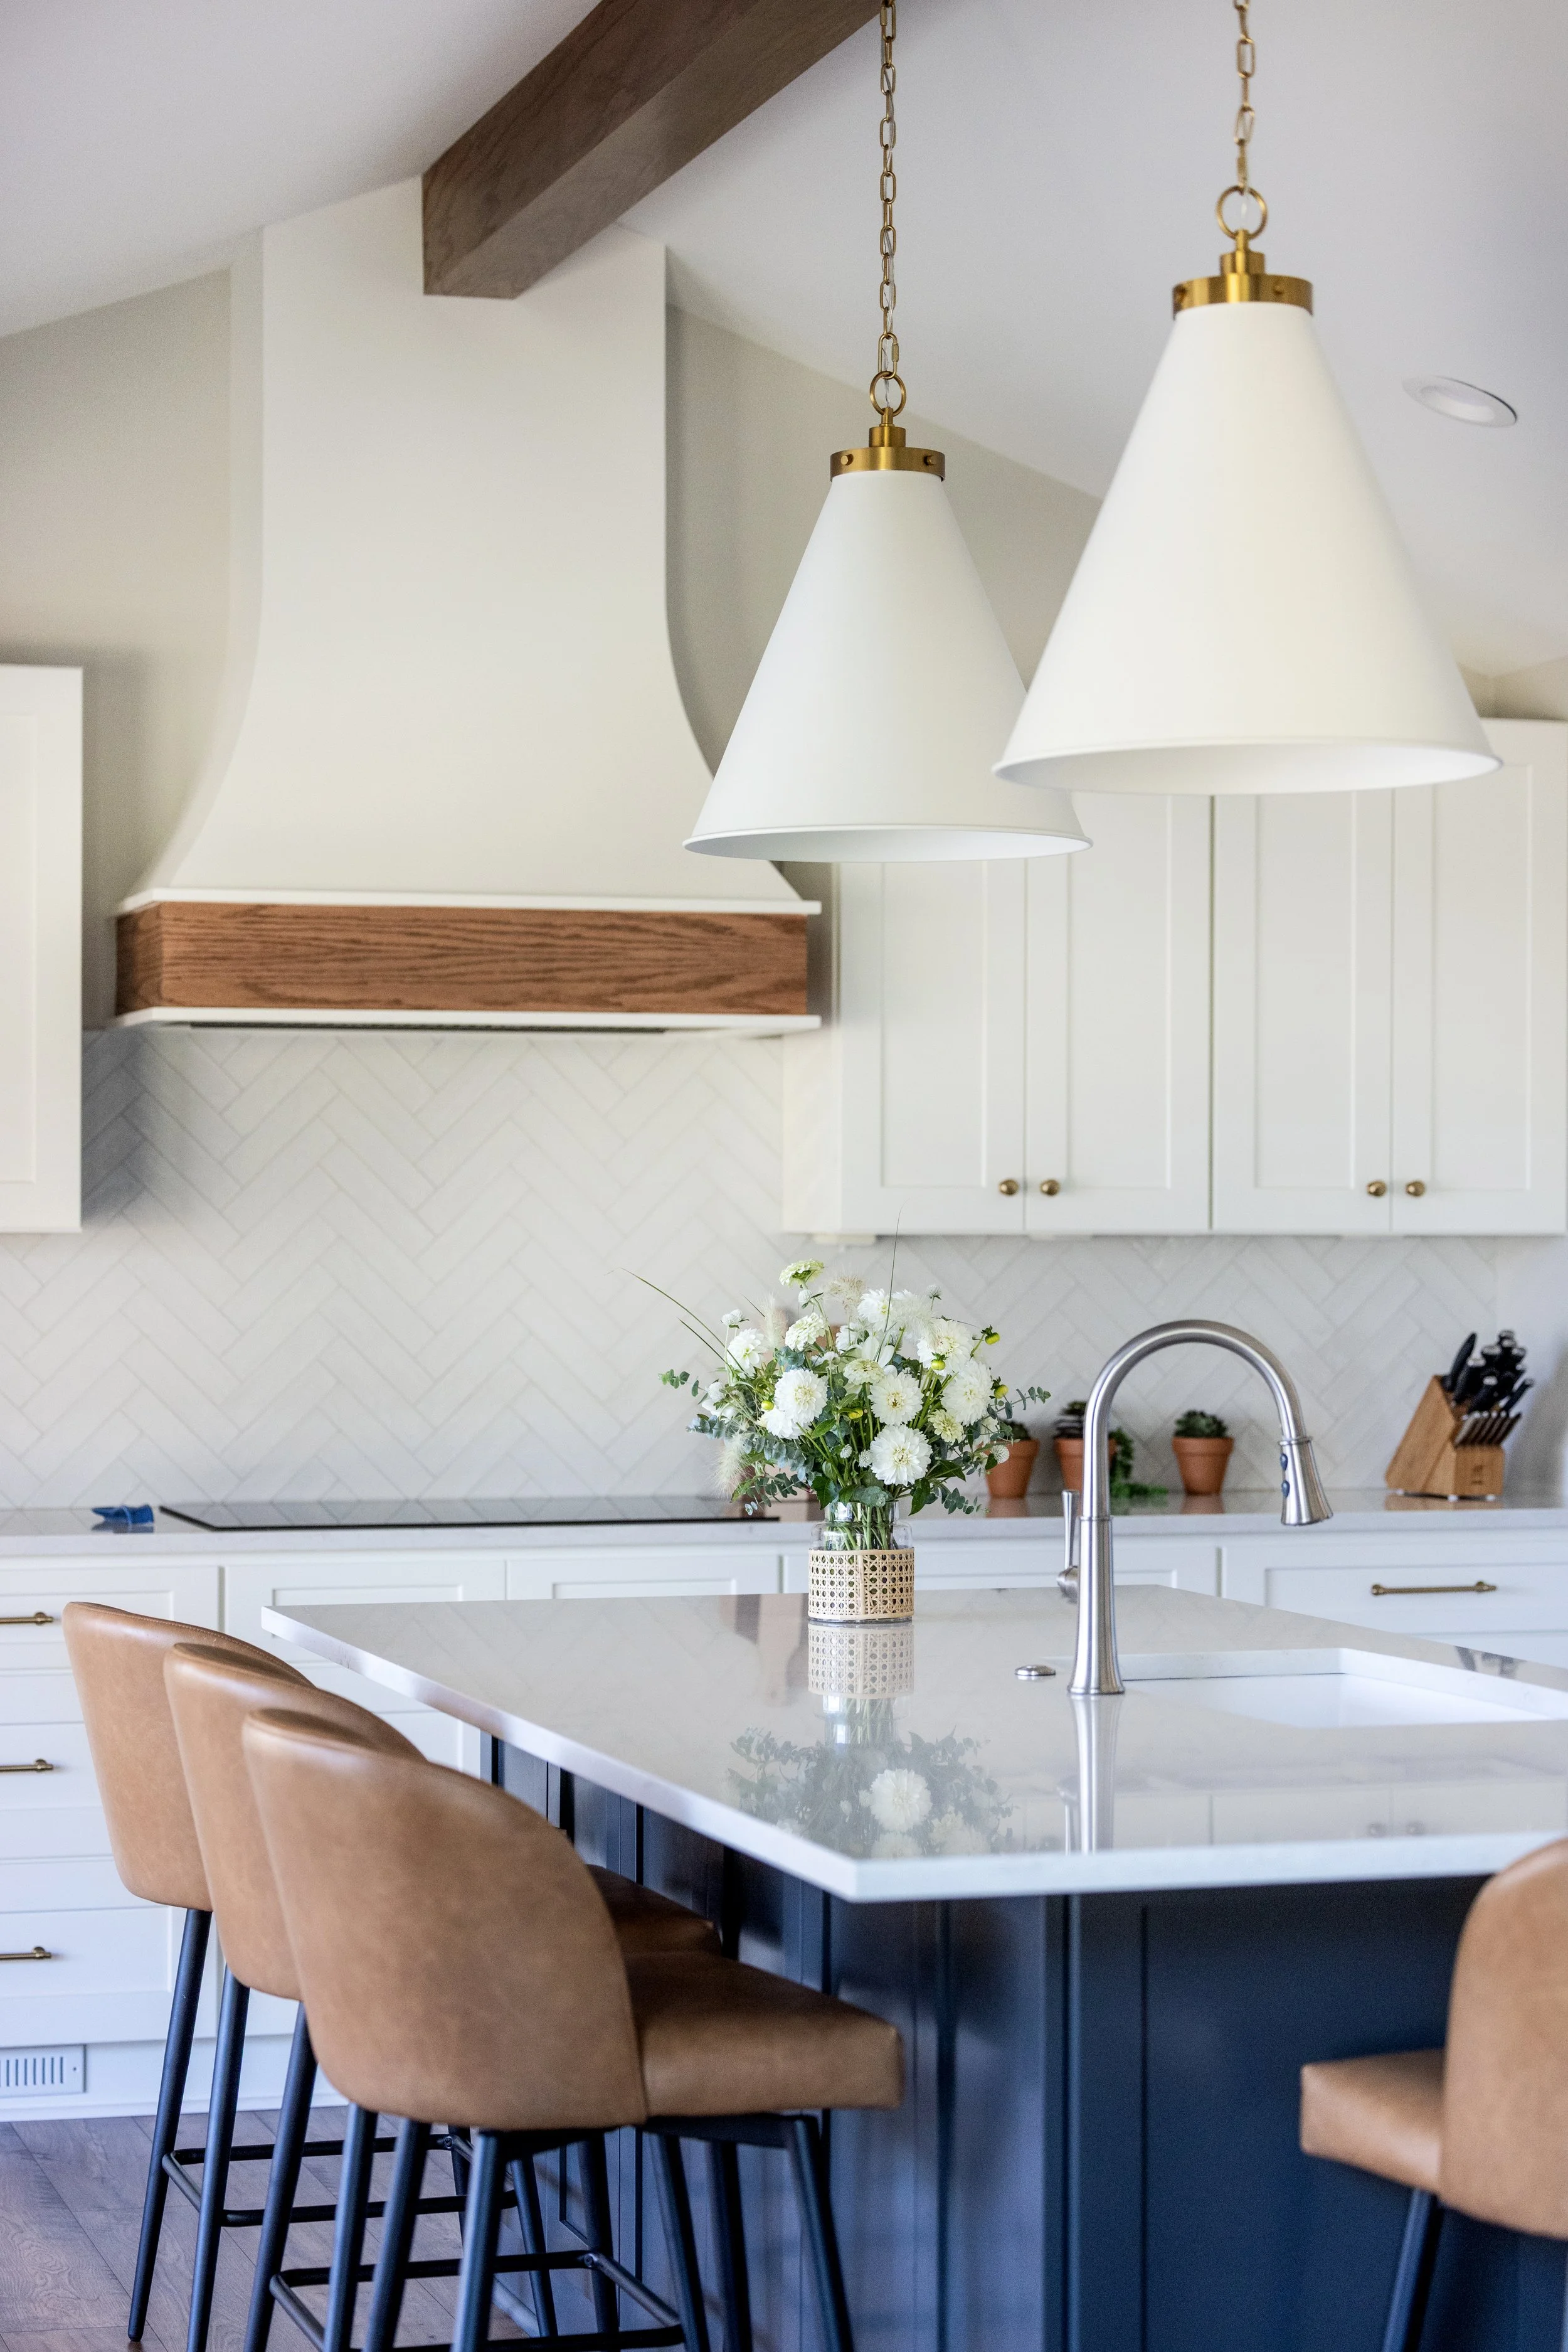
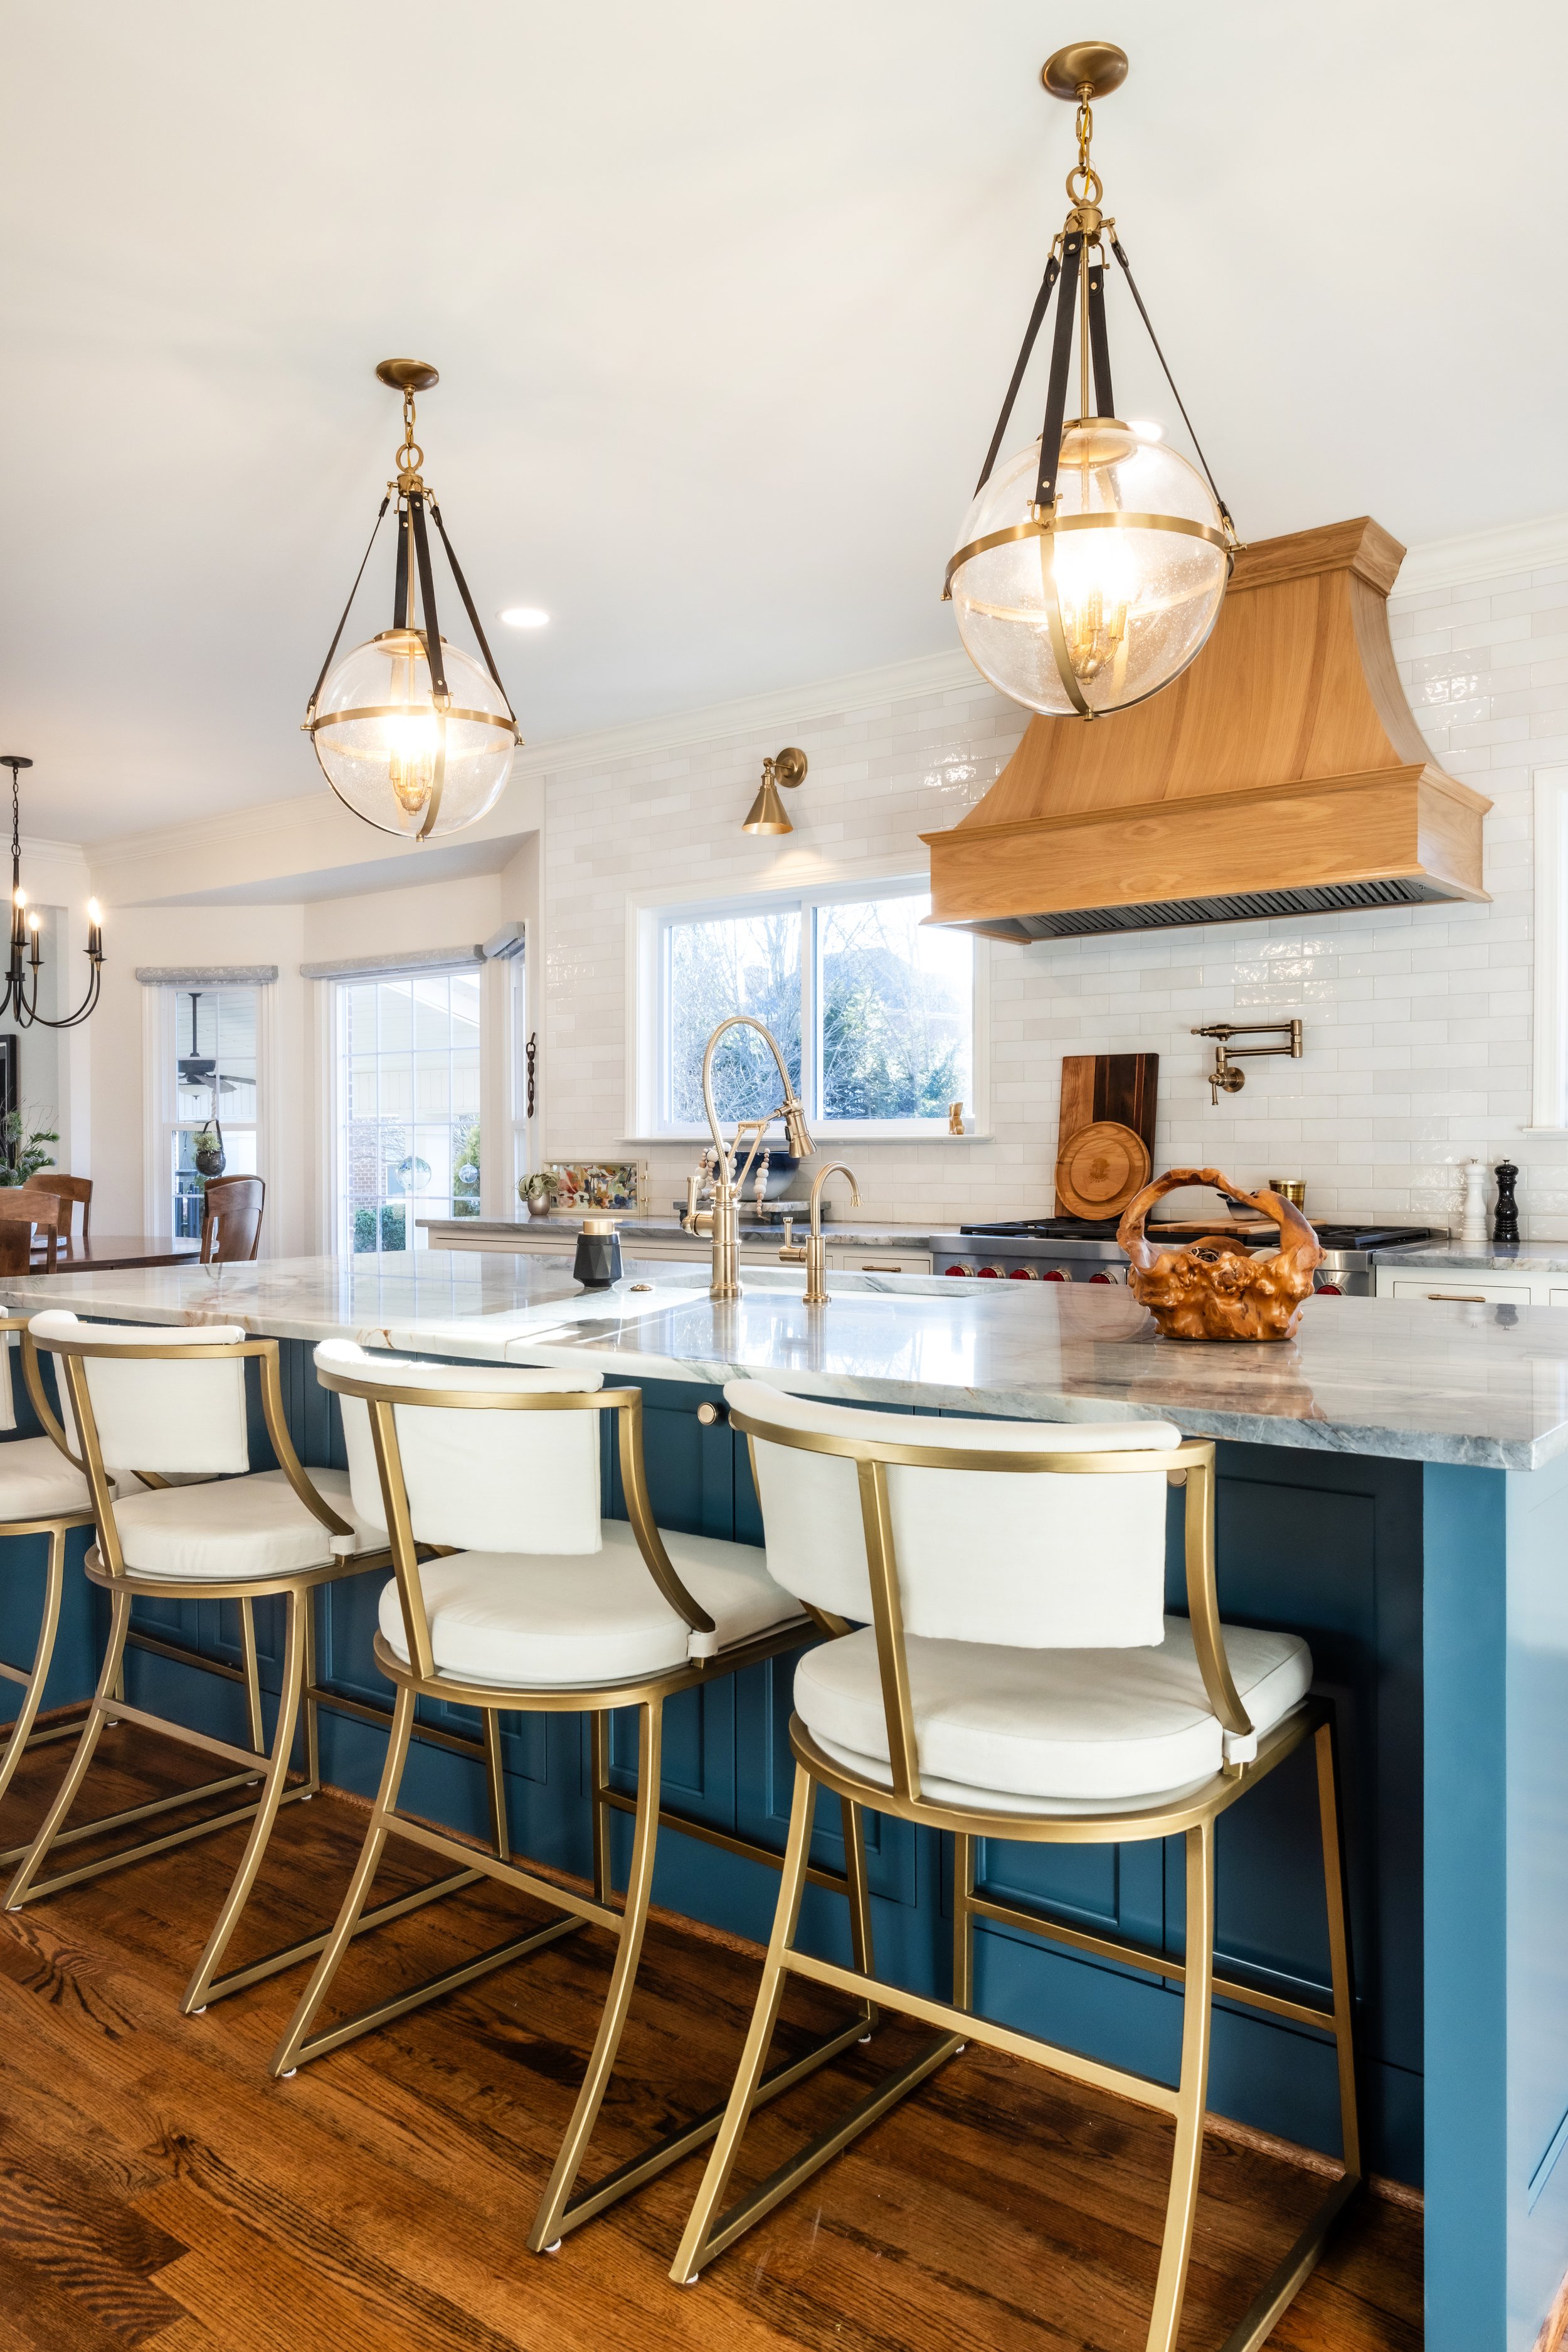
The floor’s herringbone pattern is carried through from the home’s recent kitchen renovation, which features a herringbone backsplash.
The separate vanities’ natural wood and honed marble countertops are a classic and durable choice for this primary bathroom renovation.


Before and After Gallery
In conclusion, our easy three-step approach for coordinating bathroom tiles is a simple guide to tile selection, and enables anyone to create a cohesive and visually stunning bathroom design. By carefully choosing a base stone, coordinating a secondary tile color, and selecting a repeating pattern, you can achieve a harmonious and personalized space that reflects your unique style and taste.
Looking for more tile pattern inspiration? Check out these recent bathroom remodels:
Selections
Paint:
Trim is Extra White (SW 7006)
Walls are Austere Gray (SW 6184)
Hard Surfaces:
All tile selections made through Clayton Tile.
Slate Grey, 4”x12” floor tile by Ergon, Cornerstone Collection.
24”x48” polished statuario wall tile and 1.25” hexagonal shower floor tile from the Mayfair Collection by B&F Ceramics.
Honed marble countertop in Shadow Storm by Upstate Granite Solutions.
Plumbing Fixtures:
Hibiscus 59" Acrylic Soaking Freestanding Tub by Signature Hardware.
Plumbing fixtures by Signature Hardware, Beasley Collection in polished nickel:
Accessories:
5-1/16” cabinet pulls by Atlas Homewares, Brontre Collection in polished nickel.
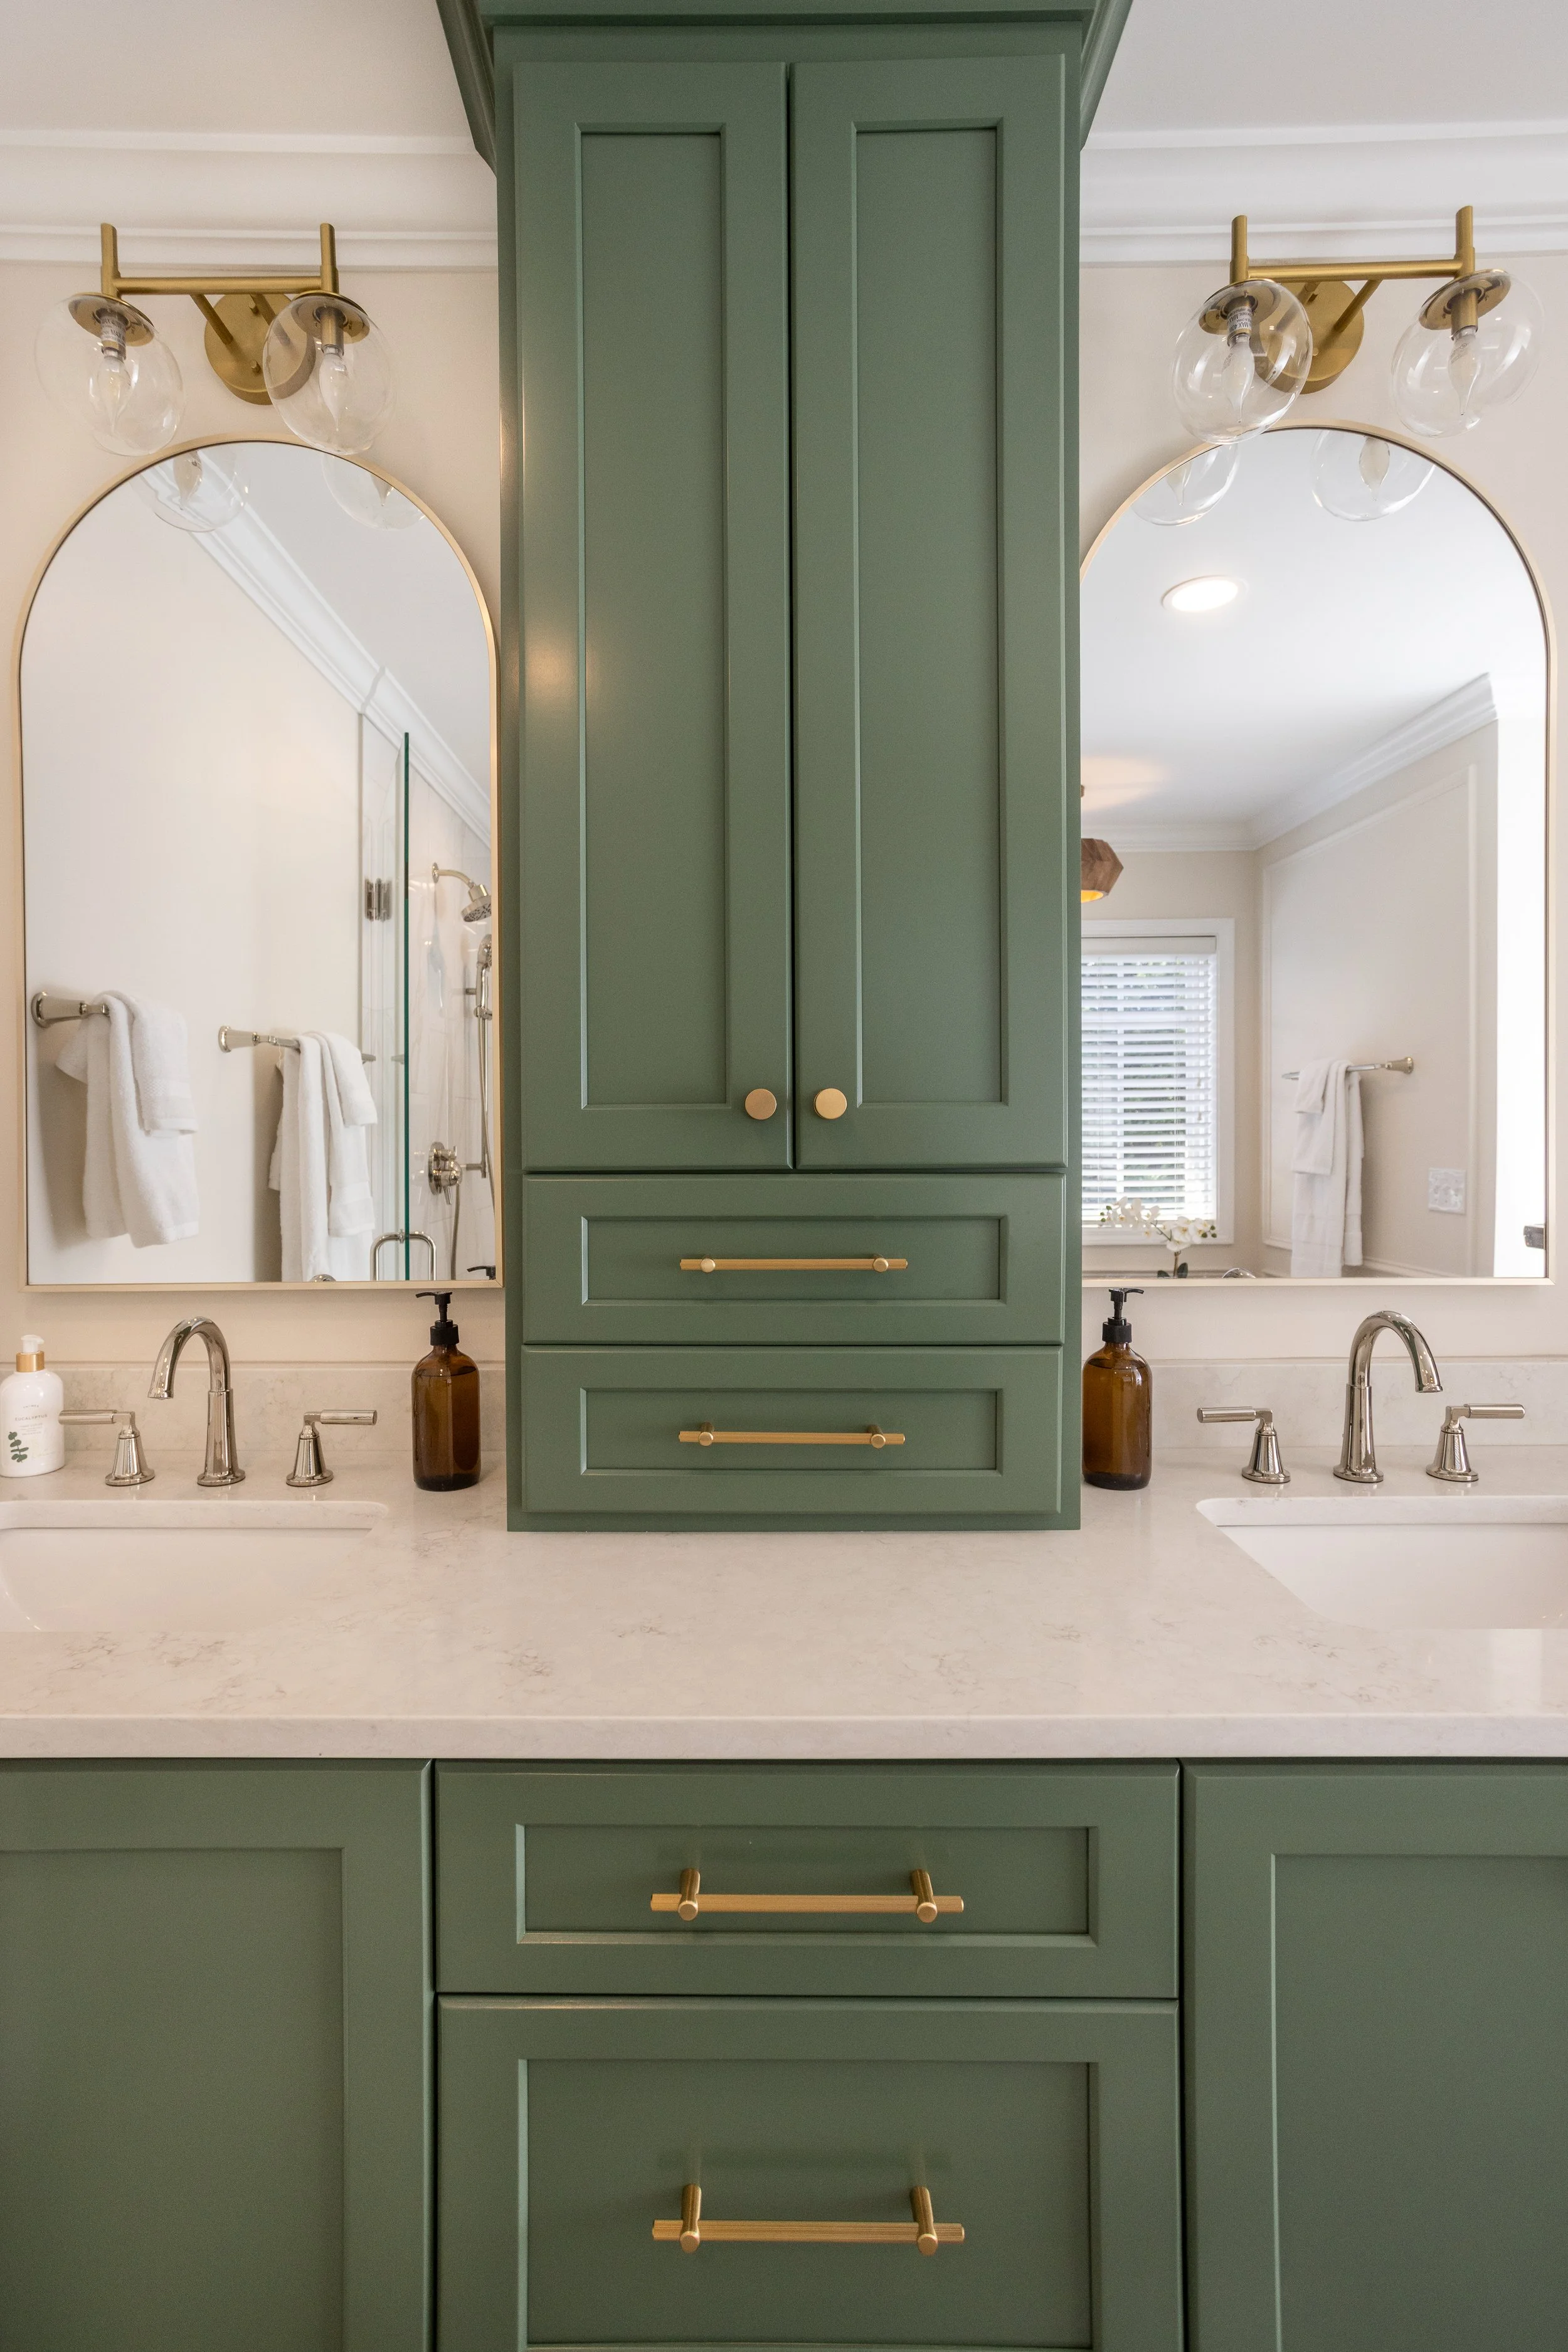
Bathroom vanity light from Greer Lighting Center.