
Our Design-Build Process: How Ashmore Builders Brings Renovations to Life
With nearly 40 years in the residential building industry, Ashmore Builders has refined a design-build process that keeps projects efficient, transparent, and stress-free. This streamlined approach ensures clear communication between clients, vendors, and subcontractors—while setting realistic expectations every step of the way.
Below, we’ll walk you through how our design-build process works for renovations and small additions.
Explore our design-build process:
Step 1: Initial Consultation
Every project begins with a free, in-person consultation. This meeting allows us to:
Assess your space
Understand your budget
Discuss your renovation goals and must-haves
Pro Tip: The consultation is as much an interview for the contractor as it is for you. We encourage homeowners to come prepared with a budget and a list of priorities. This helps us provide accurate estimates and confirm whether the project aligns with our expertise.
👉 Curious about how this compares to other delivery methods? Read our guide on the design-build vs. traditional project delivery methods.
Step 2: Design Phase
If you choose to move forward with us, you’ll sign a design agreement and pay a retainer fee in order to kick off the design phase. This isn’t a final contract—it allows our team to create original designs and detailed estimates.
We break down the design phase into three distinct stages:
Spatial Design
We reconfigure your layout to make the best use of square footage. At this point, we provide a general estimate based on required updates, such as moving plumbing, electrical work, or removing walls.
👉 Wondering where to splurge and where to save? Check out our post on which factors affect your remodeling budget the most.
Cabinetry Design
Next, we refine storage solutions. Clients can choose drawers, shelving, and custom features tailored to their lifestyle. The estimate is updated to reflect these specifications.
👉 Need help deciding what’s right for your home? Check out our post on the differences between stock, semi-custom, and custom cabinetry.
Selections
Finally, you’ll meet with our Selections Coordinator, who will help you pick surfaces, fixtures, and finishes that fit both your budget and style. We also recommend working with an interior designer to ensure your home maintains a cohesive look.
👉 Overwhelmed by choices? Don’t miss our tips on avoiding renovation decision fatigue.
By the end of this phase, you’ll receive an accurate estimate that reflects your space’s requirements, cabinetry, and selections. From here, you can:
Proceed with Ashmore Builders (with the design fee credited)
Take the plans to another contractor
Wait—our estimate is valid for approximately 3 months
Step 3: Construction Phase
Once the construction agreement is signed, you officially become a client. This includes:
A final estimate
Completed drawings
A project start date
Your dedicated project manager will handle permits, schedule subcontractors, and oversee crews. Because all design decisions are made upfront, construction begins smoothly and moves quickly—minimizing lead times and delays.
Step 4: Post-Construction
When construction wraps up, our project manager will walk through the finished space with you, noting any final details. With your permission, we’ll also arrange professional photography to showcase your renovation across our website and social media channels.
Step 5: Repeat
Our design-build process ensures consistent results—no matter the project’s size or scope. Don’t just take our word for it: see what our clients are saying about their experience with Ashmore Builders. And if you’re one of them, we’d love for you to leave us a review!
Remodel Gallery


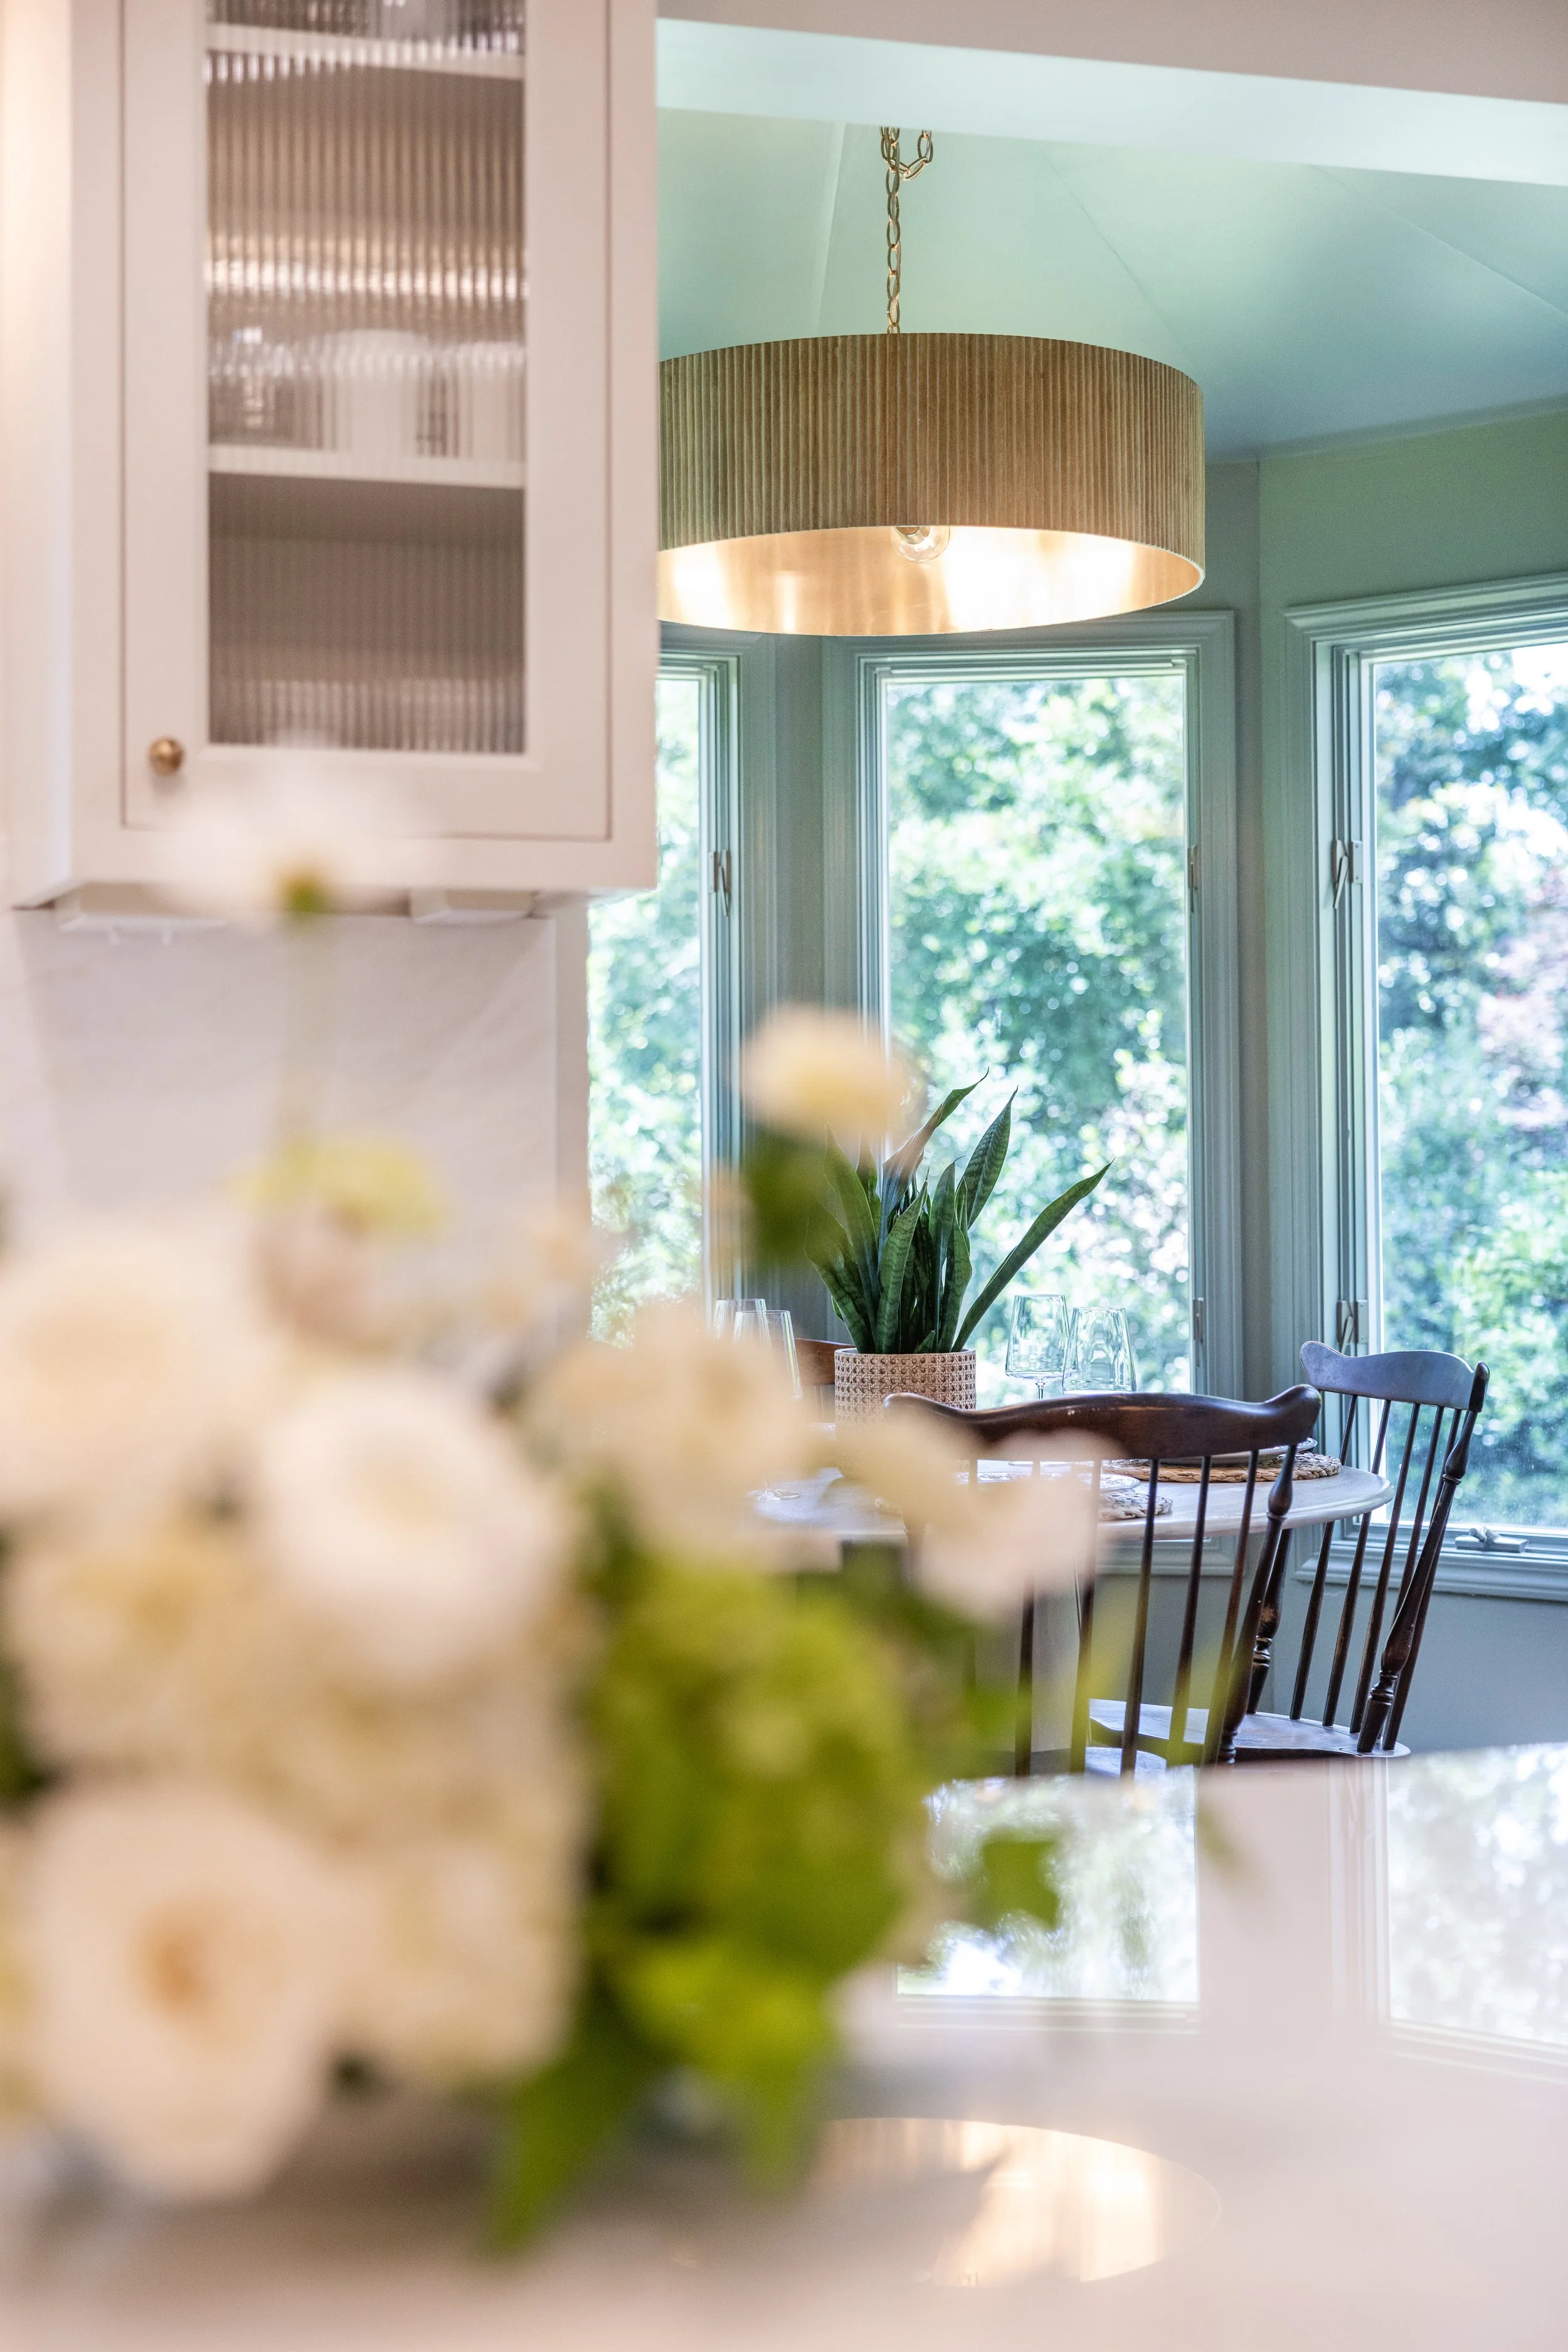


Before & After
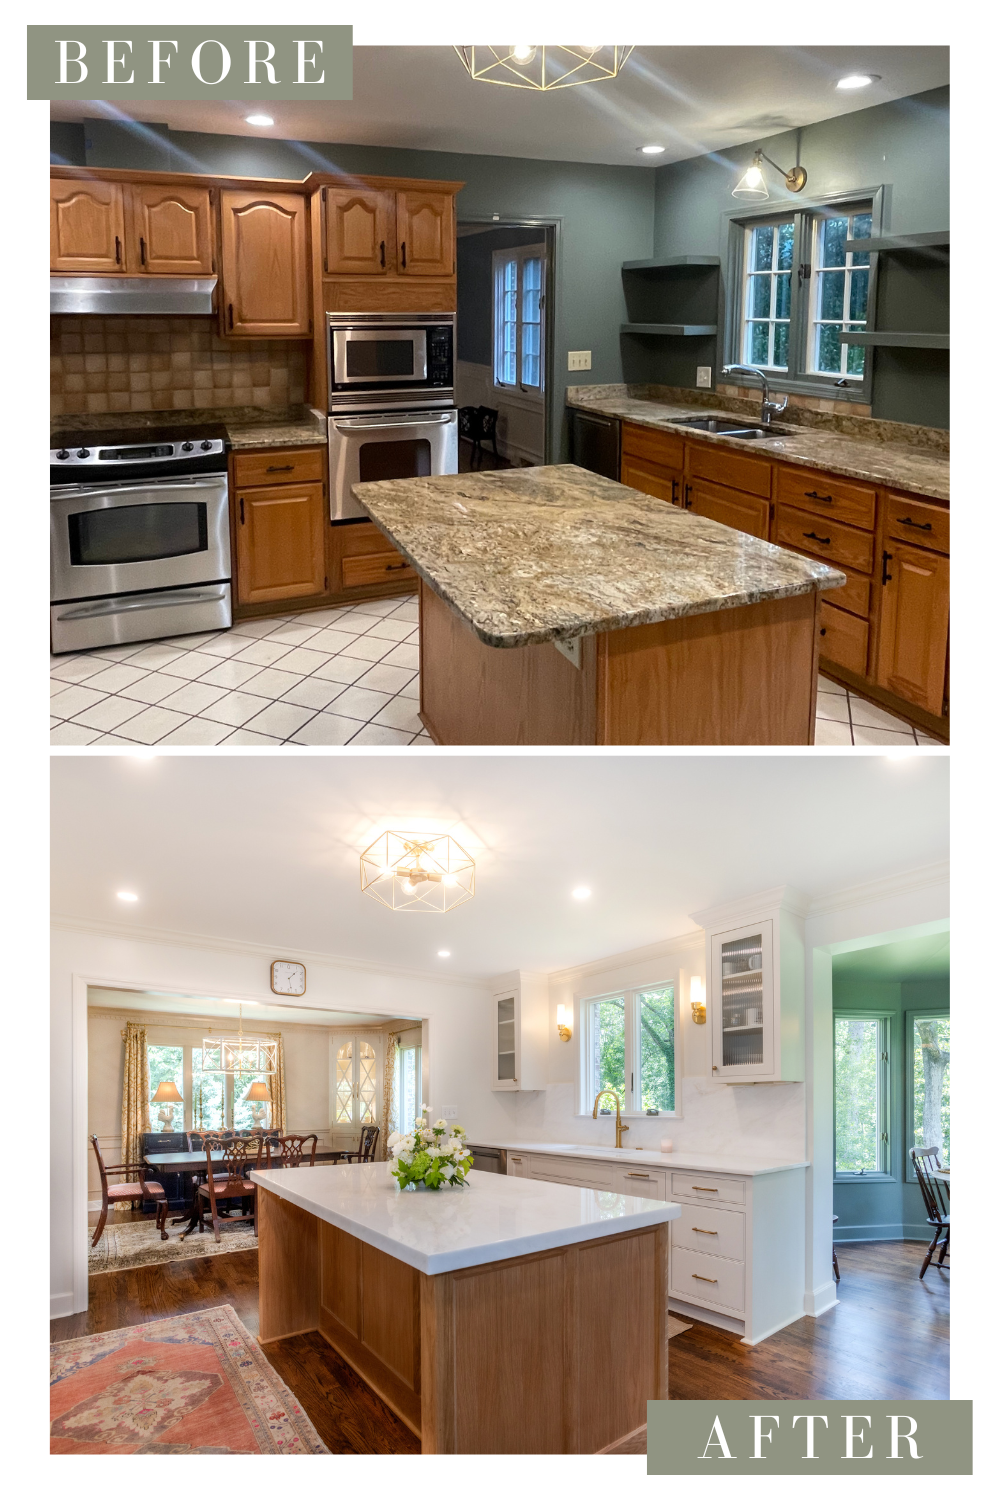
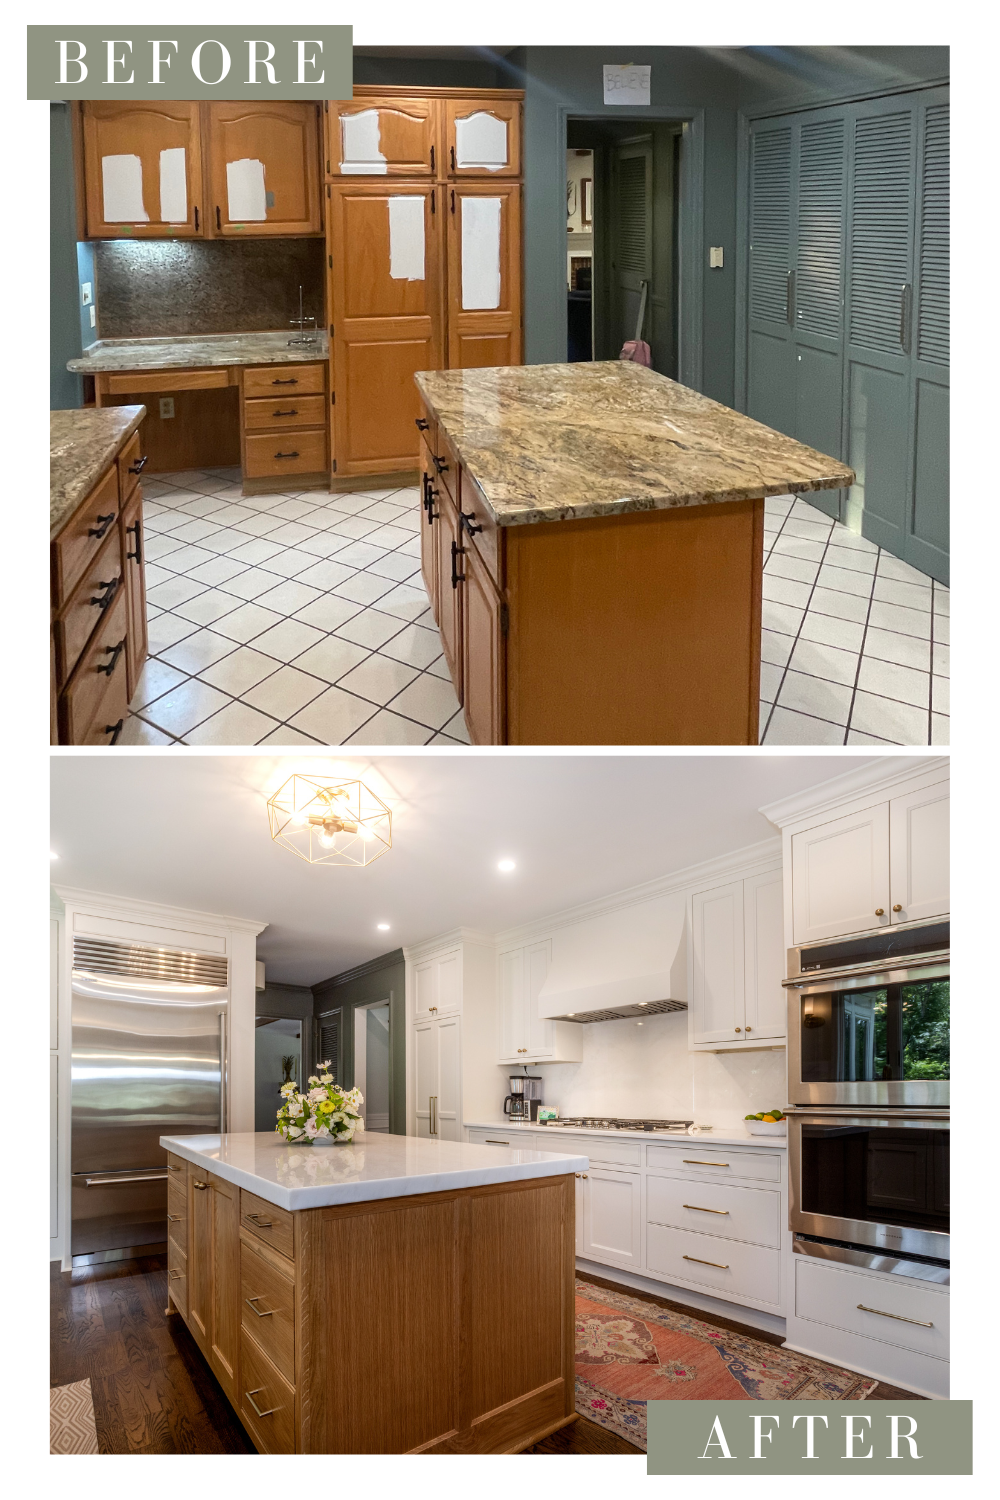
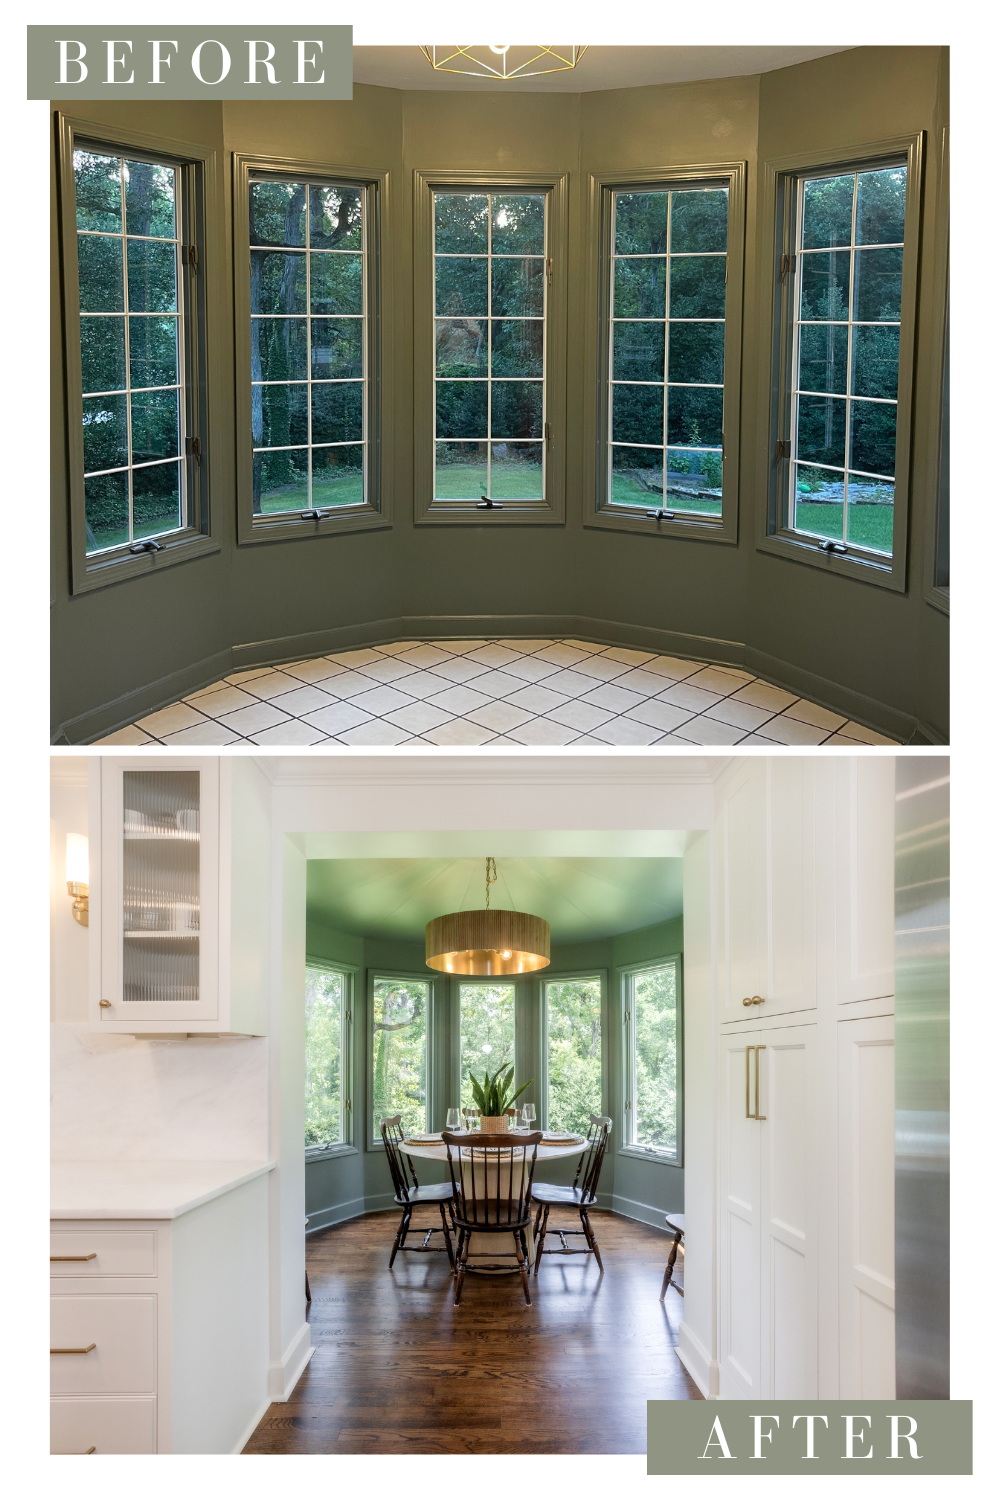
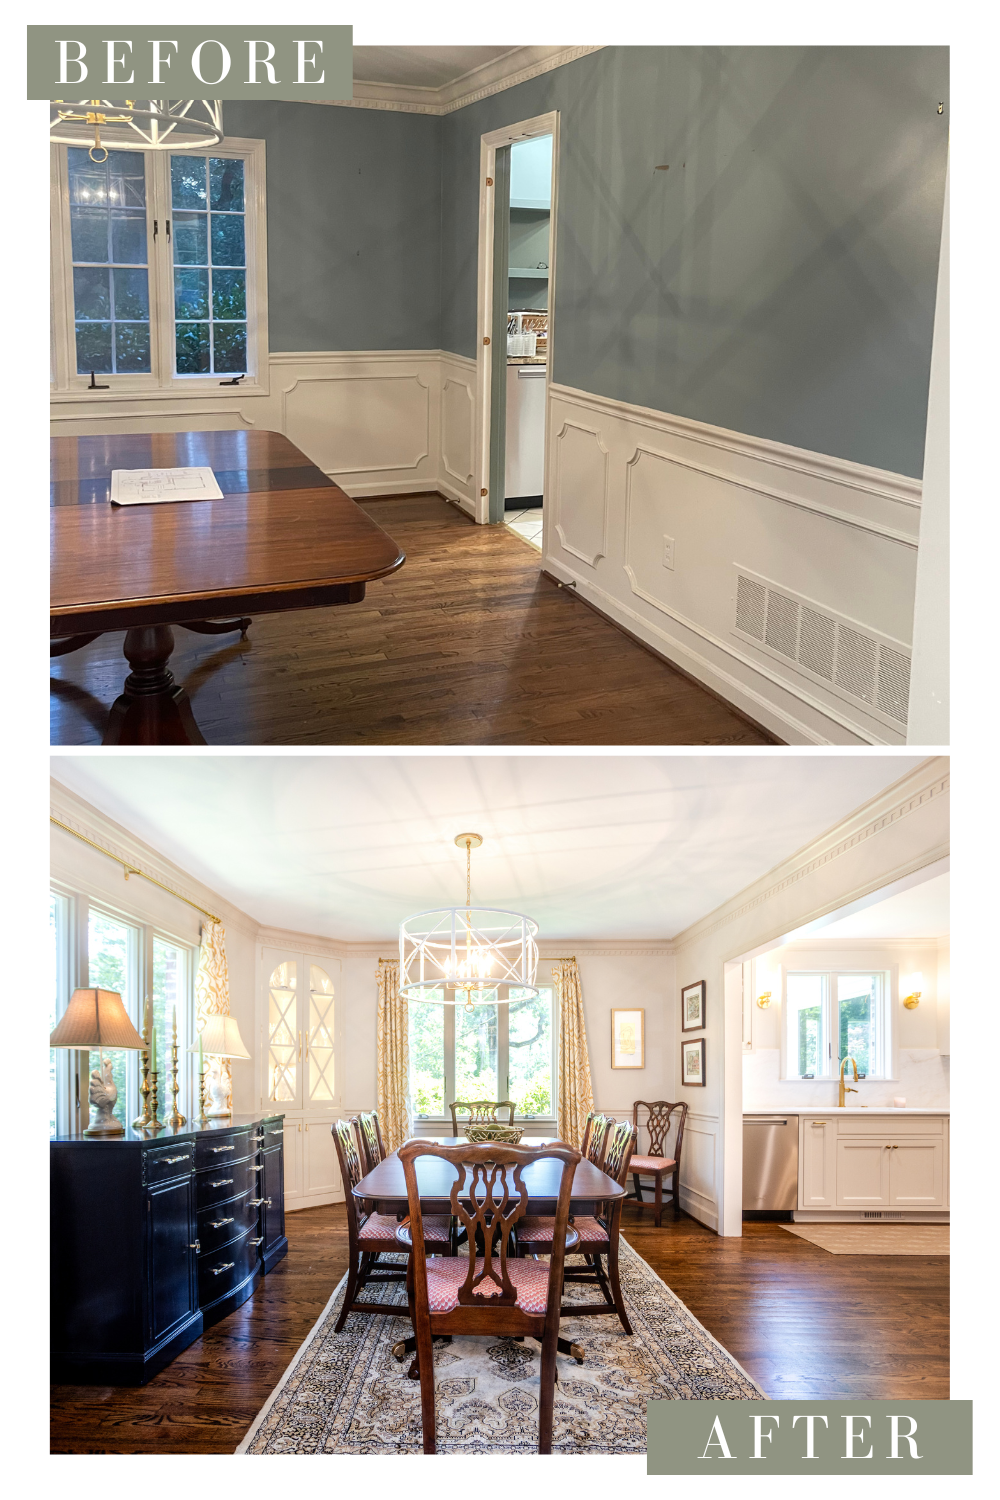
Whether you’re considering a kitchen remodel, a small addition, or a complete update, our step-by-step process keeps you informed and up-to-date about the transformation of your space. Ready to see how our team can bring your vision to life? Schedule your free consultation today.
Selections
Marble countertops sourced from Warren J Stone.
Honey Bronze pulls from Top Knobs, Lynwood Collection.
Interior photography by Kim DeLoach.
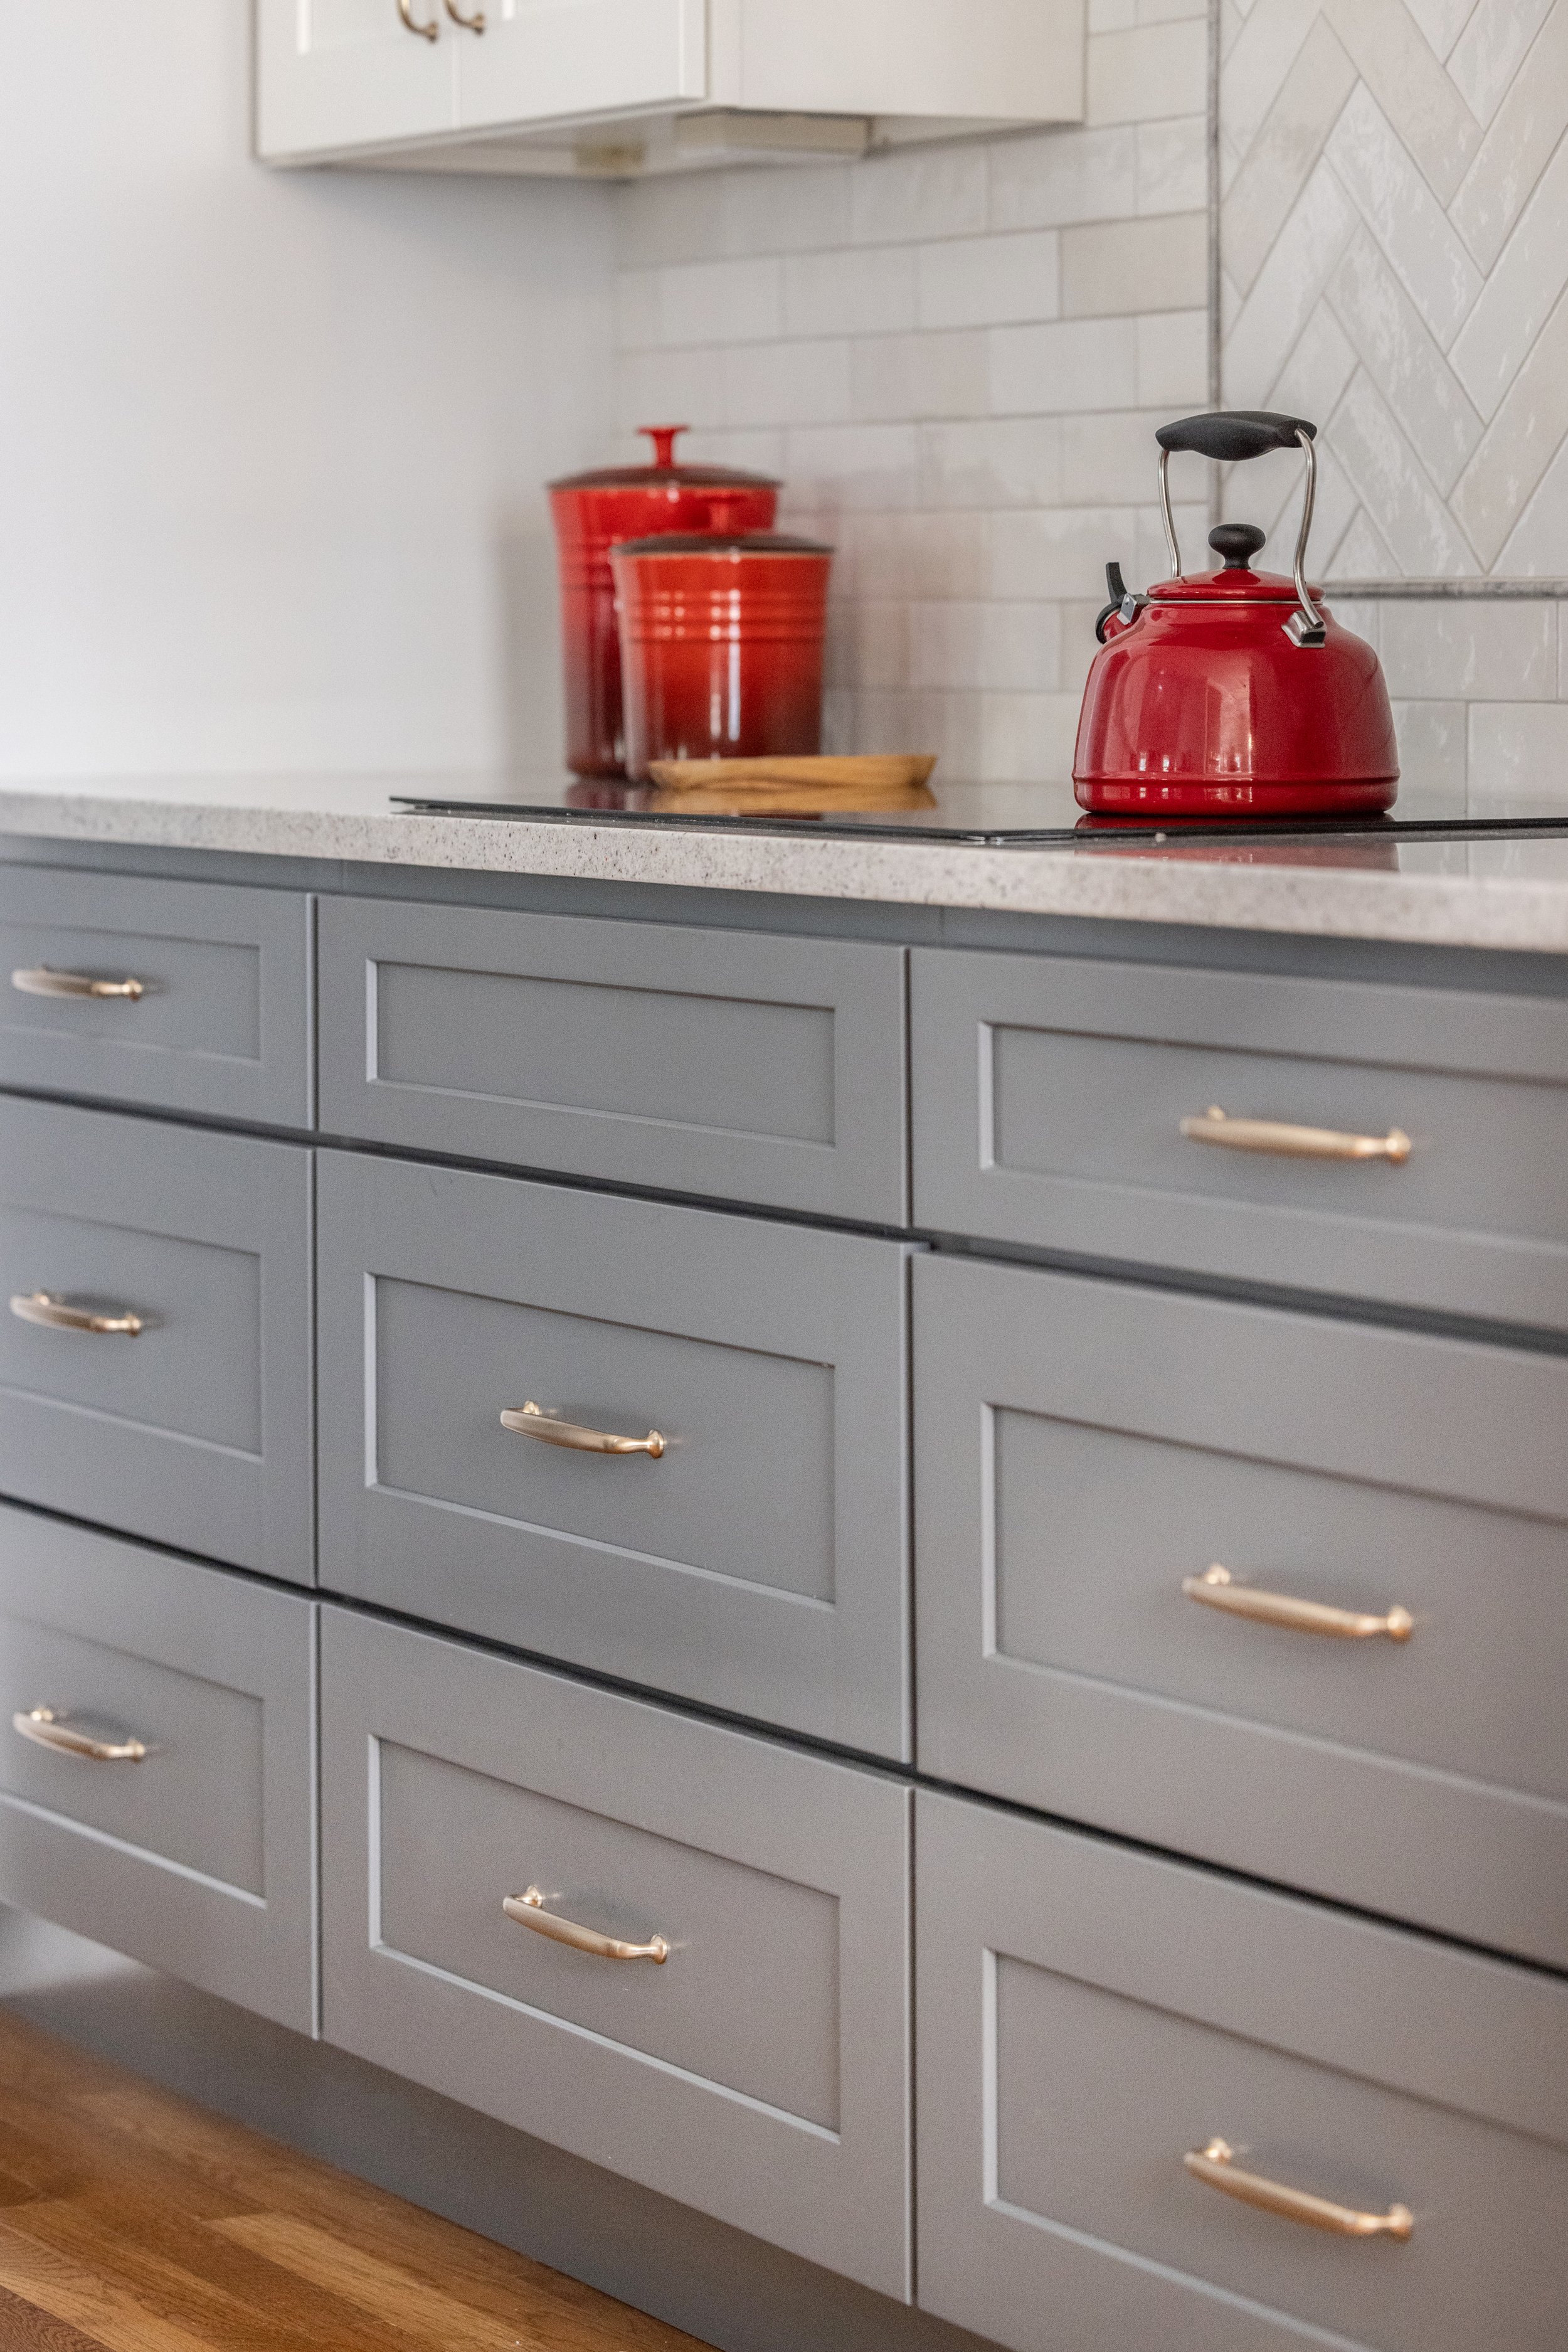
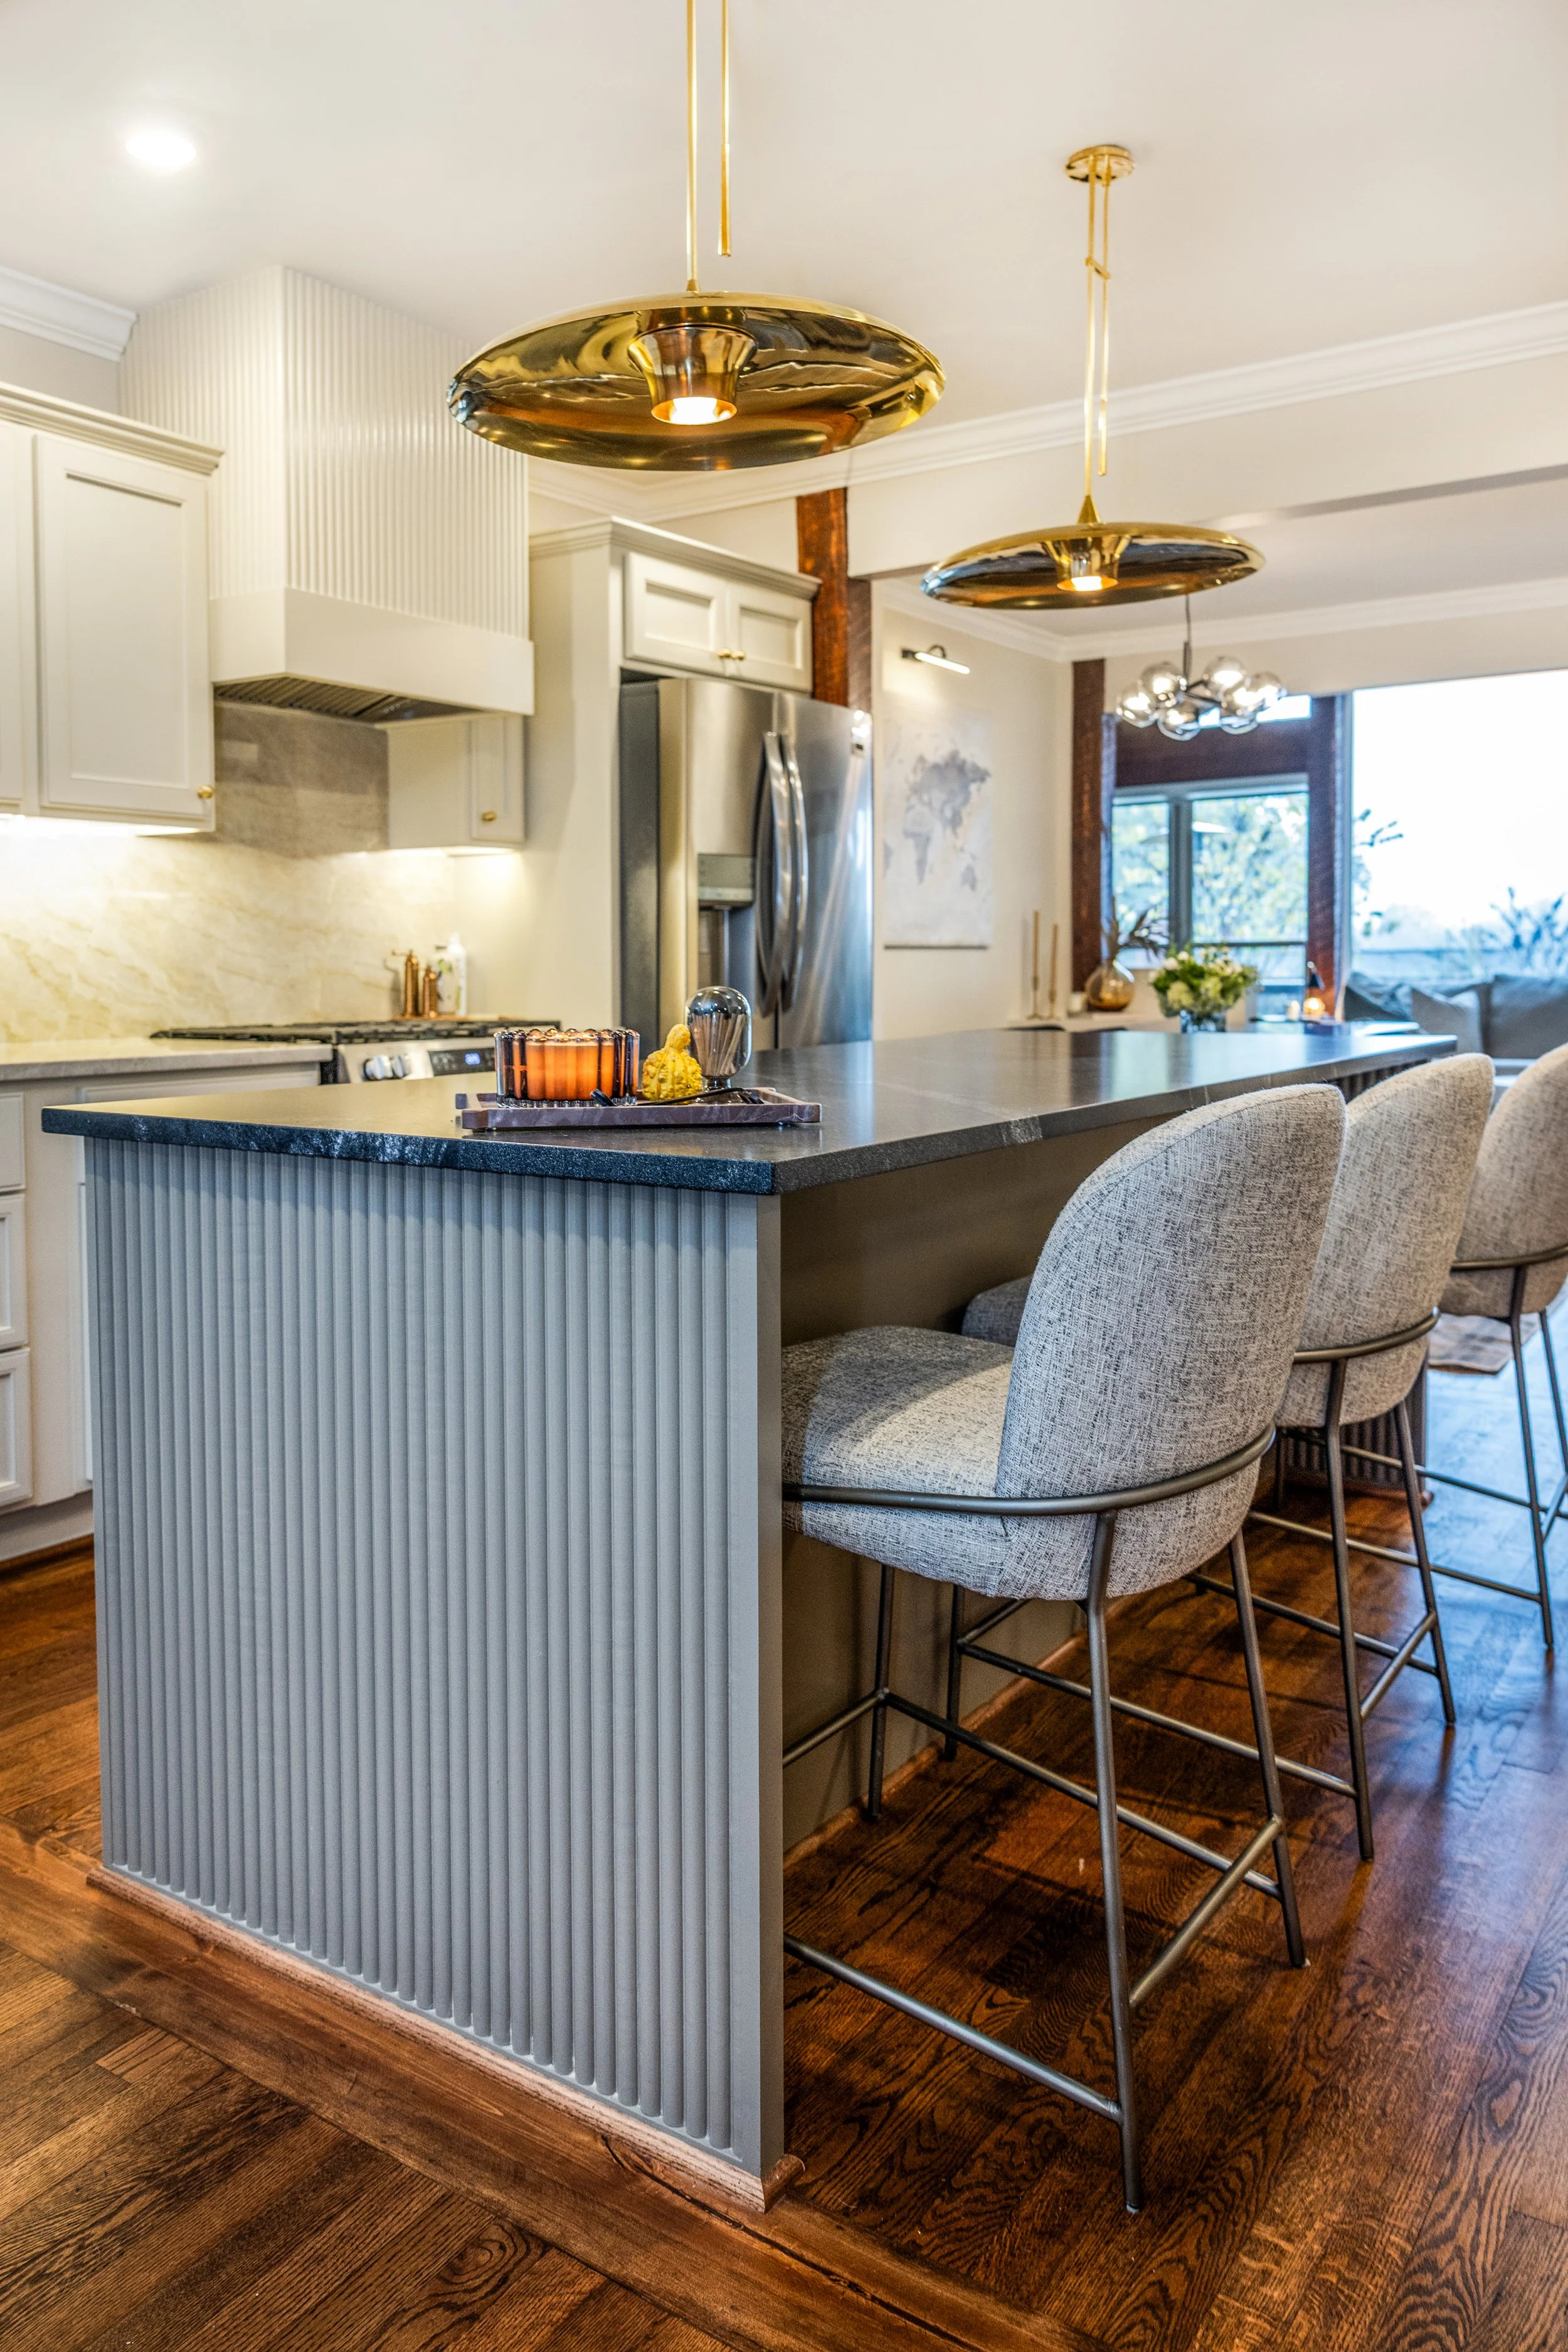
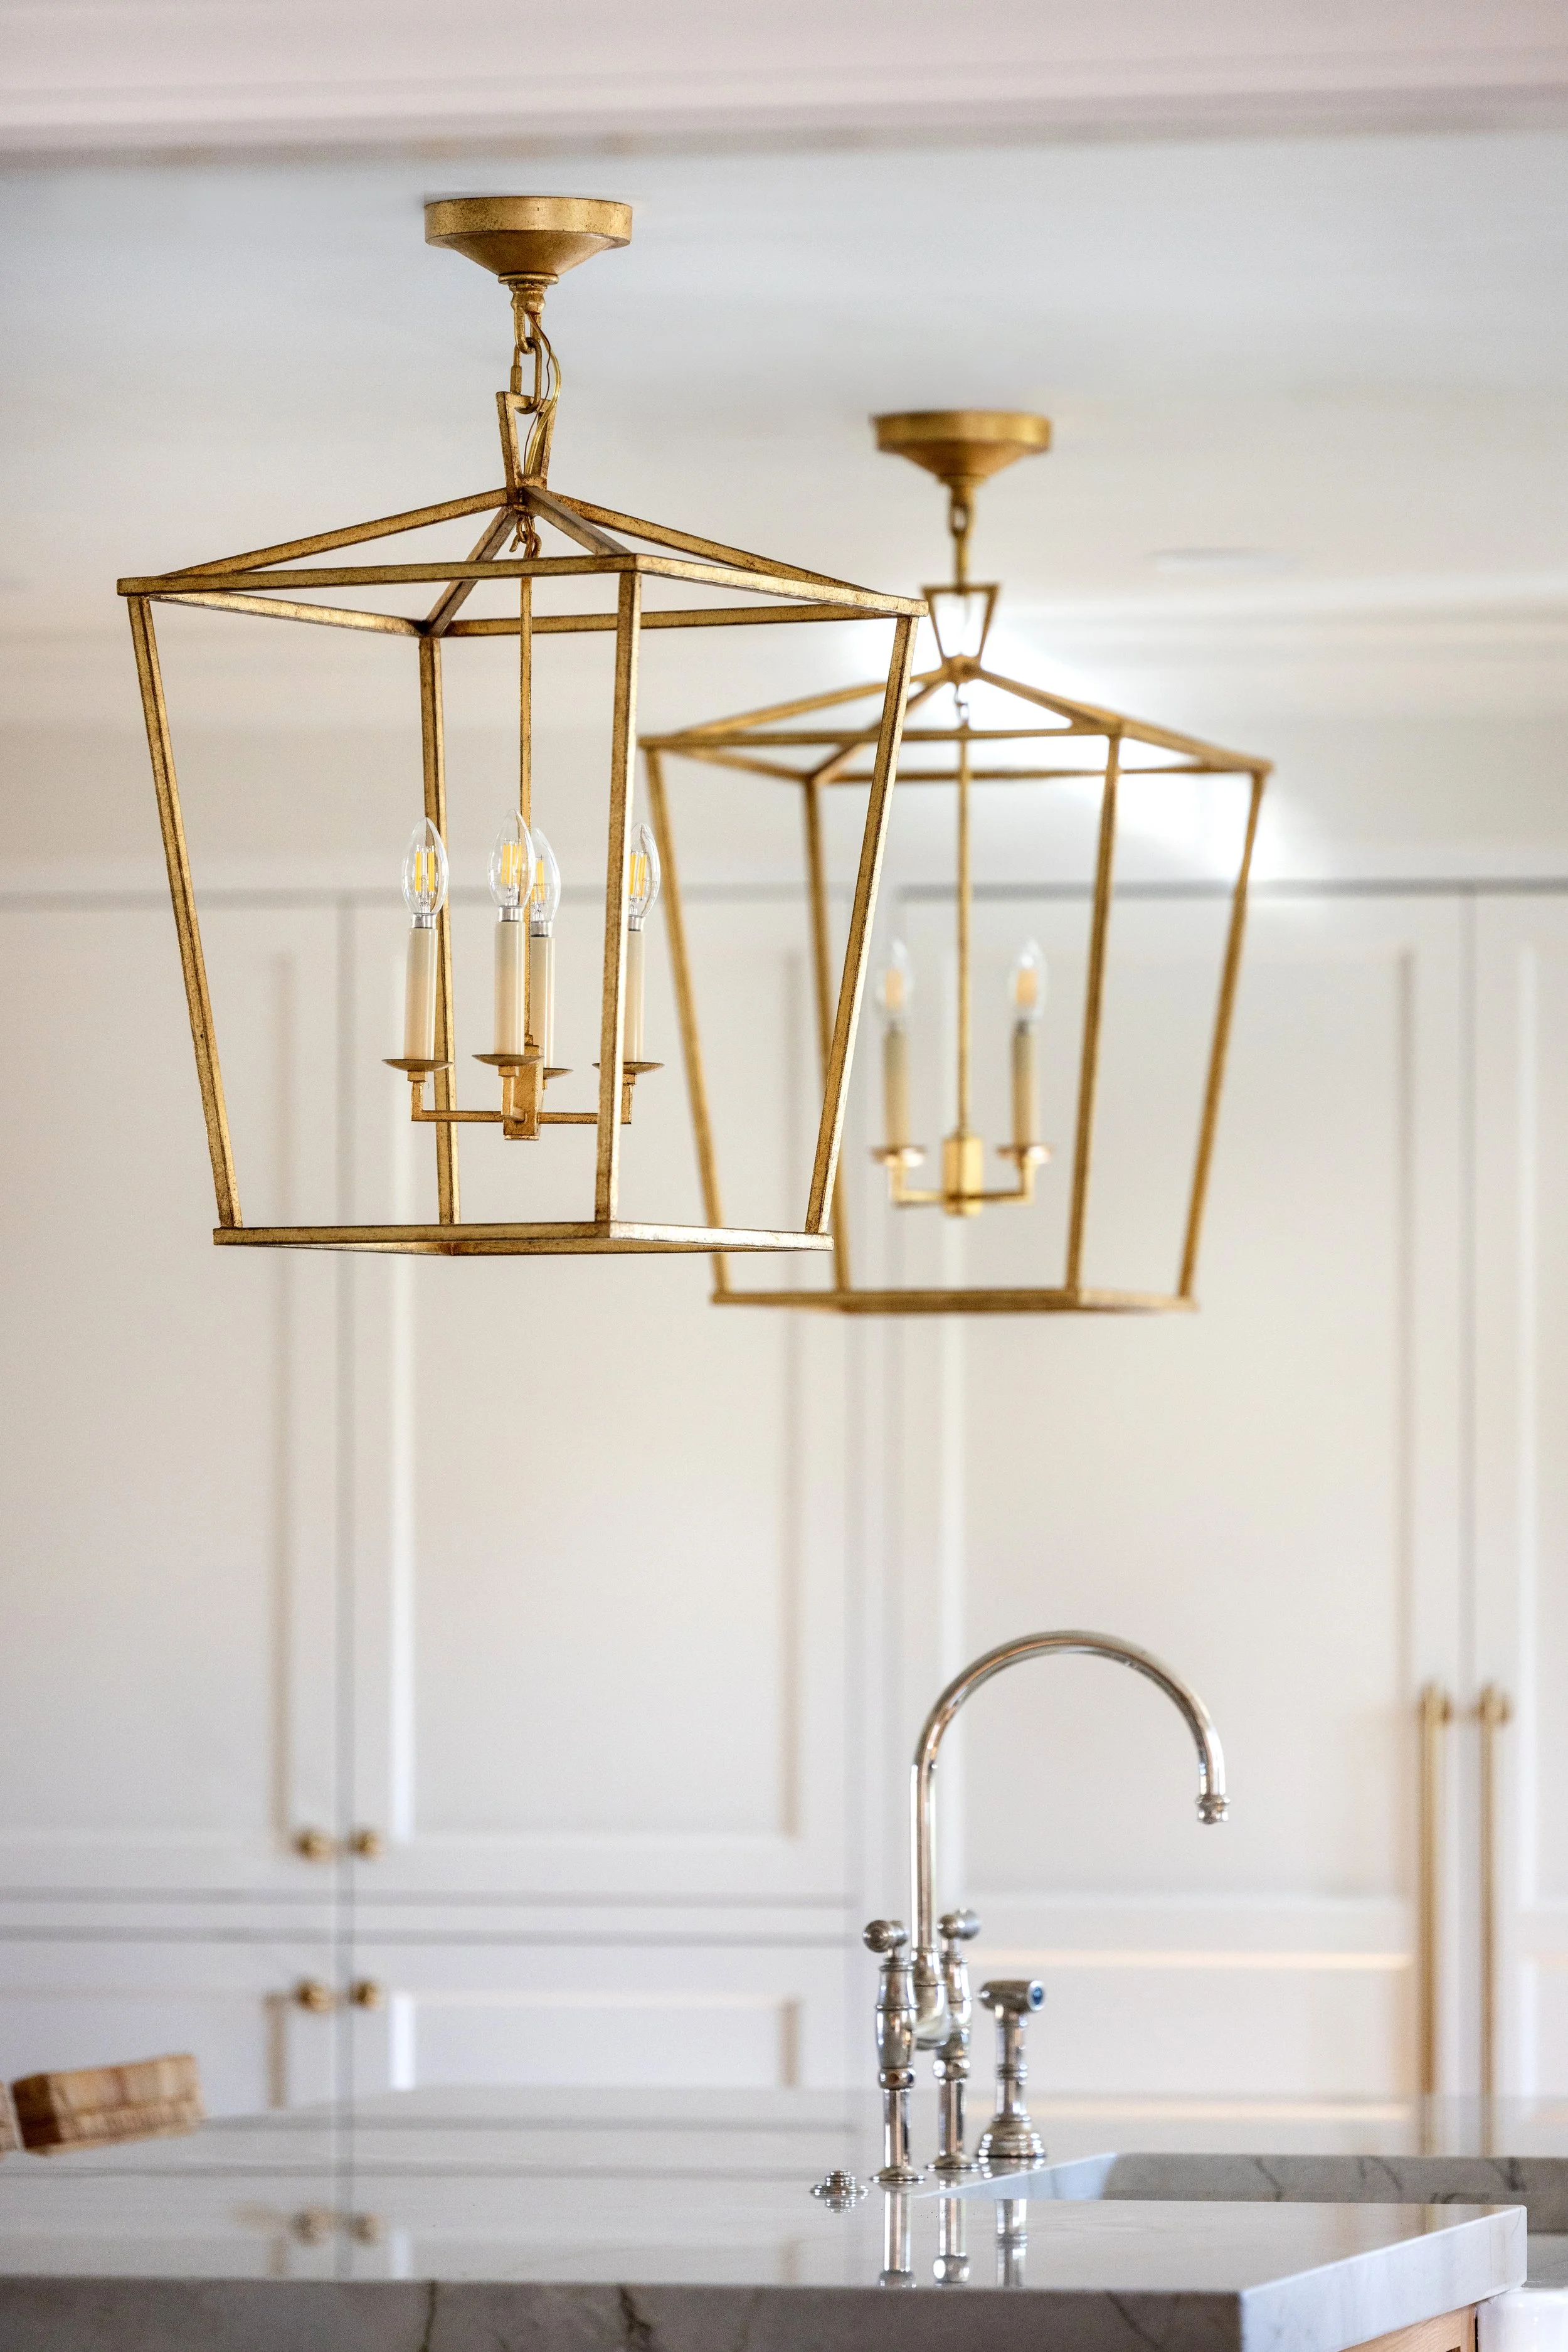
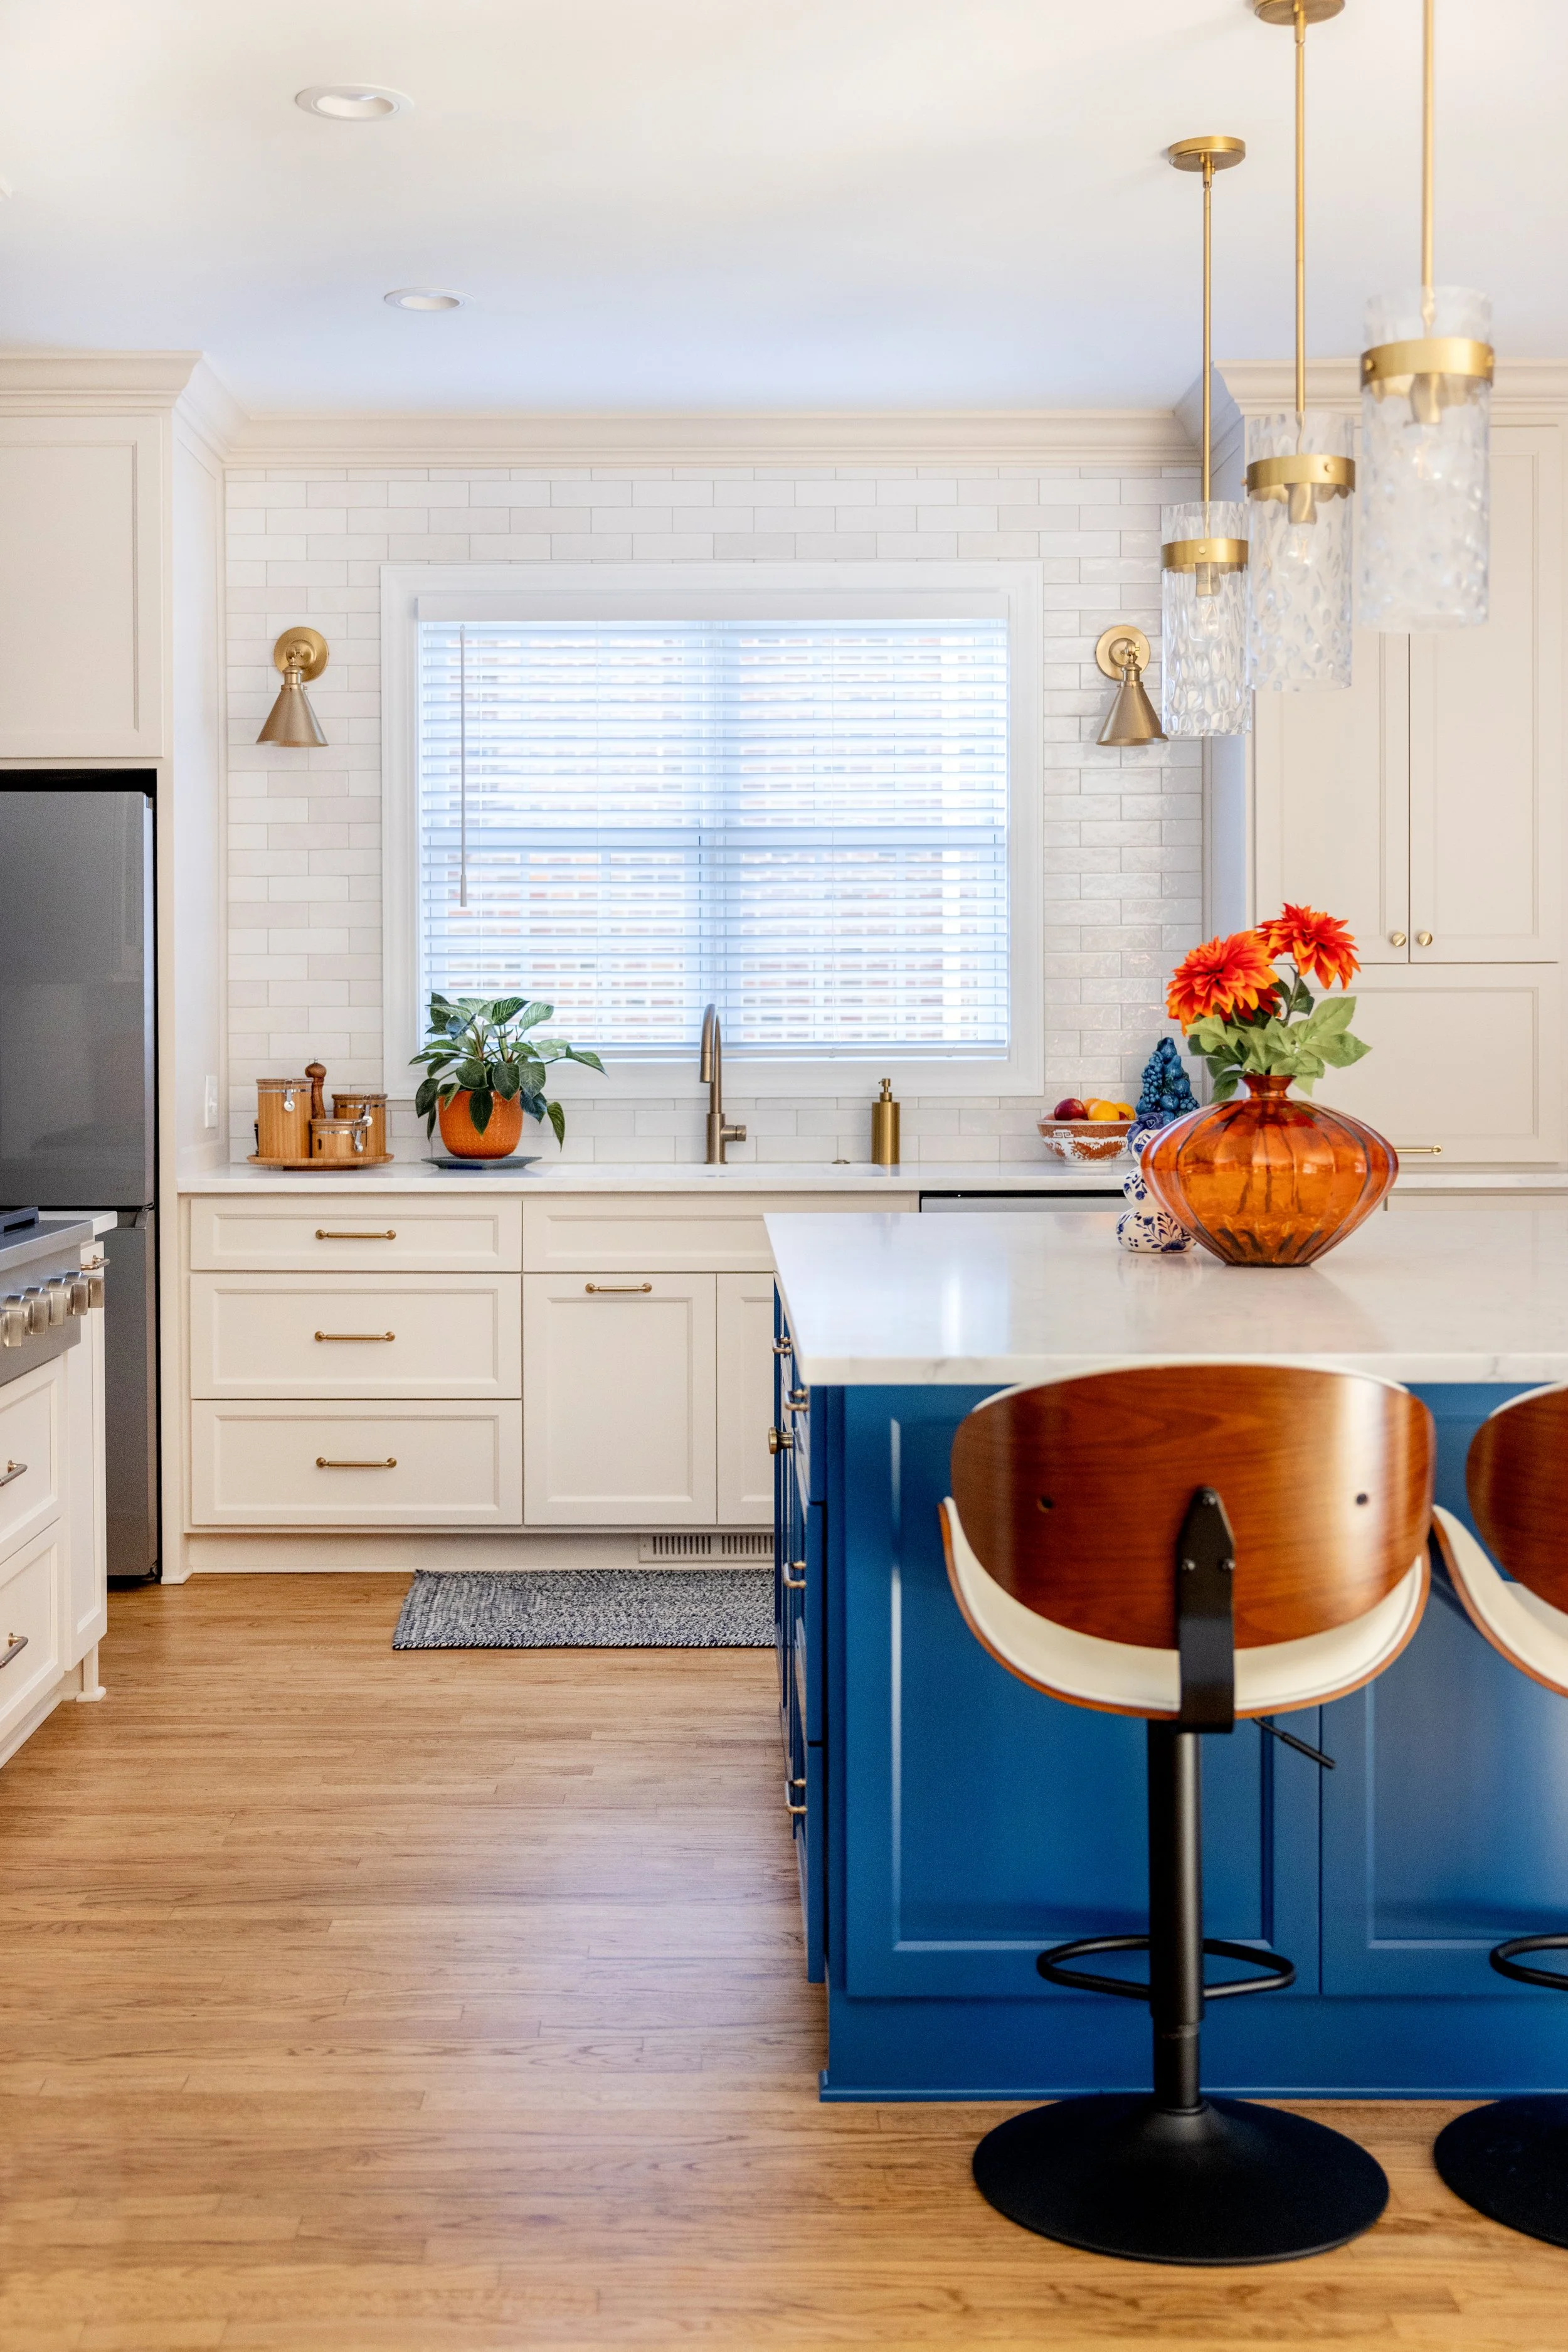


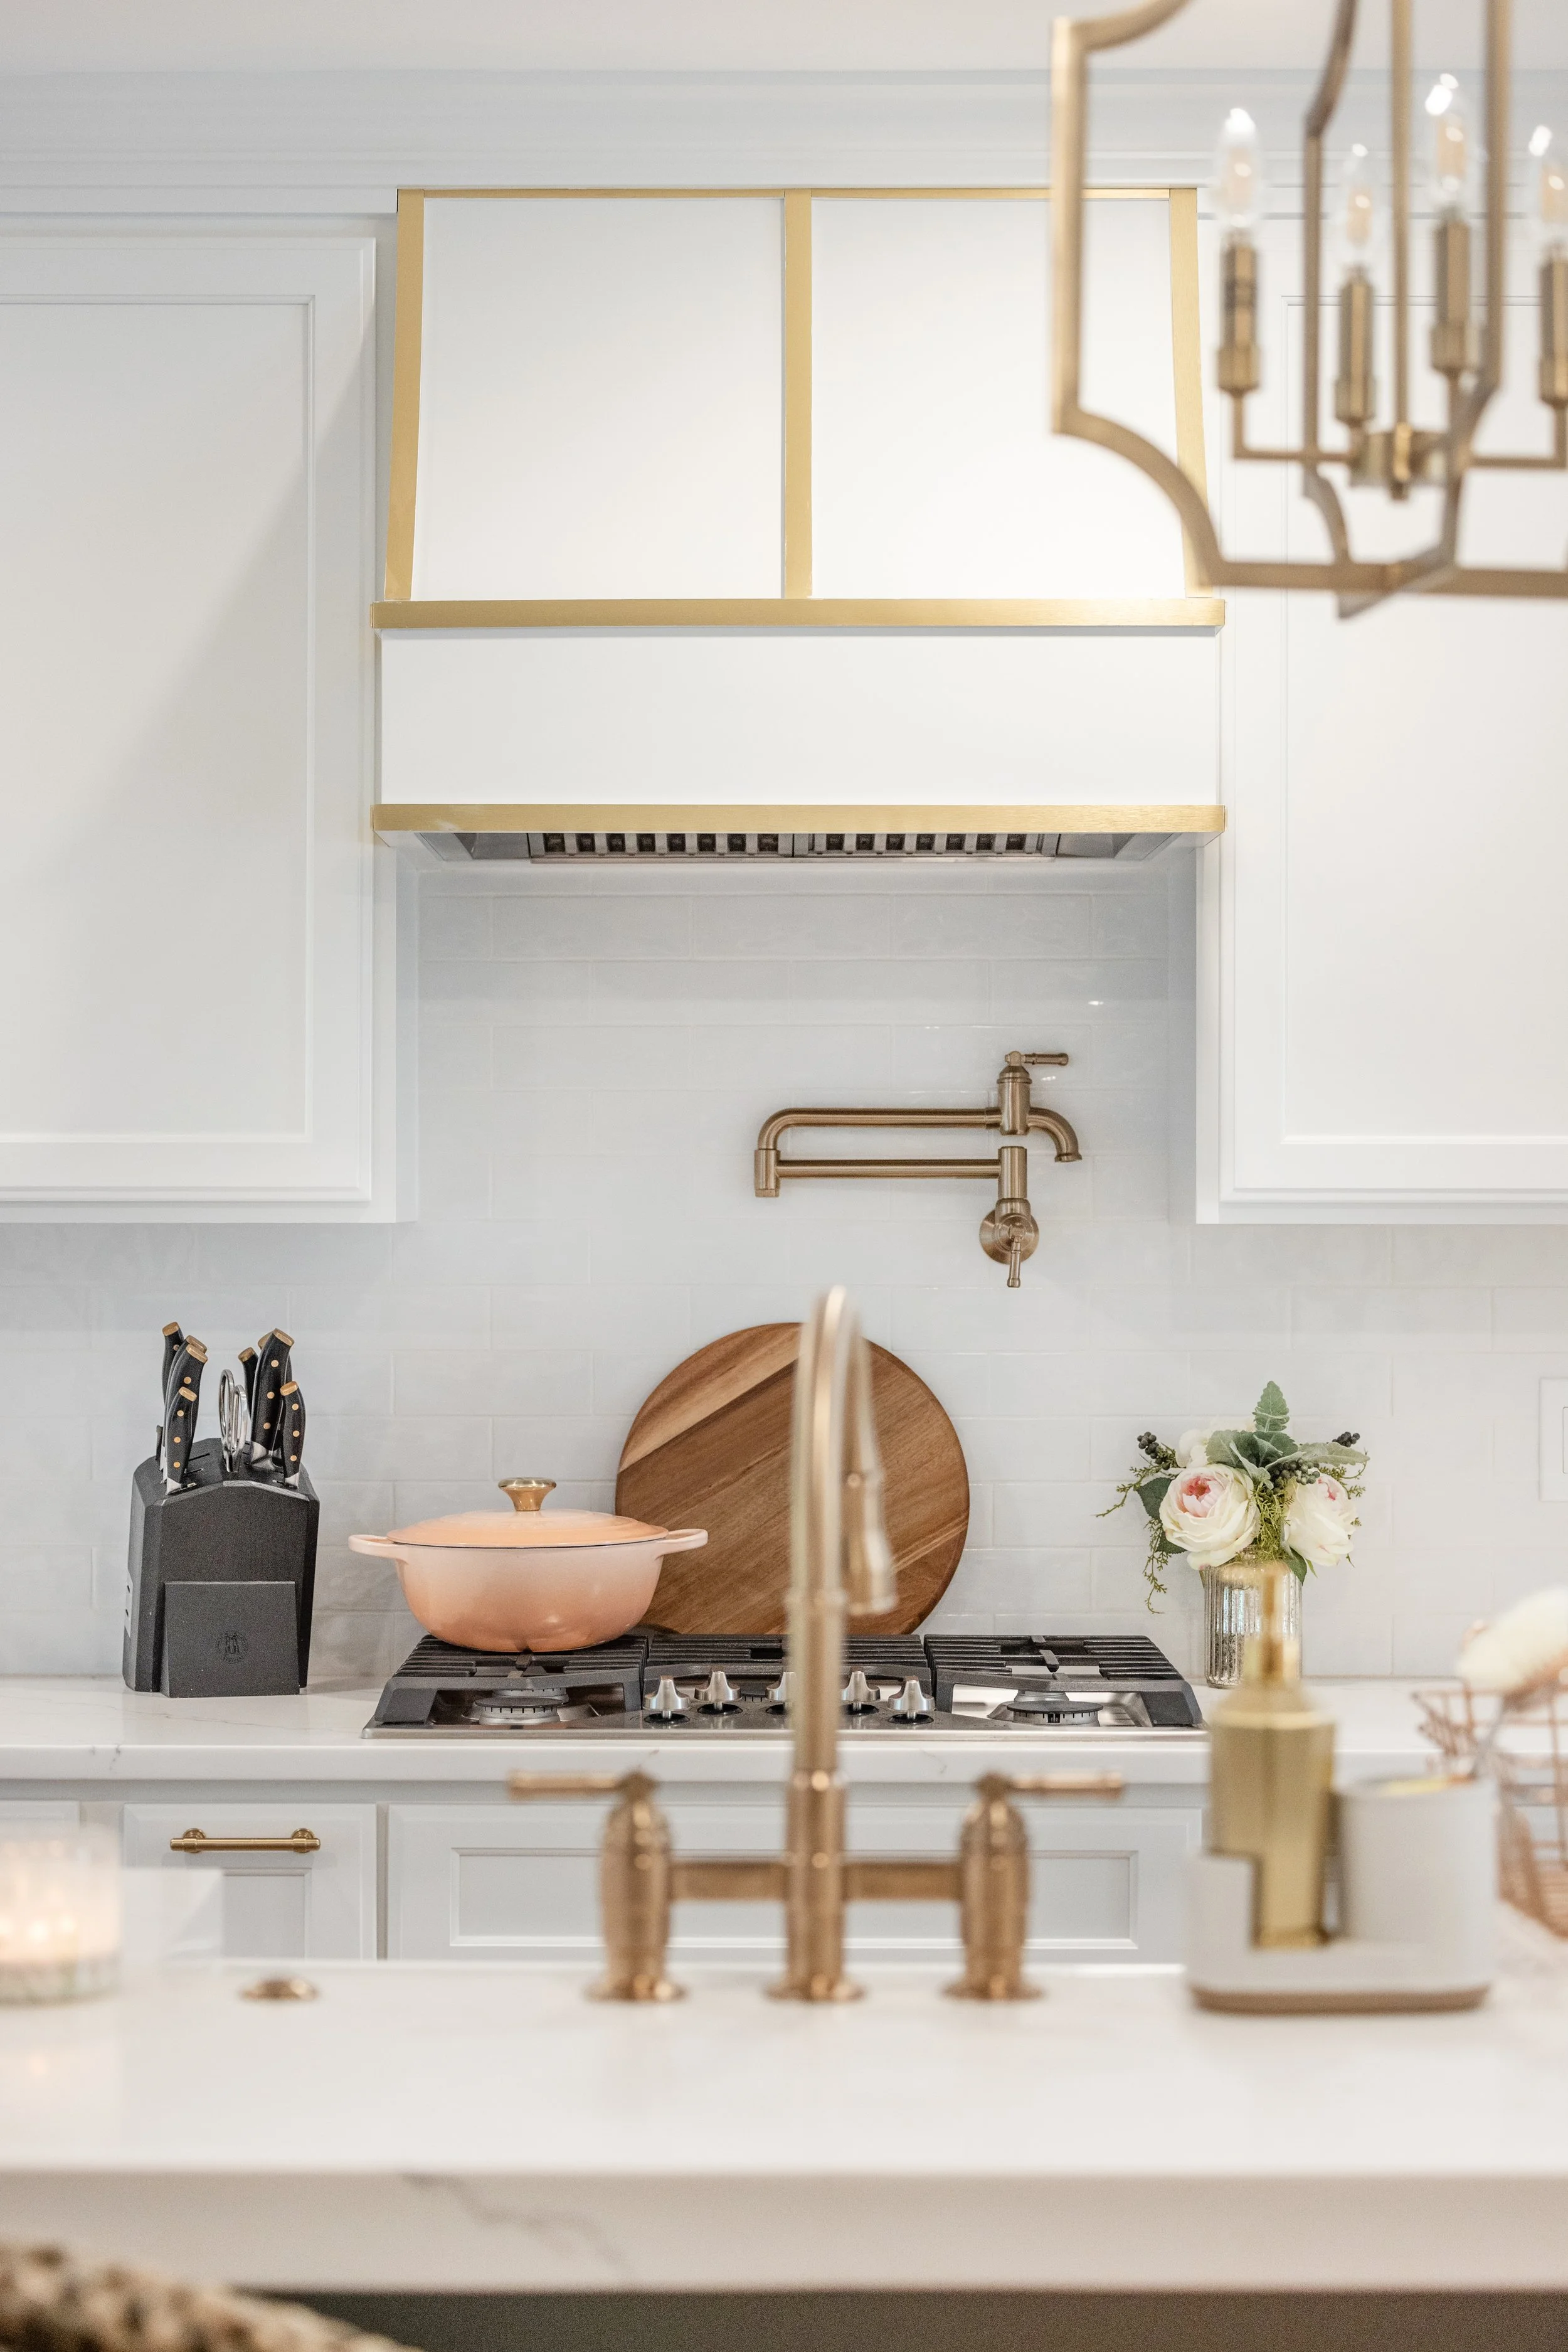


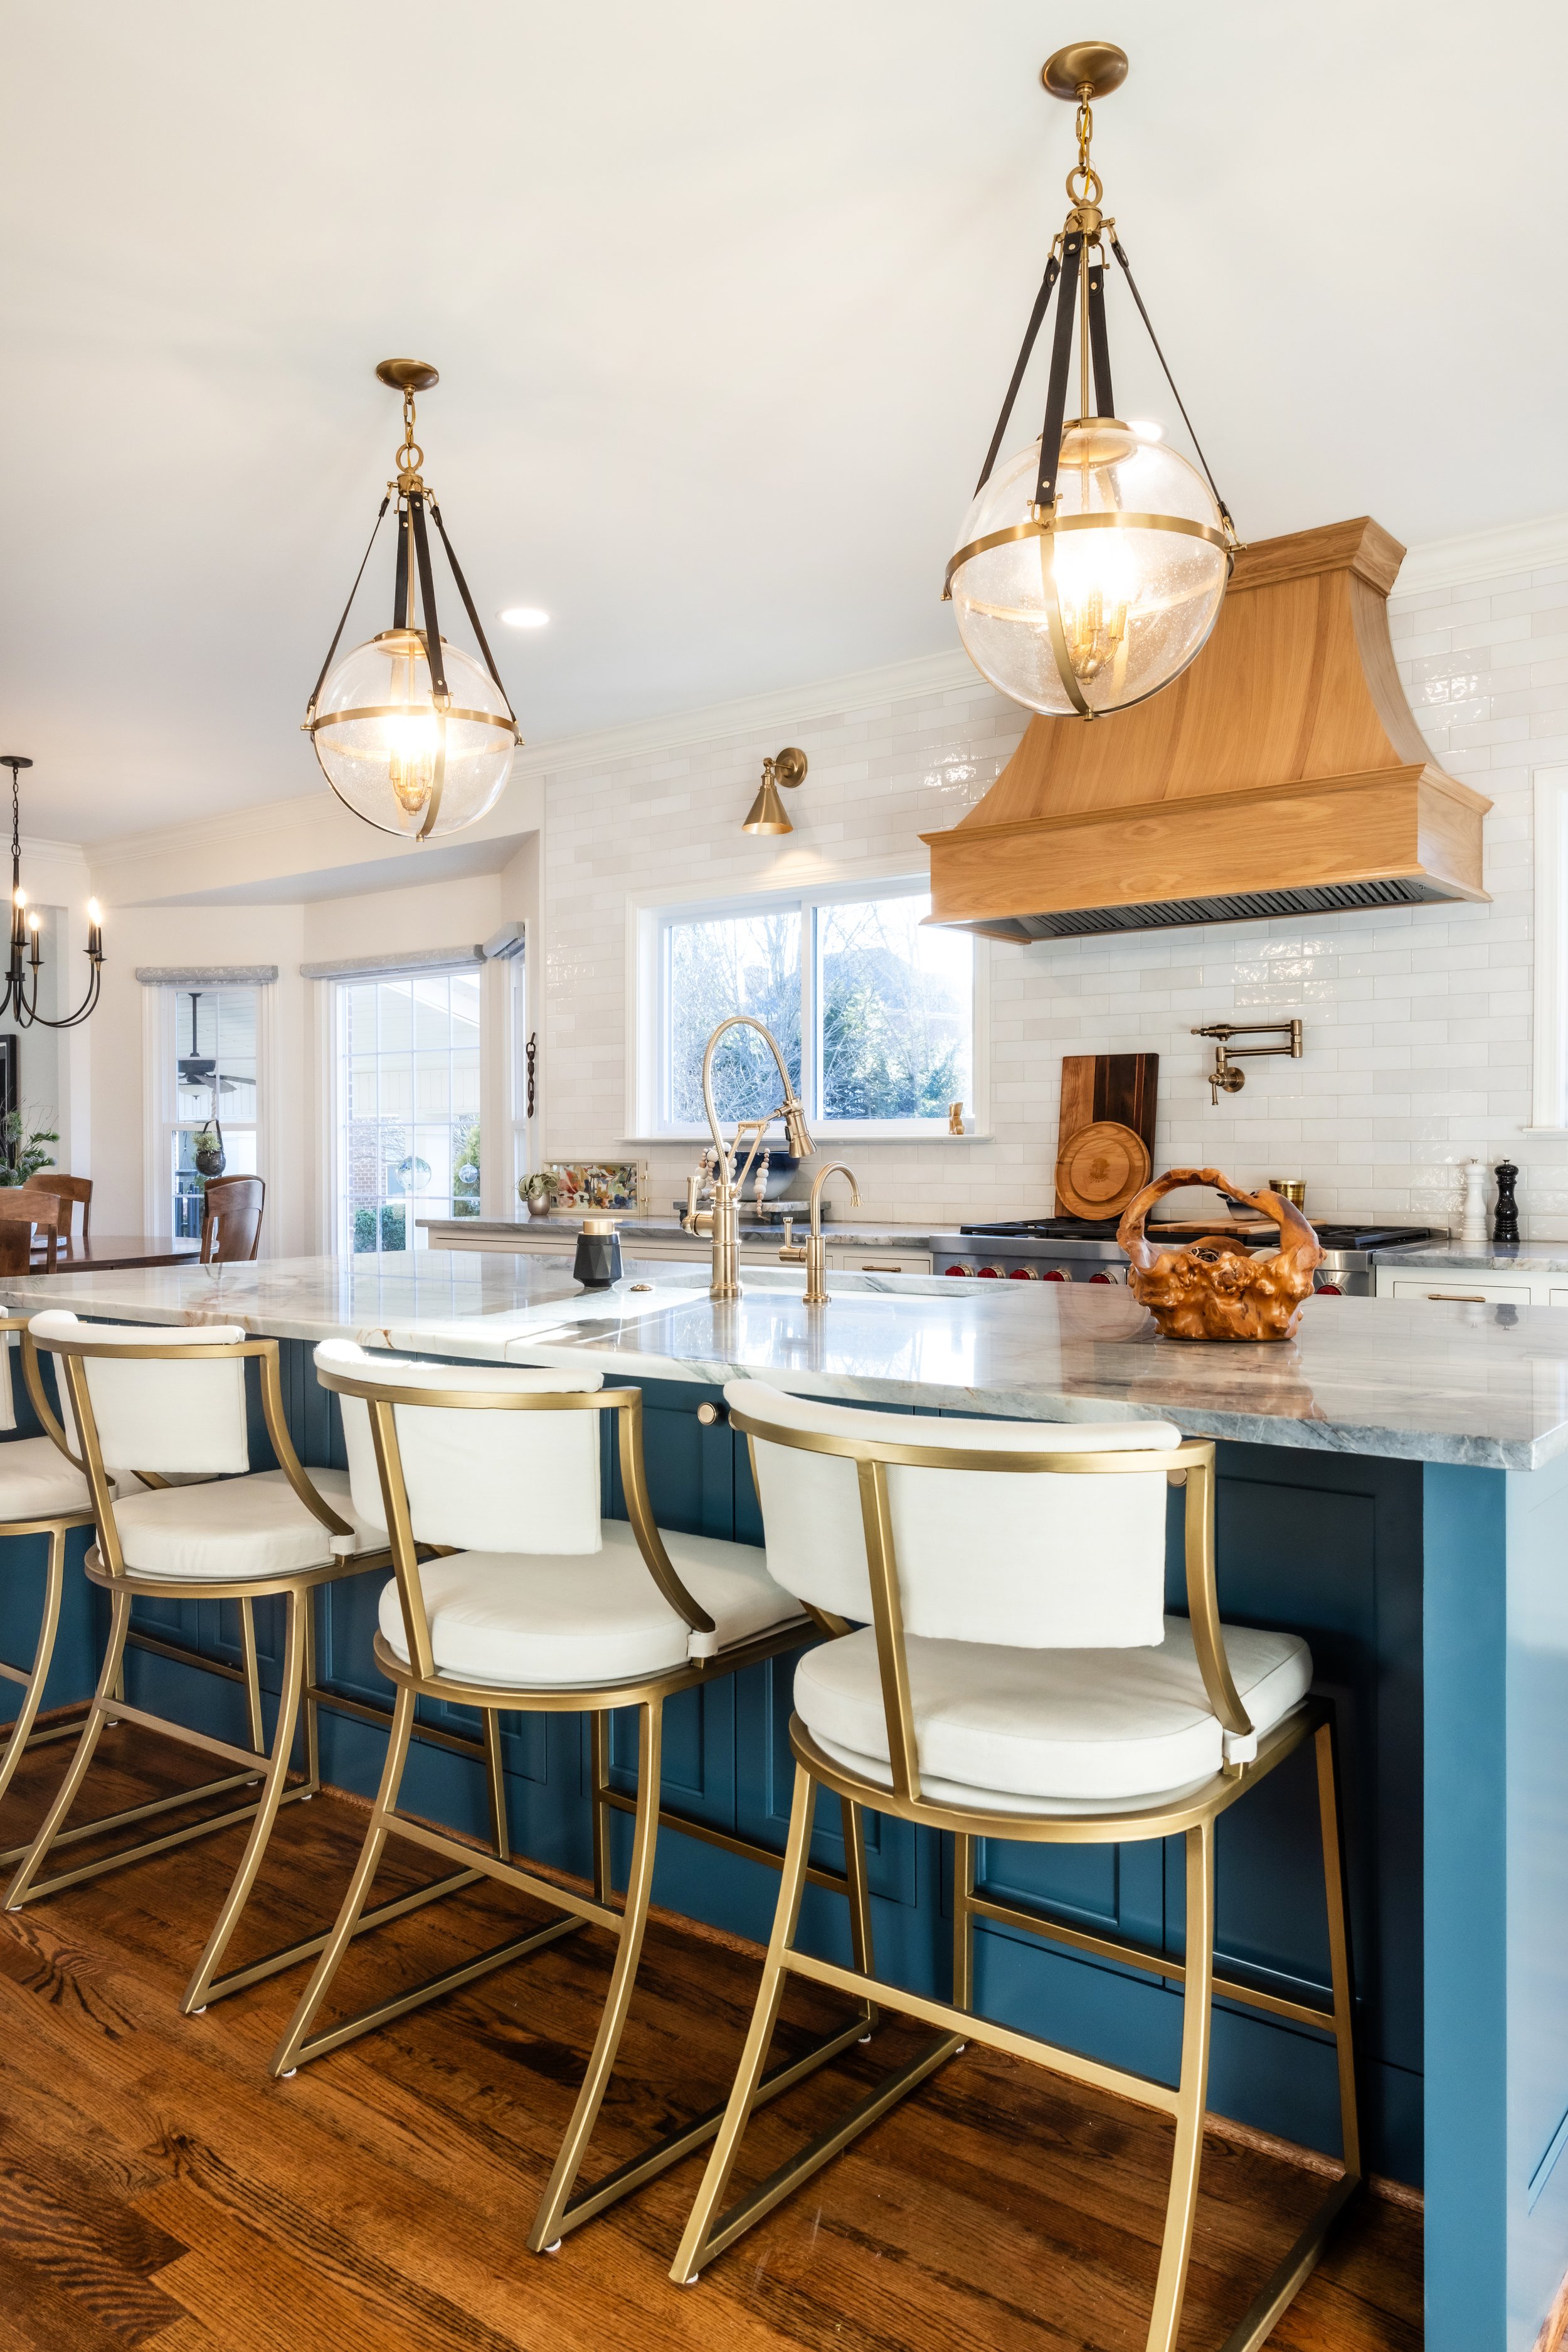

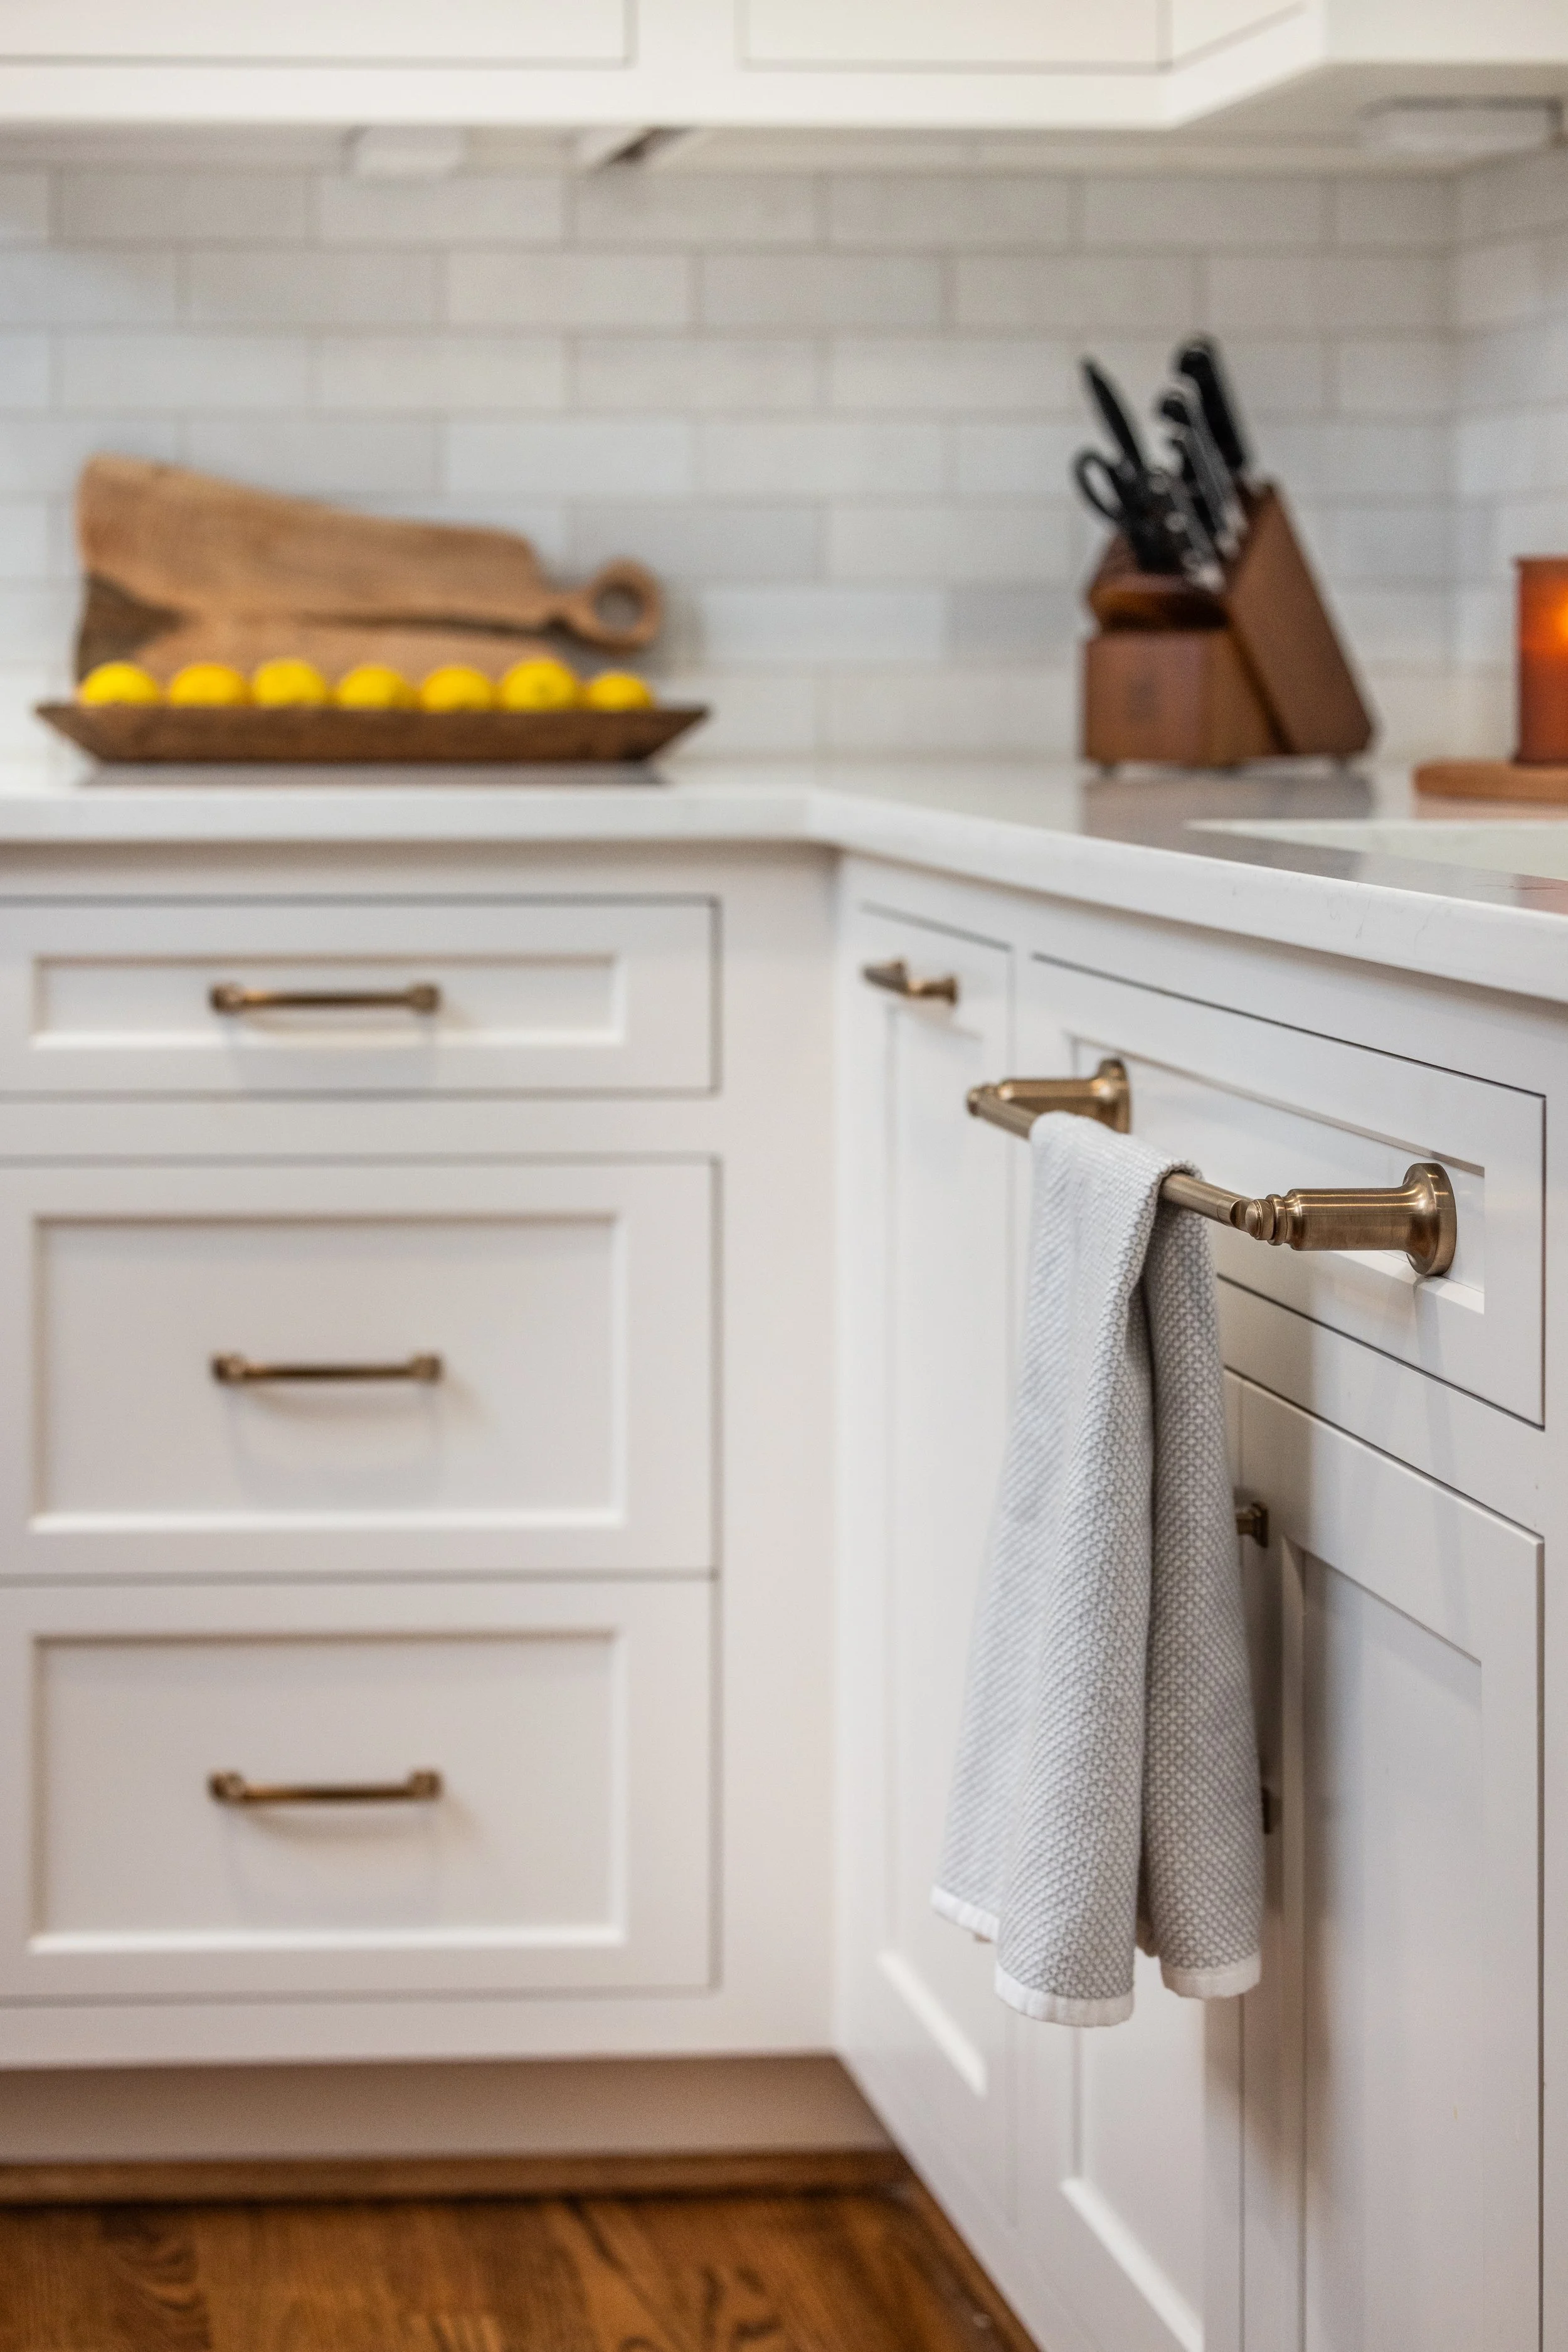




This beautiful custom kitchen on Lake Keowee, South Carolina features soft blue cabinetry, a custom island, and timeless lakefront design.