
How to Prevent Water Damage in Your Bathroom: Protect Your Cabinets, Tile, and Floors
Bathrooms are one of the hardest-working rooms in your home—and also the most vulnerable to water damage. Between daily showers, humidity, and plumbing fixtures, moisture is constantly present. Over time, this can lead to warped cabinetry, loose tiles, stained floors, mold growth, and costly repairs.
The good news? With the right habits and materials, you can prevent water damage before it starts. We’ve compiled a few tips to protect your bathroom cabinets, tile, and flooring to keep your space looking beautiful and help it last for years.
Protect Your Bathroom Cabinets from Moisture
Bathroom cabinetry sits right in the splash zone, making it especially susceptible to damage. Here’s how to extend its lifespan:
Choose the Right Materials
Solid wood cabinets look beautiful, but choosing the right material is critical. For bathrooms, consider:
Maple is extremely durable- making it hard to dent- and provides a smooth surface for both paints and stains.
Oak is also a durable choice, and will resist warping and moisture better than other types of wood
Regardless of your material choice, using a high-quality paint or finish is pertinent to the longevity of your bathroom cabinetry.
Seal All Edges and Seams
Make sure the cabinet edges near sinks and tub areas are properly caulked or sealed. Water that seeps into joints can cause swelling and peeling.
Improve Ventilation
Moisture that lingers in the air is just as damaging as direct splashes. Use:
A high-quality exhaust fan
Open vanity doors occasionally to release trapped humidity
Microfiber cloths to quickly wipe spills or drips
Remember, small daily habits make a big difference!
Keep Tile in Top Shape to Block Leaks
Tile is water-resistant—but it’s not waterproof without proper maintenance.
Inspect and Care for Grout
Grout is the first line of defense. Over time, it can crack, discolor, or wear down. Be sure to:
Scrub grout regularly to prevent mold growth
Re-seal grout every few years
Repair cracks immediately to stop water from seeping behind tiles
Check Caulk Around Showers and Tubs
Caulk seals the gap between your tile and fixtures. If it’s peeling or cracking, water can freely leak into walls or floors. Replace damaged caulk promptly.
Fix Loose Tiles Right Away
A loose tile often means water has already made its way underneath. Don’t wait—have a professional inspect the area to prevent further damage.
Prevent Floor Damage Before It Spreads
Floors can quietly absorb water over time, leading to hidden rot or structural issues.
Pick Moisture-Resistant Flooring
Best bathroom flooring options include:
Porcelain or ceramic tile
Luxury vinyl plank (LVP)
Natural stone (when properly sealed)
Avoid hardwood or laminate unless rated specifically for bathrooms.
Use Bath Mats Strategically
Place mats near tubs, showers, and sinks to catch drips. But don’t let wet mats sit—hang them up to dry!
Watch for Warning Signs
Soft spots, discoloration, or lifted edges are signs that water has already penetrated the flooring. Address issues early to avoid major repairs.
Remodel Gallery


Before & After
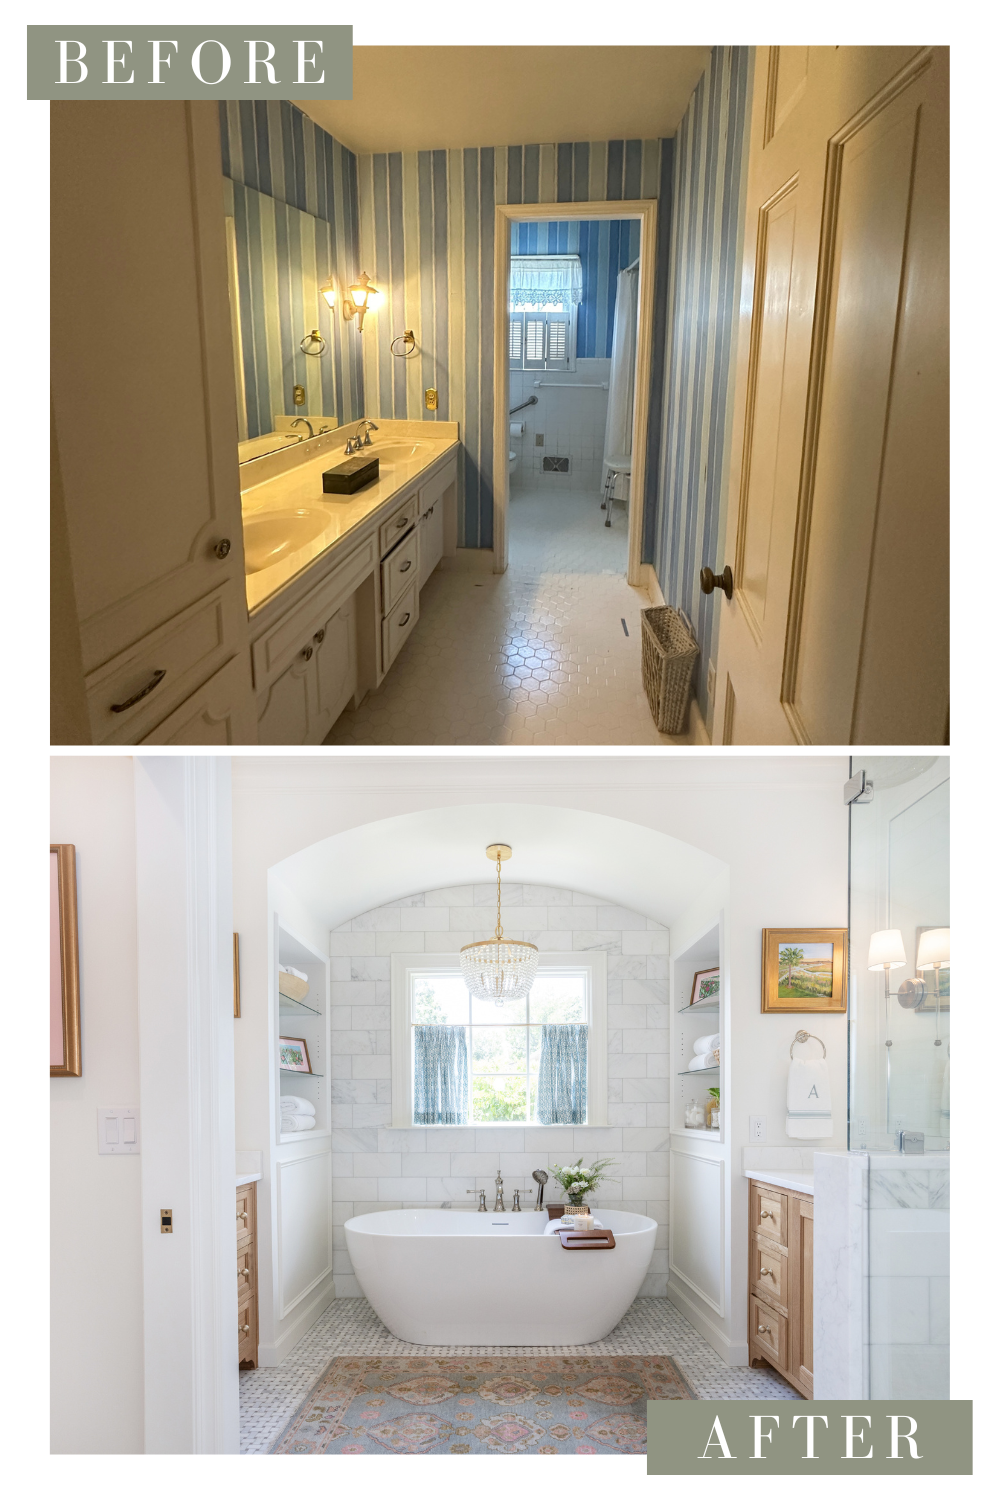
With the right materials, sealing, ventilation, and care routines, you can protect your cabinetry, tile, and floors from costly water damage. If your bathroom is showing signs of wear—or you’re ready for a moisture-resistant remodel—we’d love to help design a space that’s beautiful, durable, and built to last. Ready to protect (or upgrade) your bathroom? Let’s talk!
Selections
Tile purchased through Clayton Tile.
Countertops sourced from Upstate Granite Solutions.
Interior photography by Kim DeLoach.
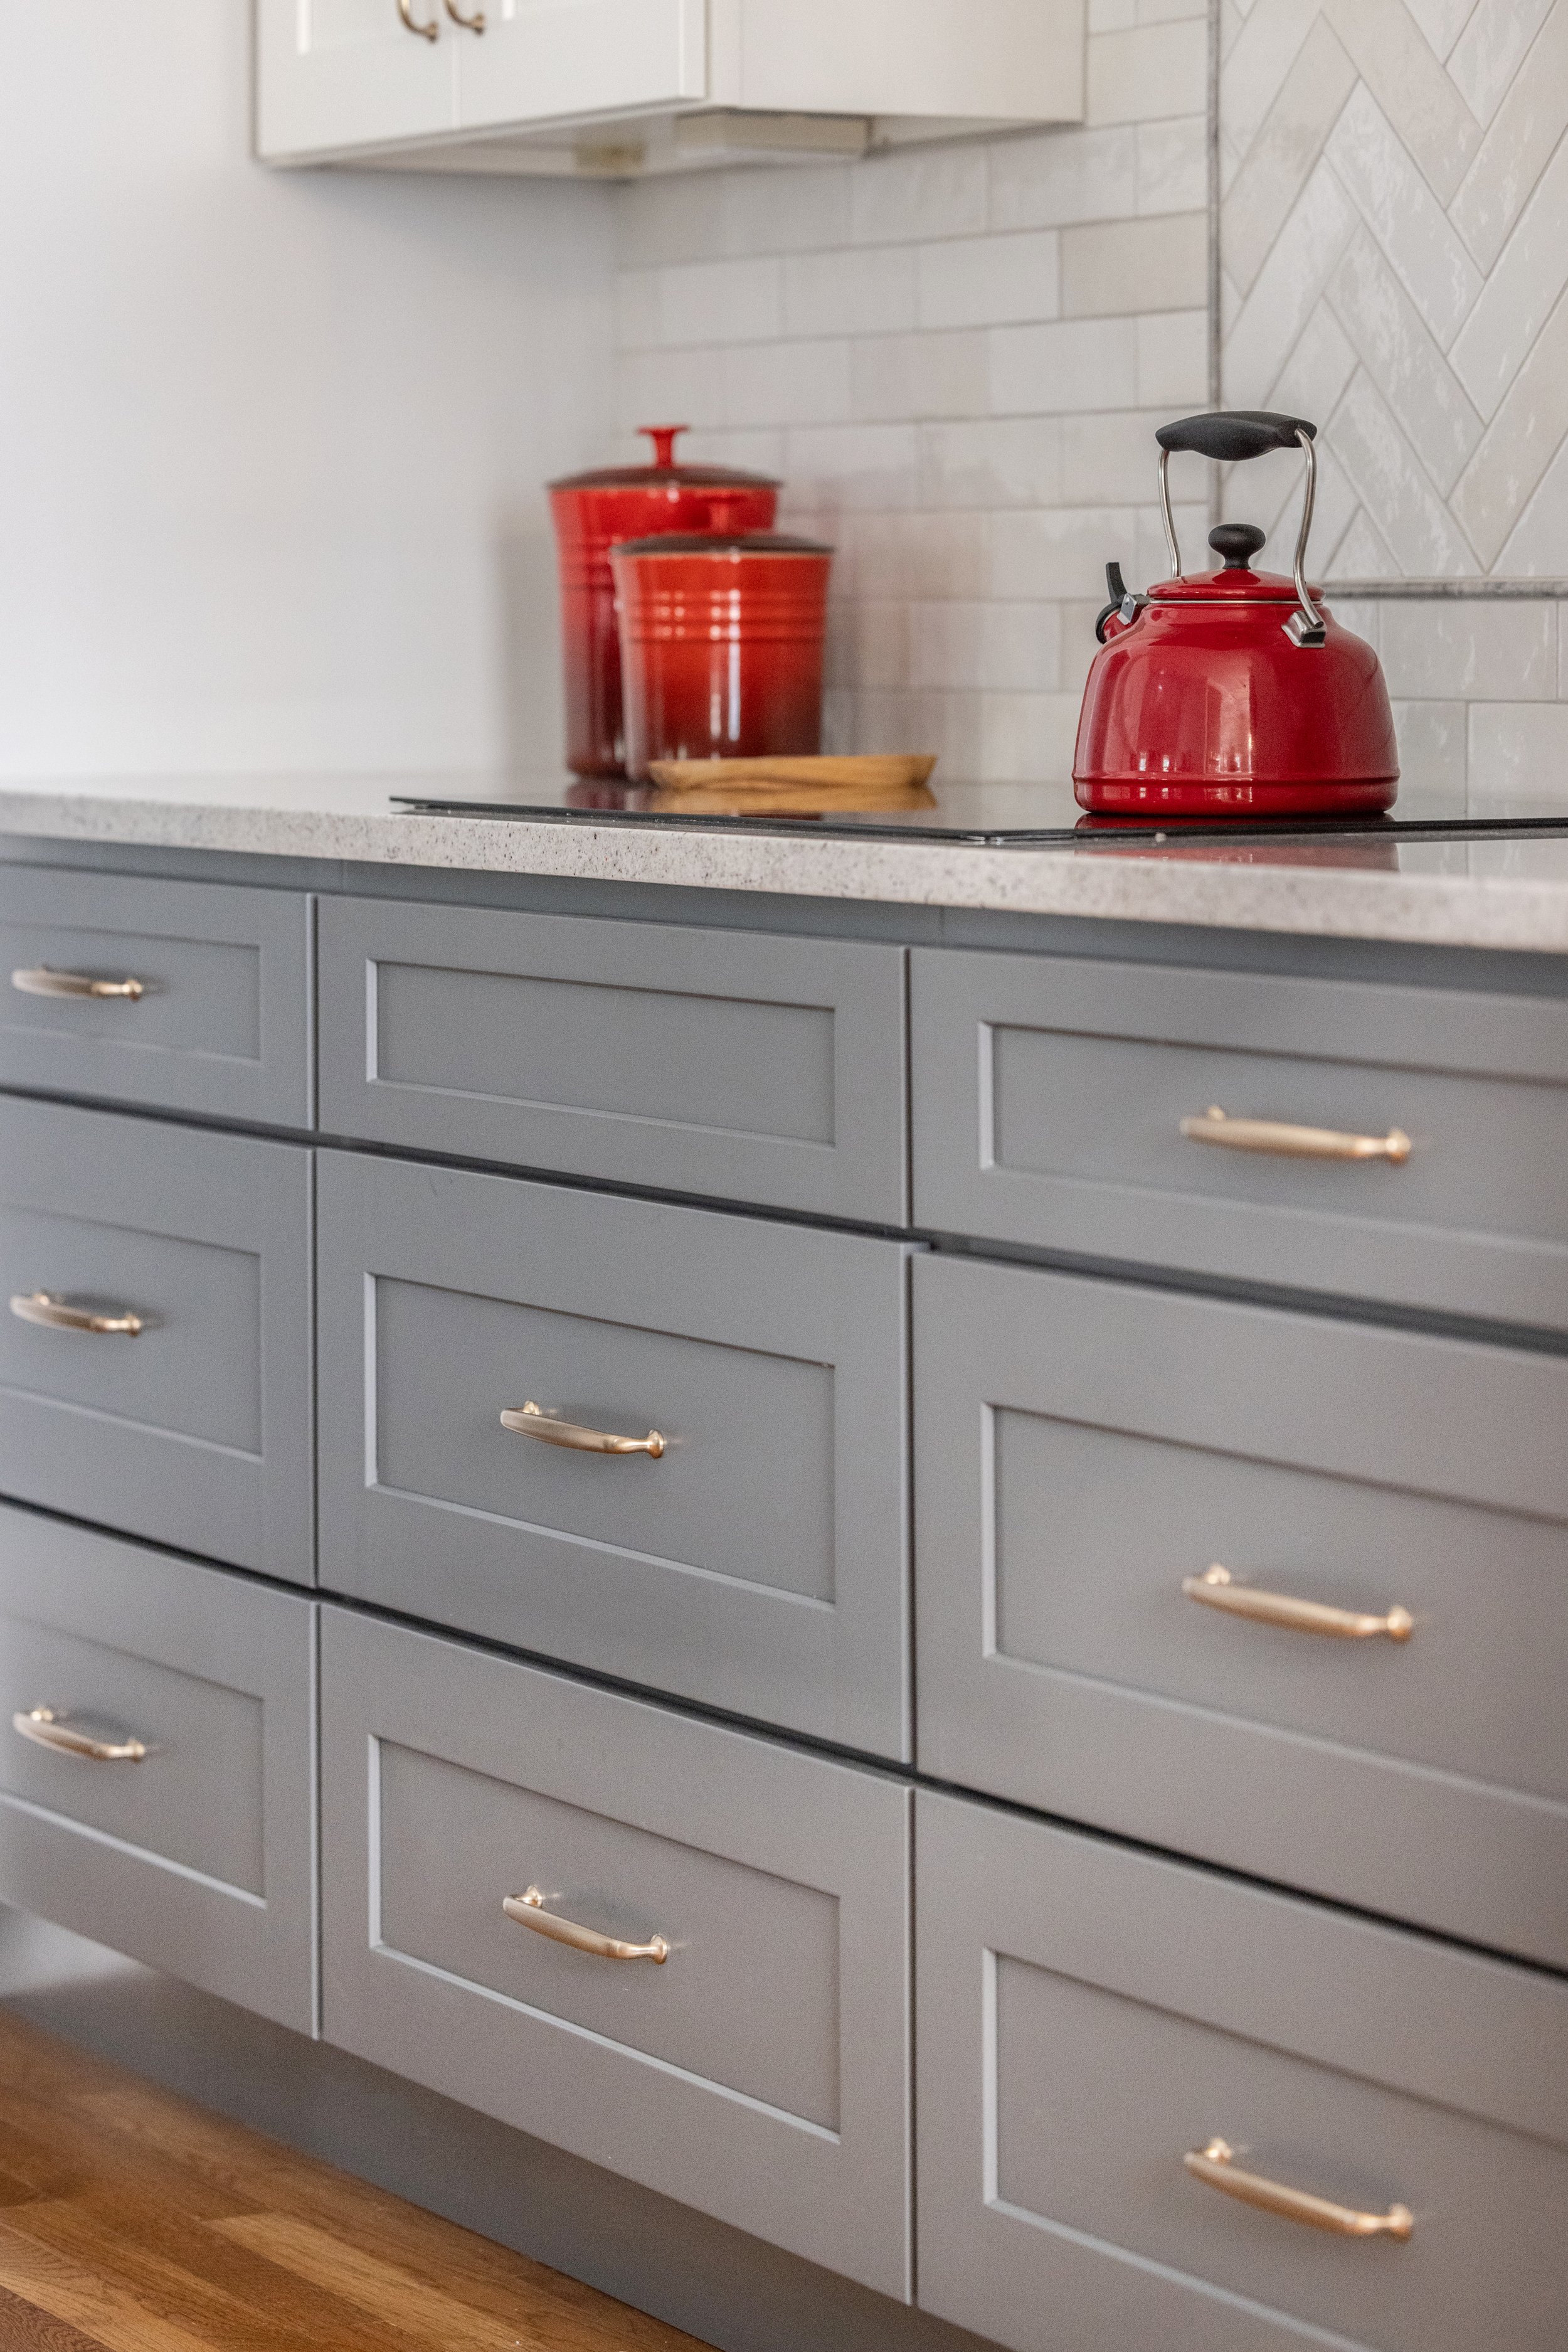
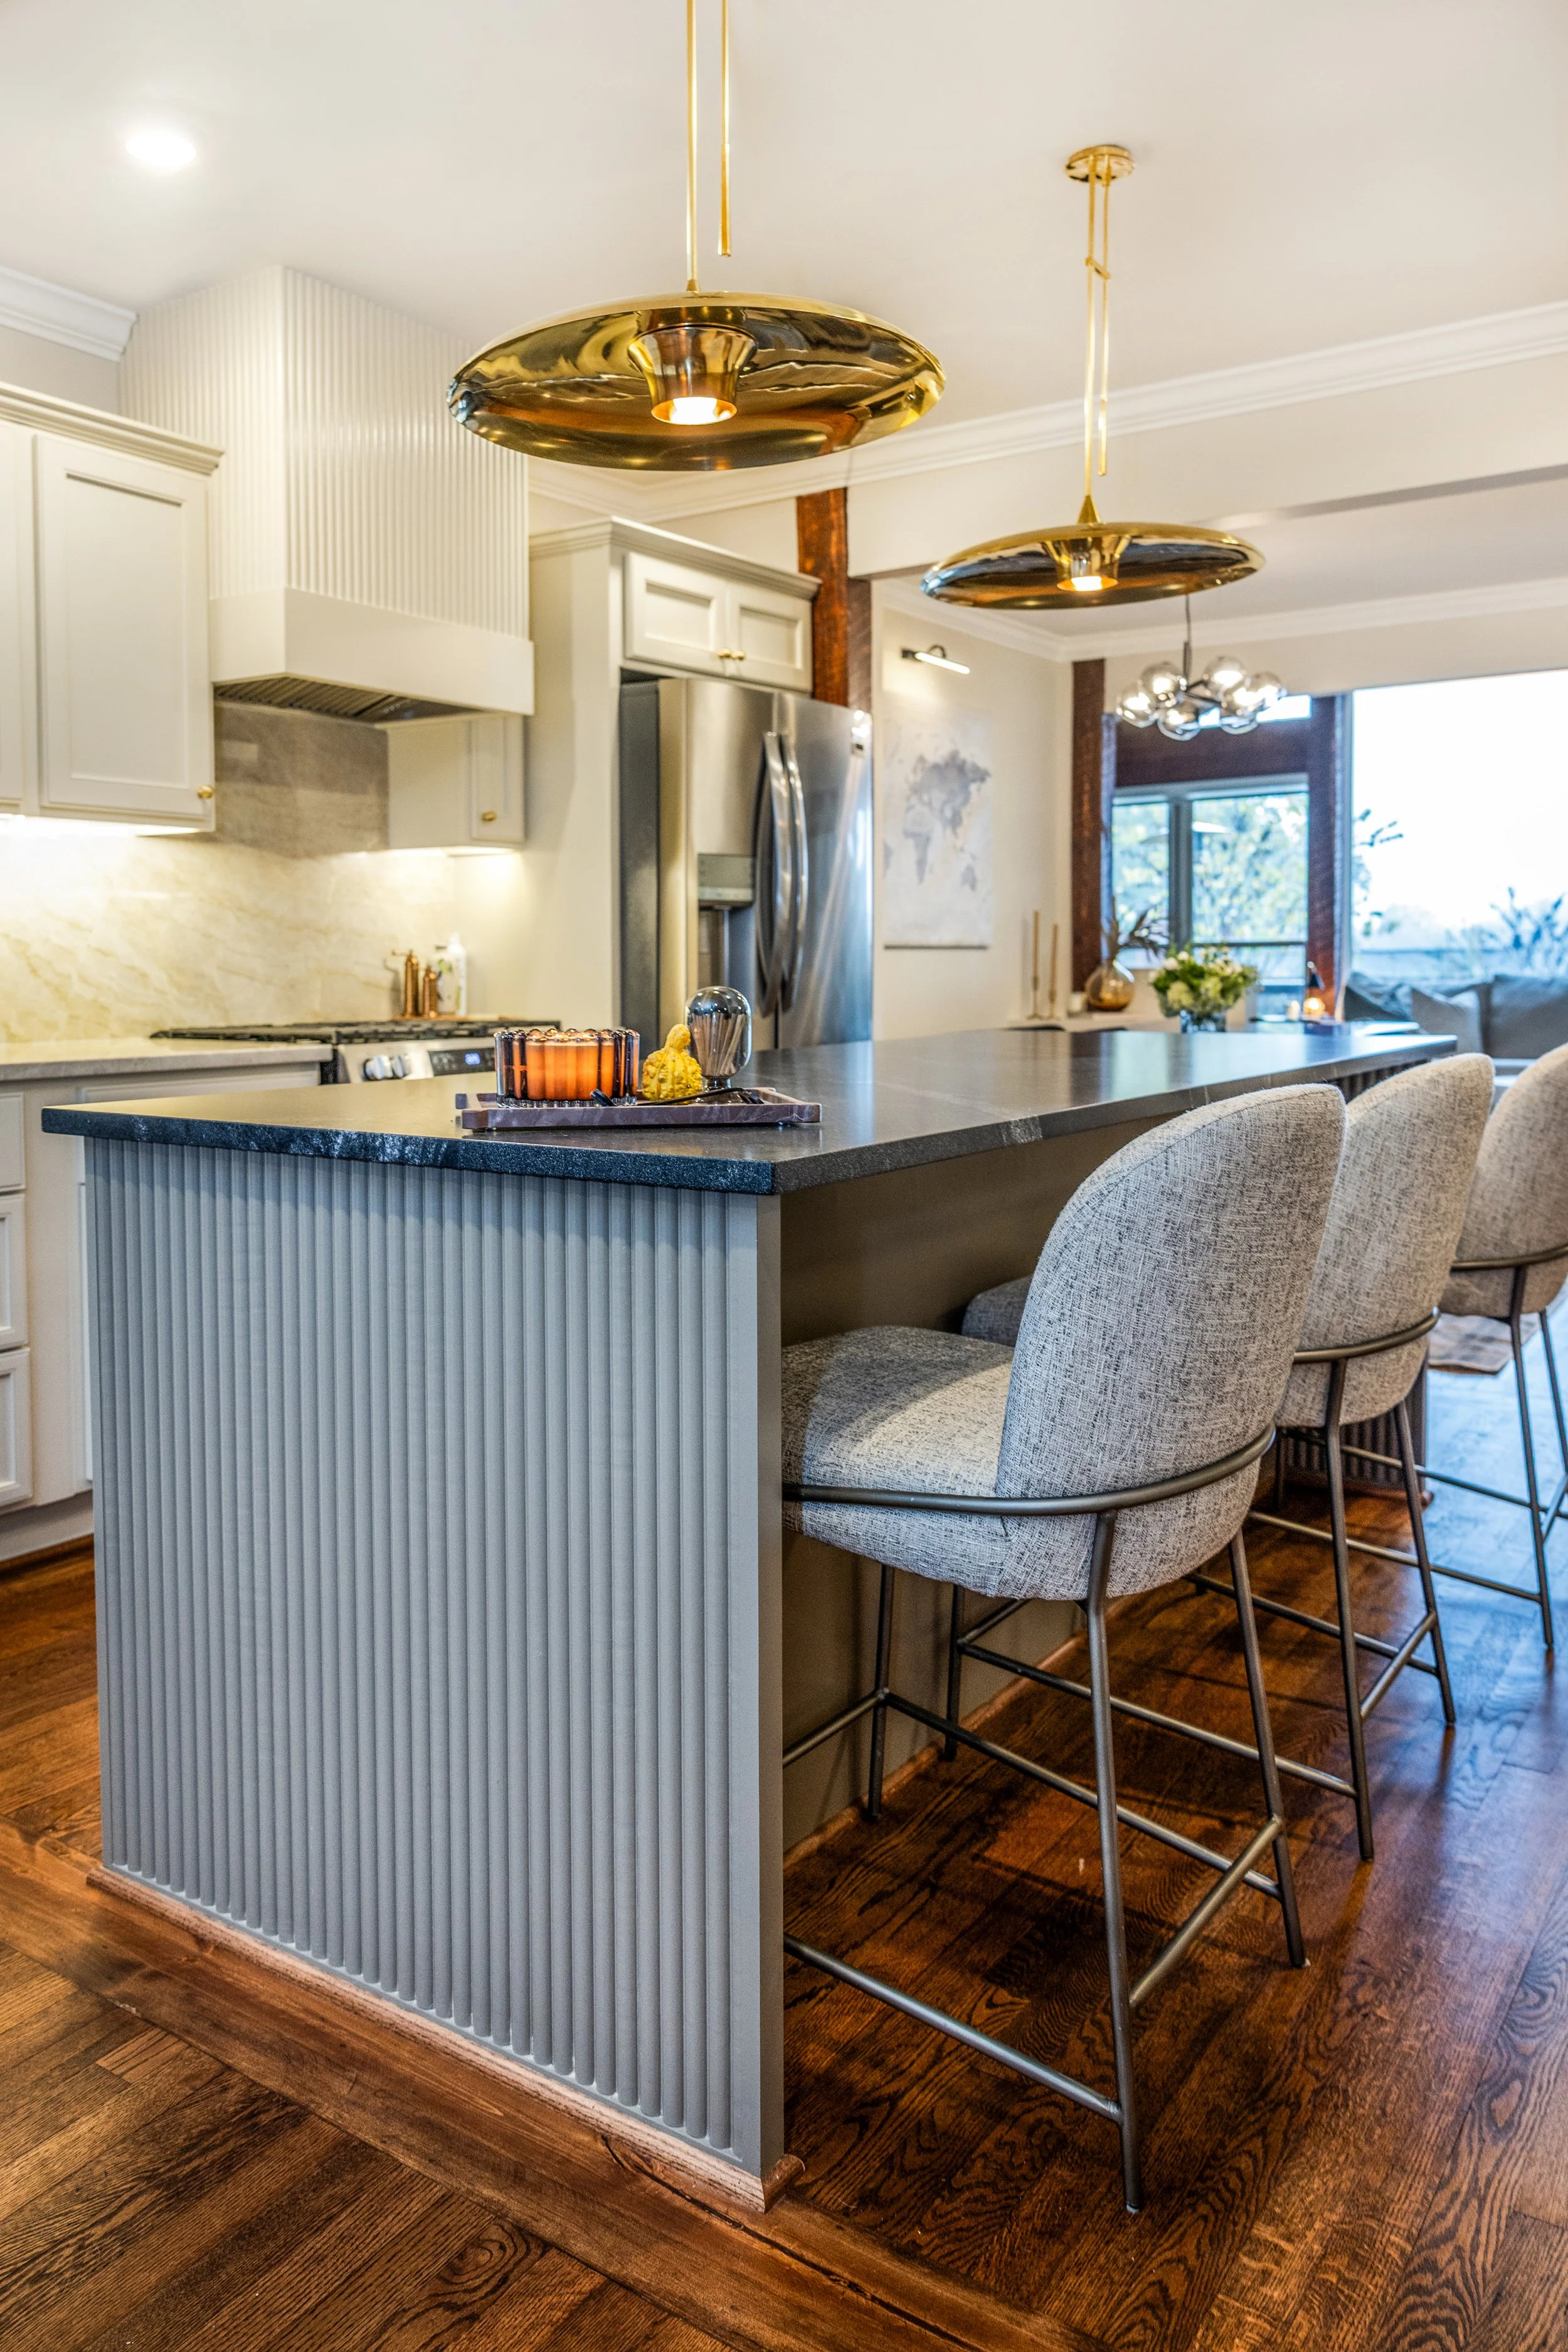
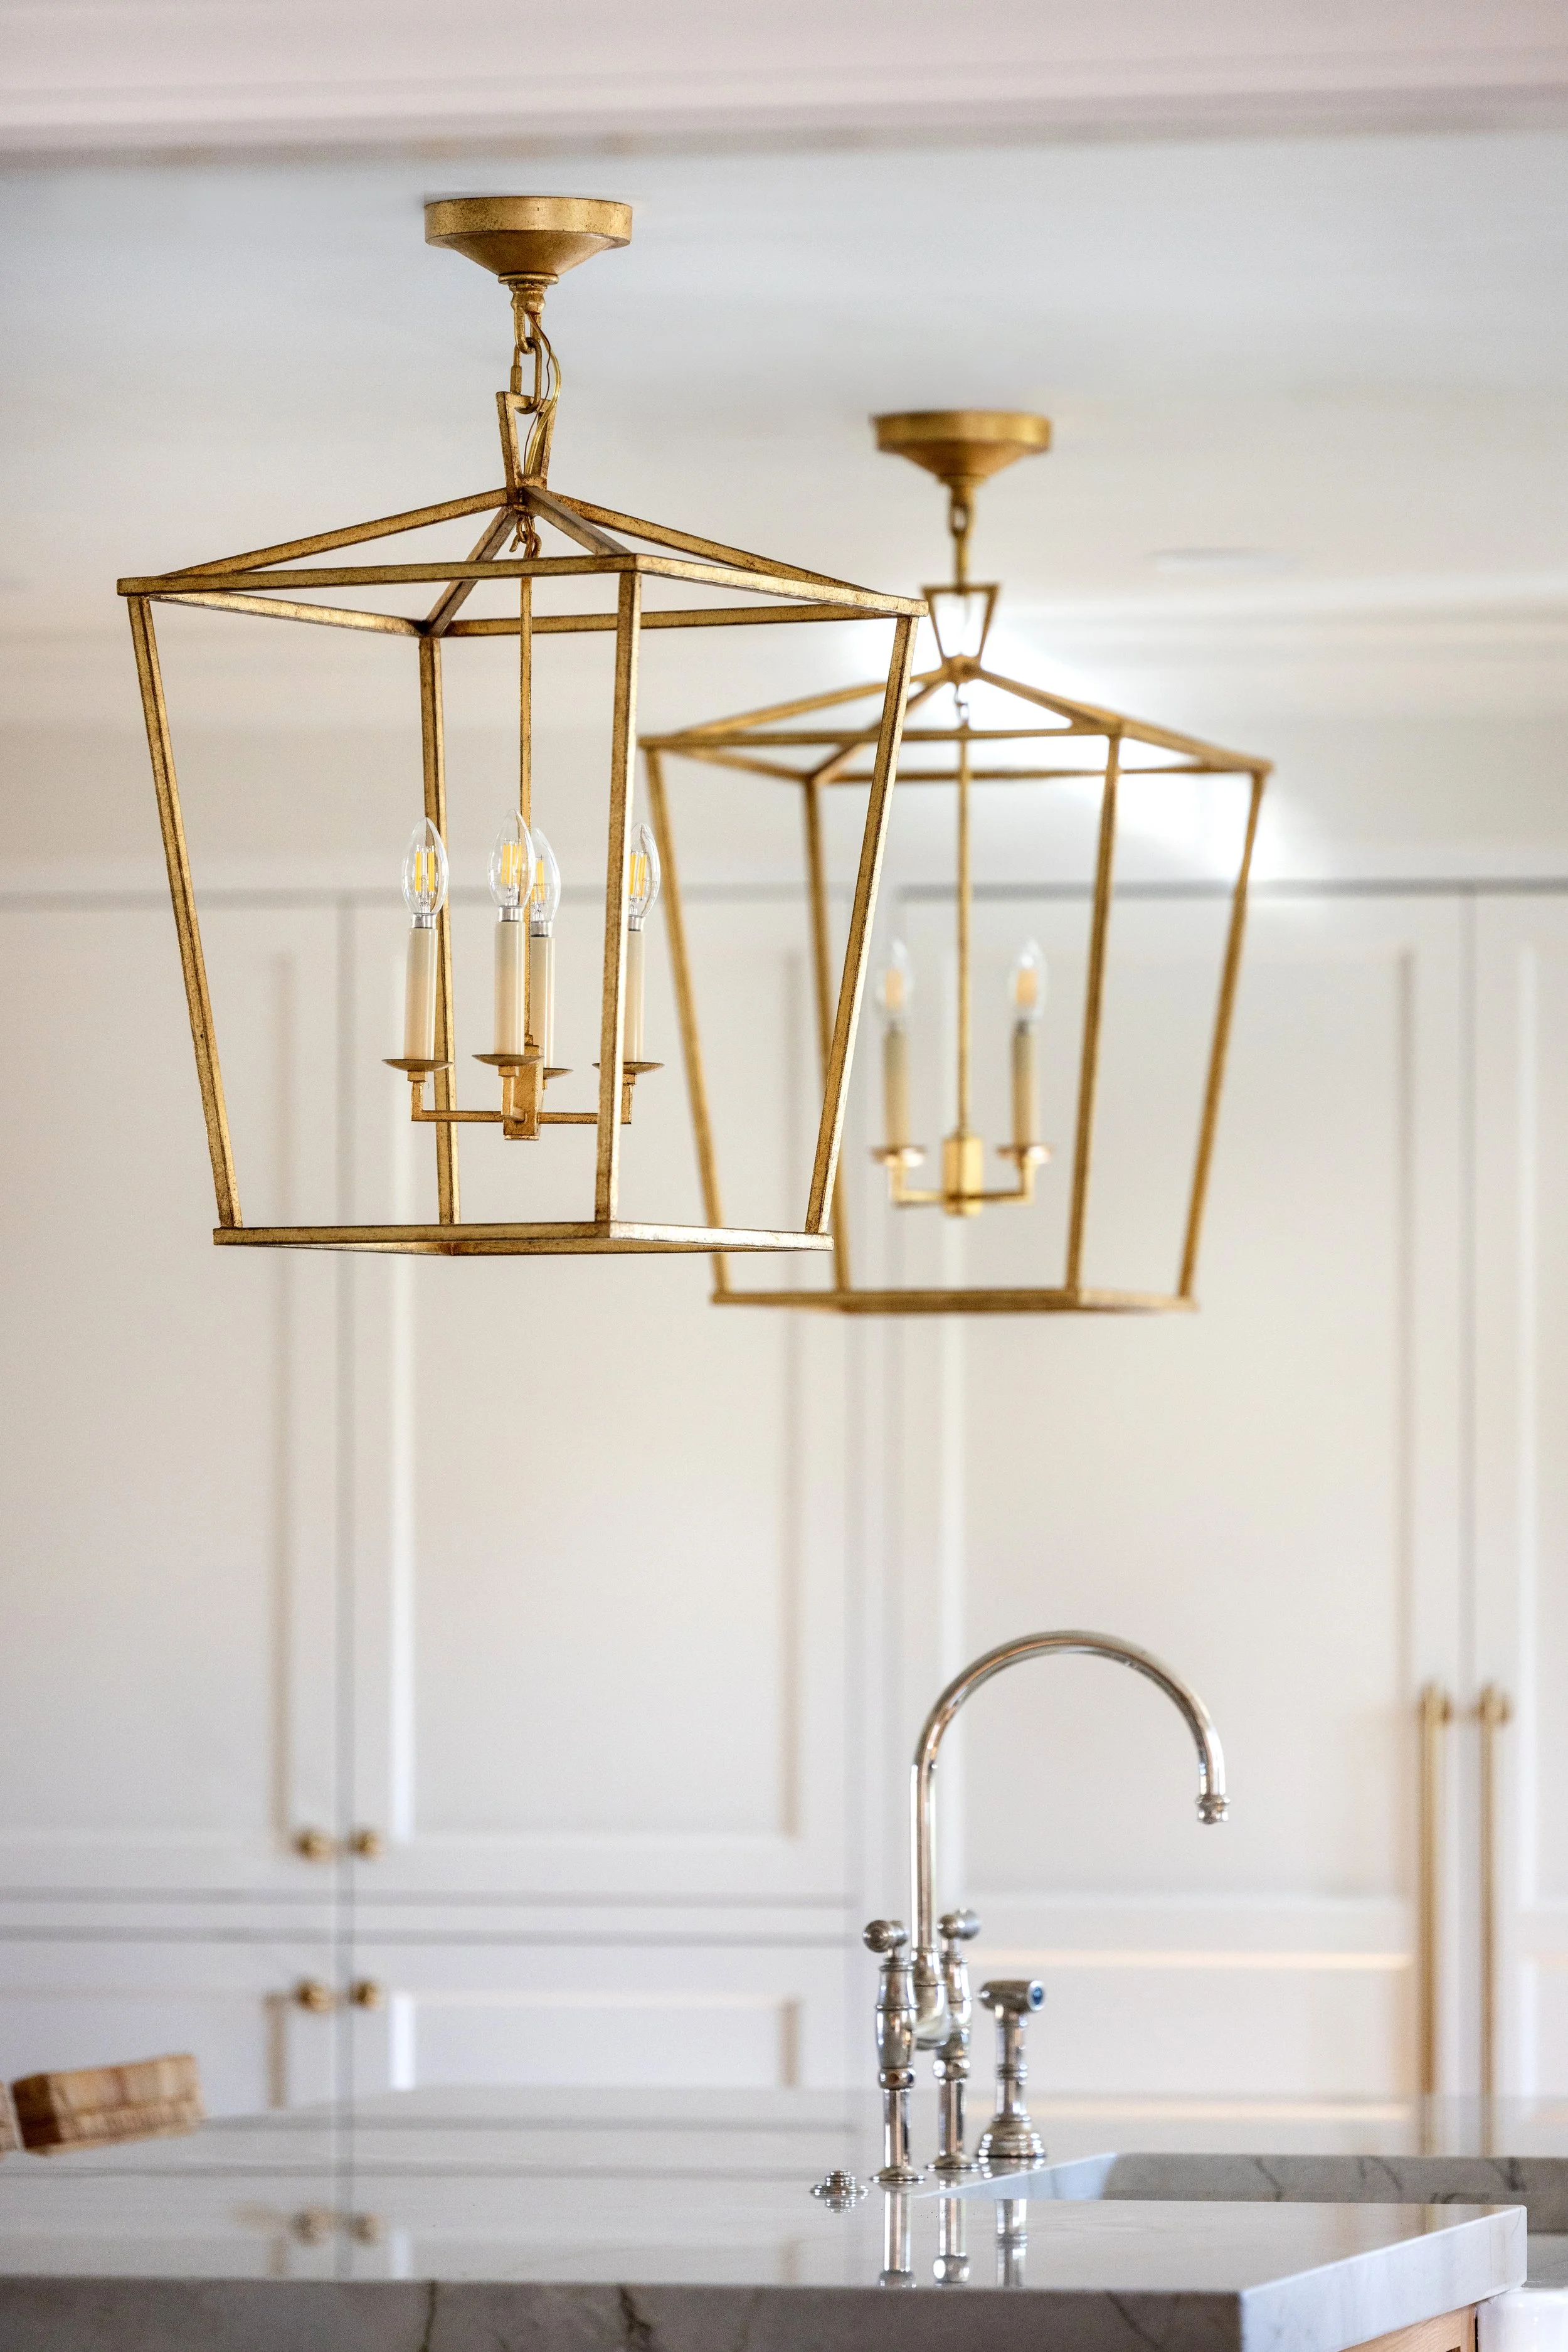
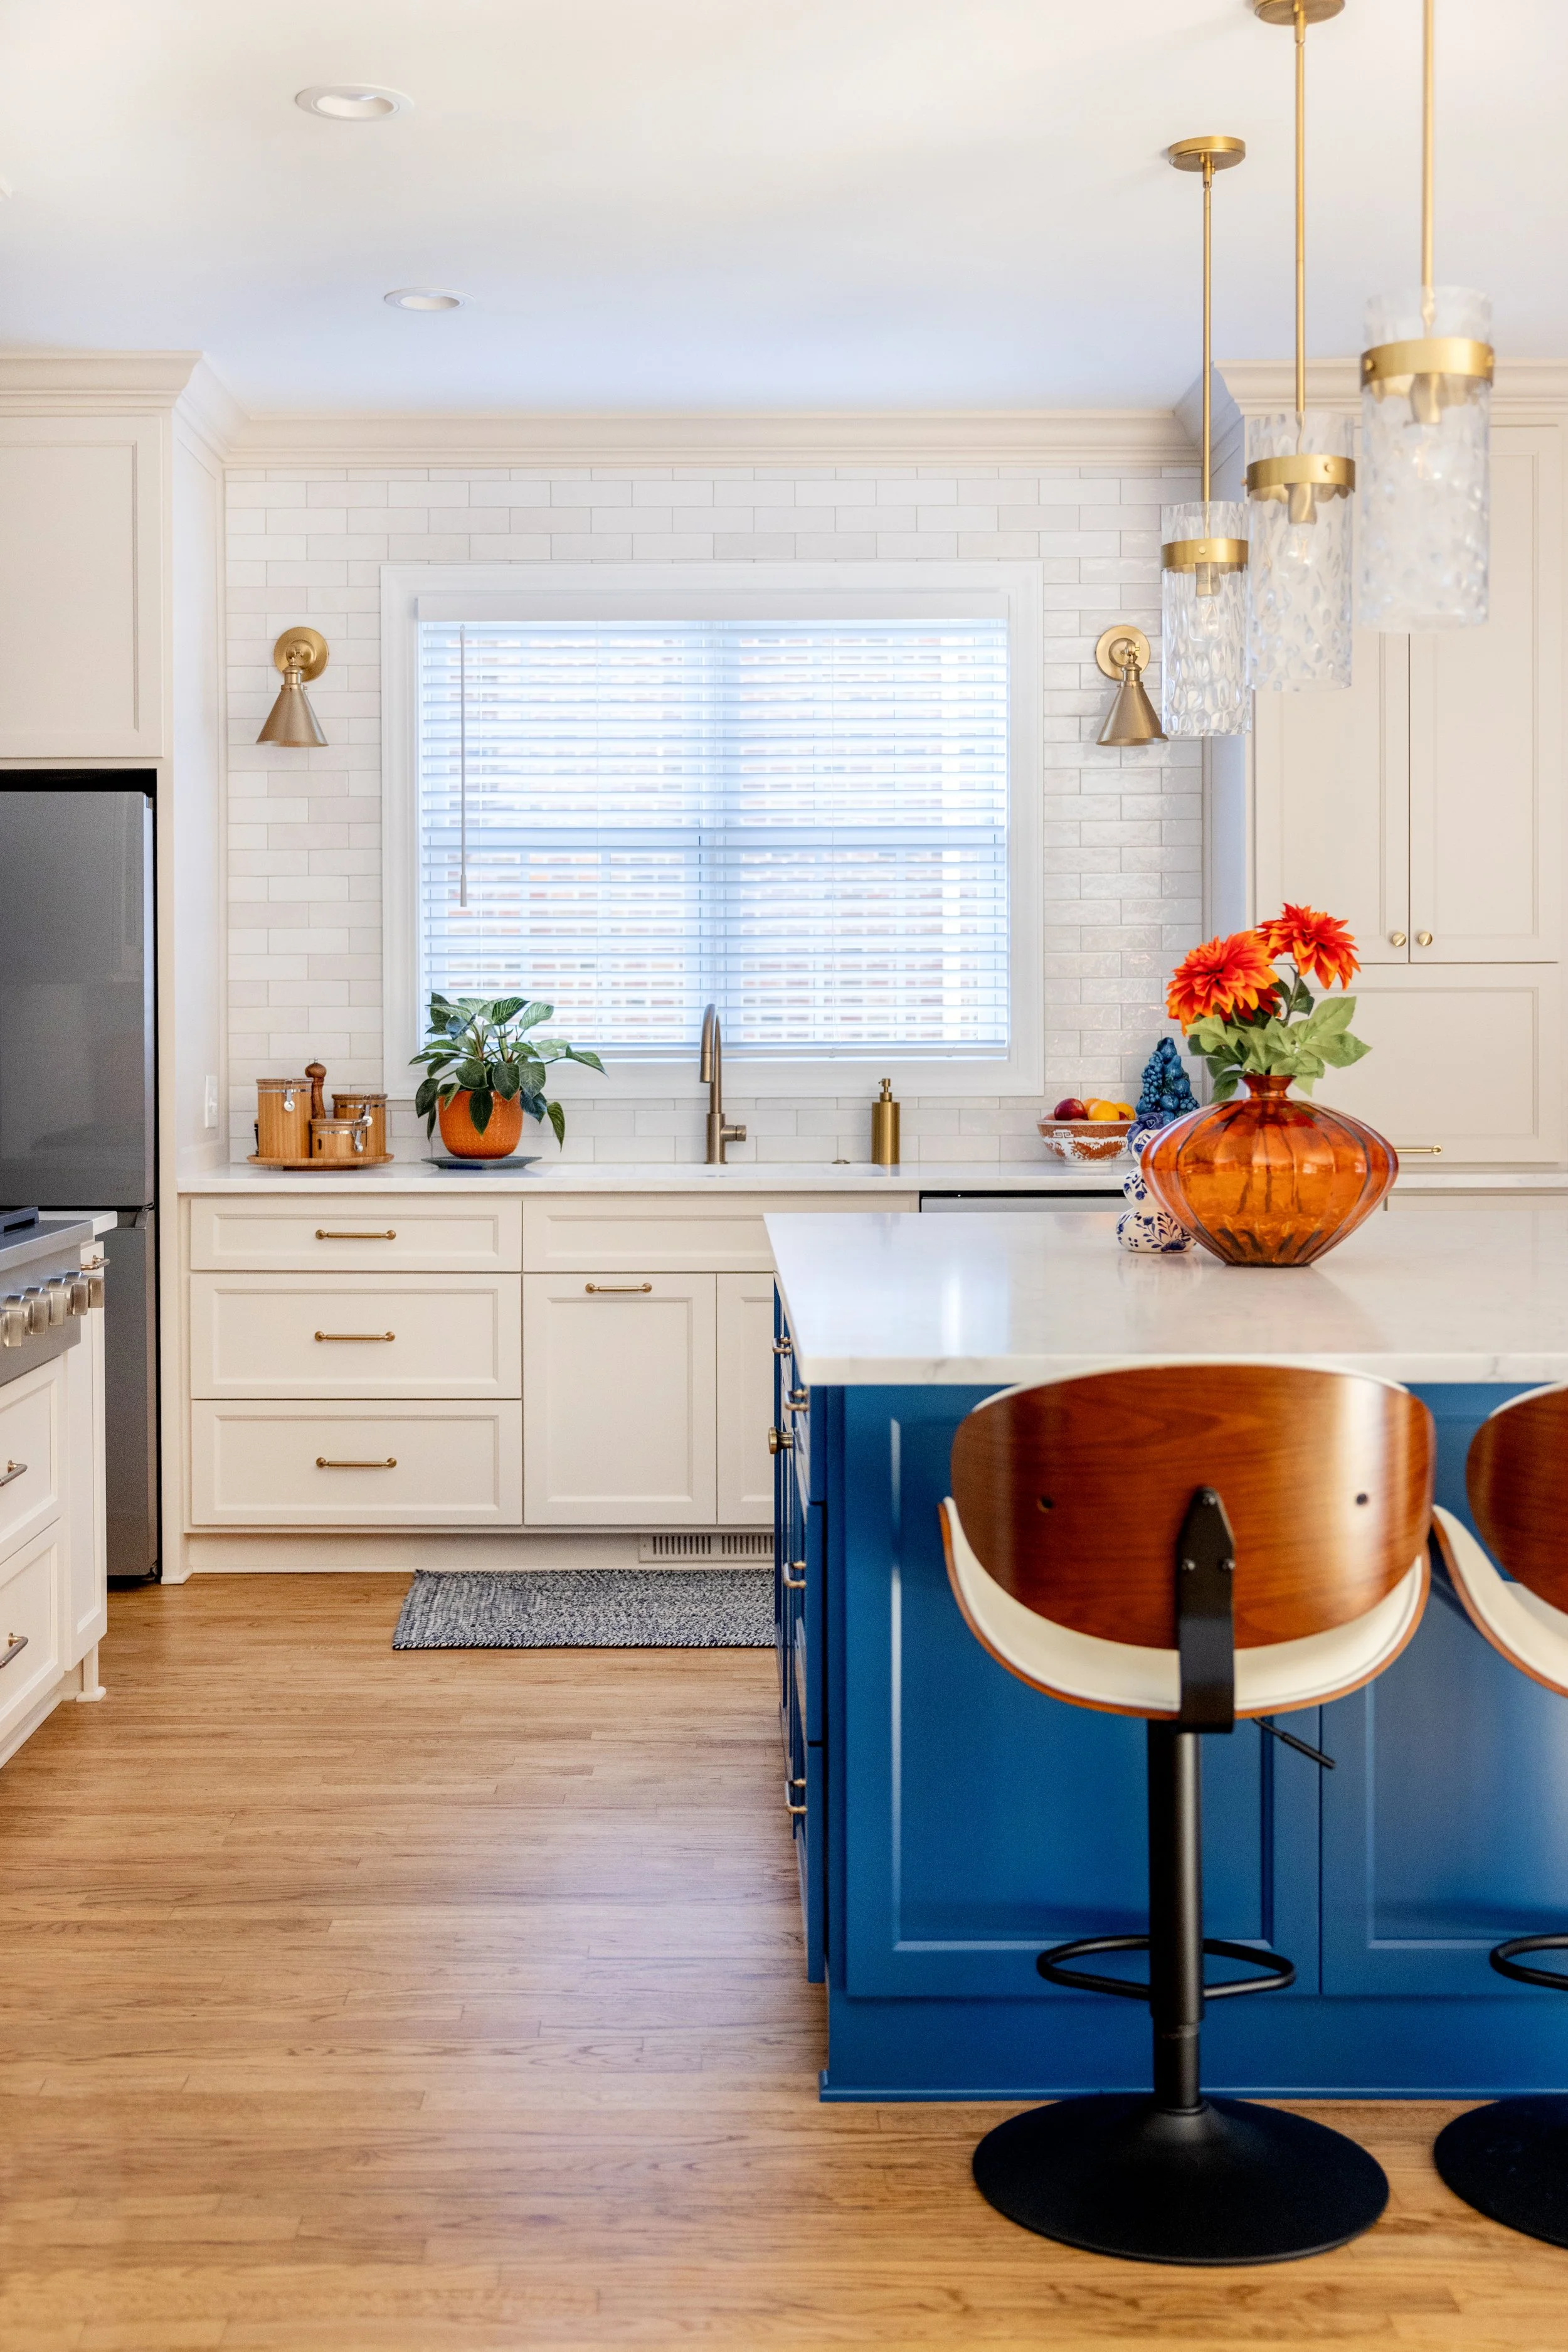


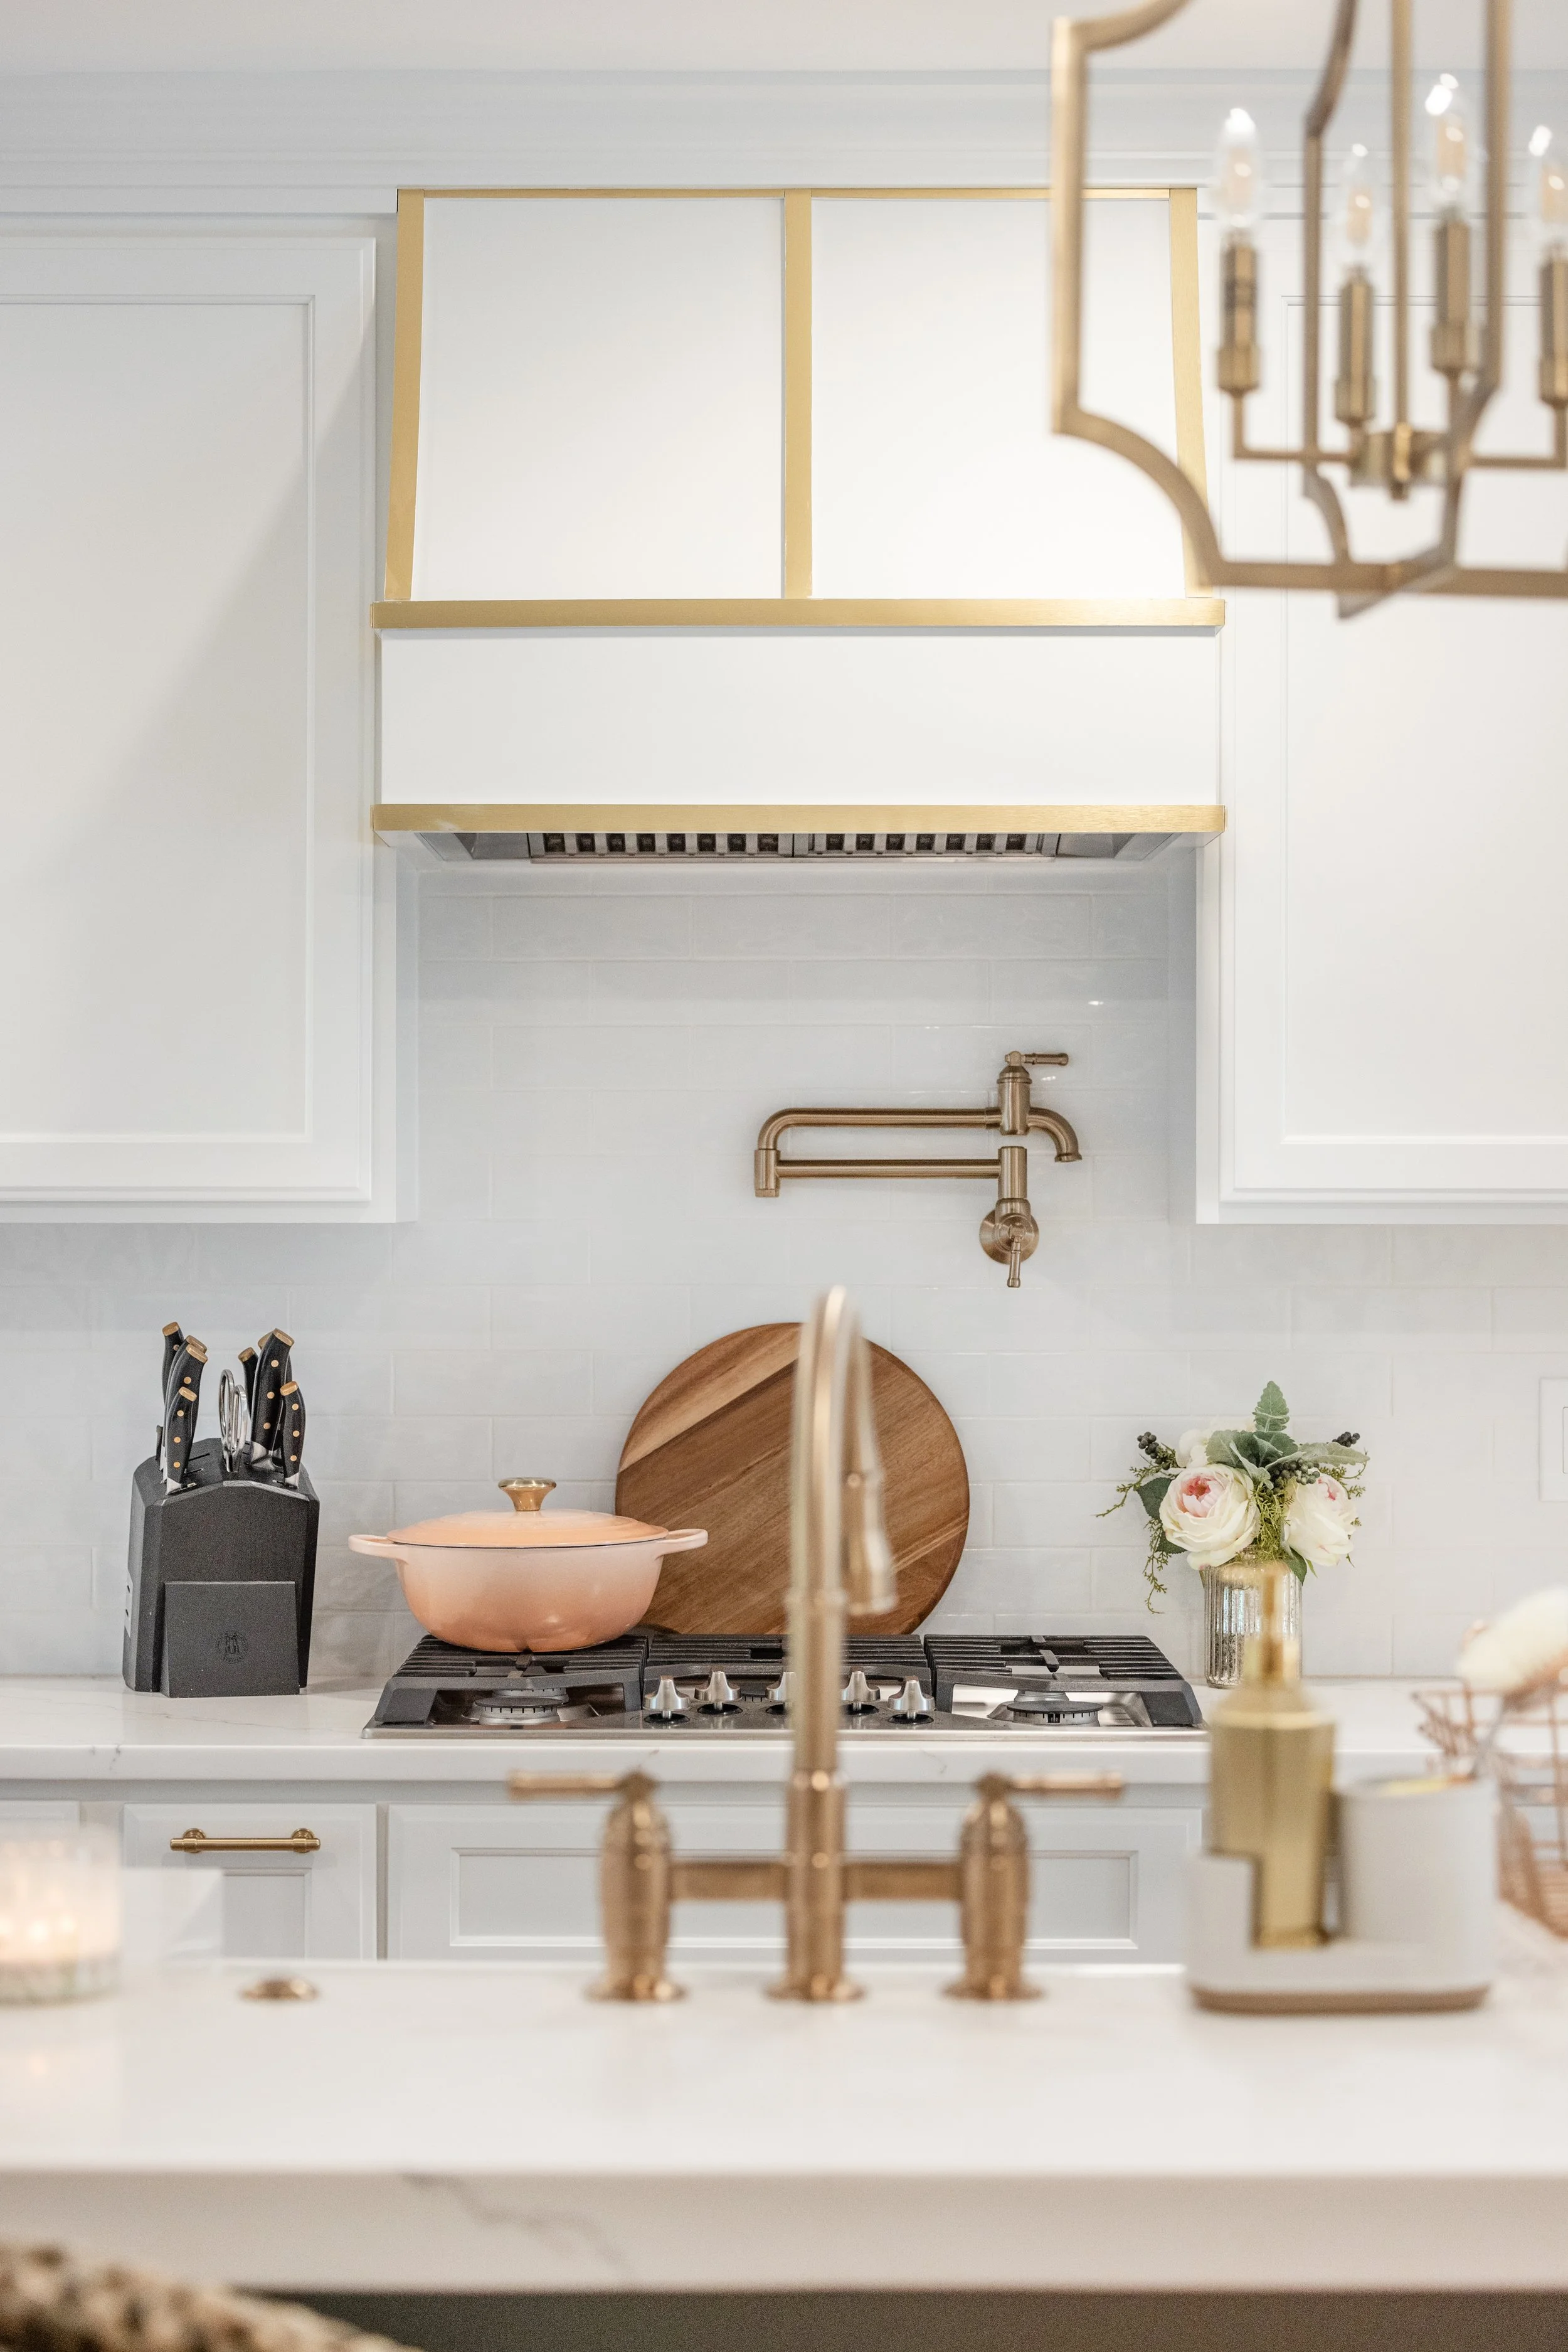


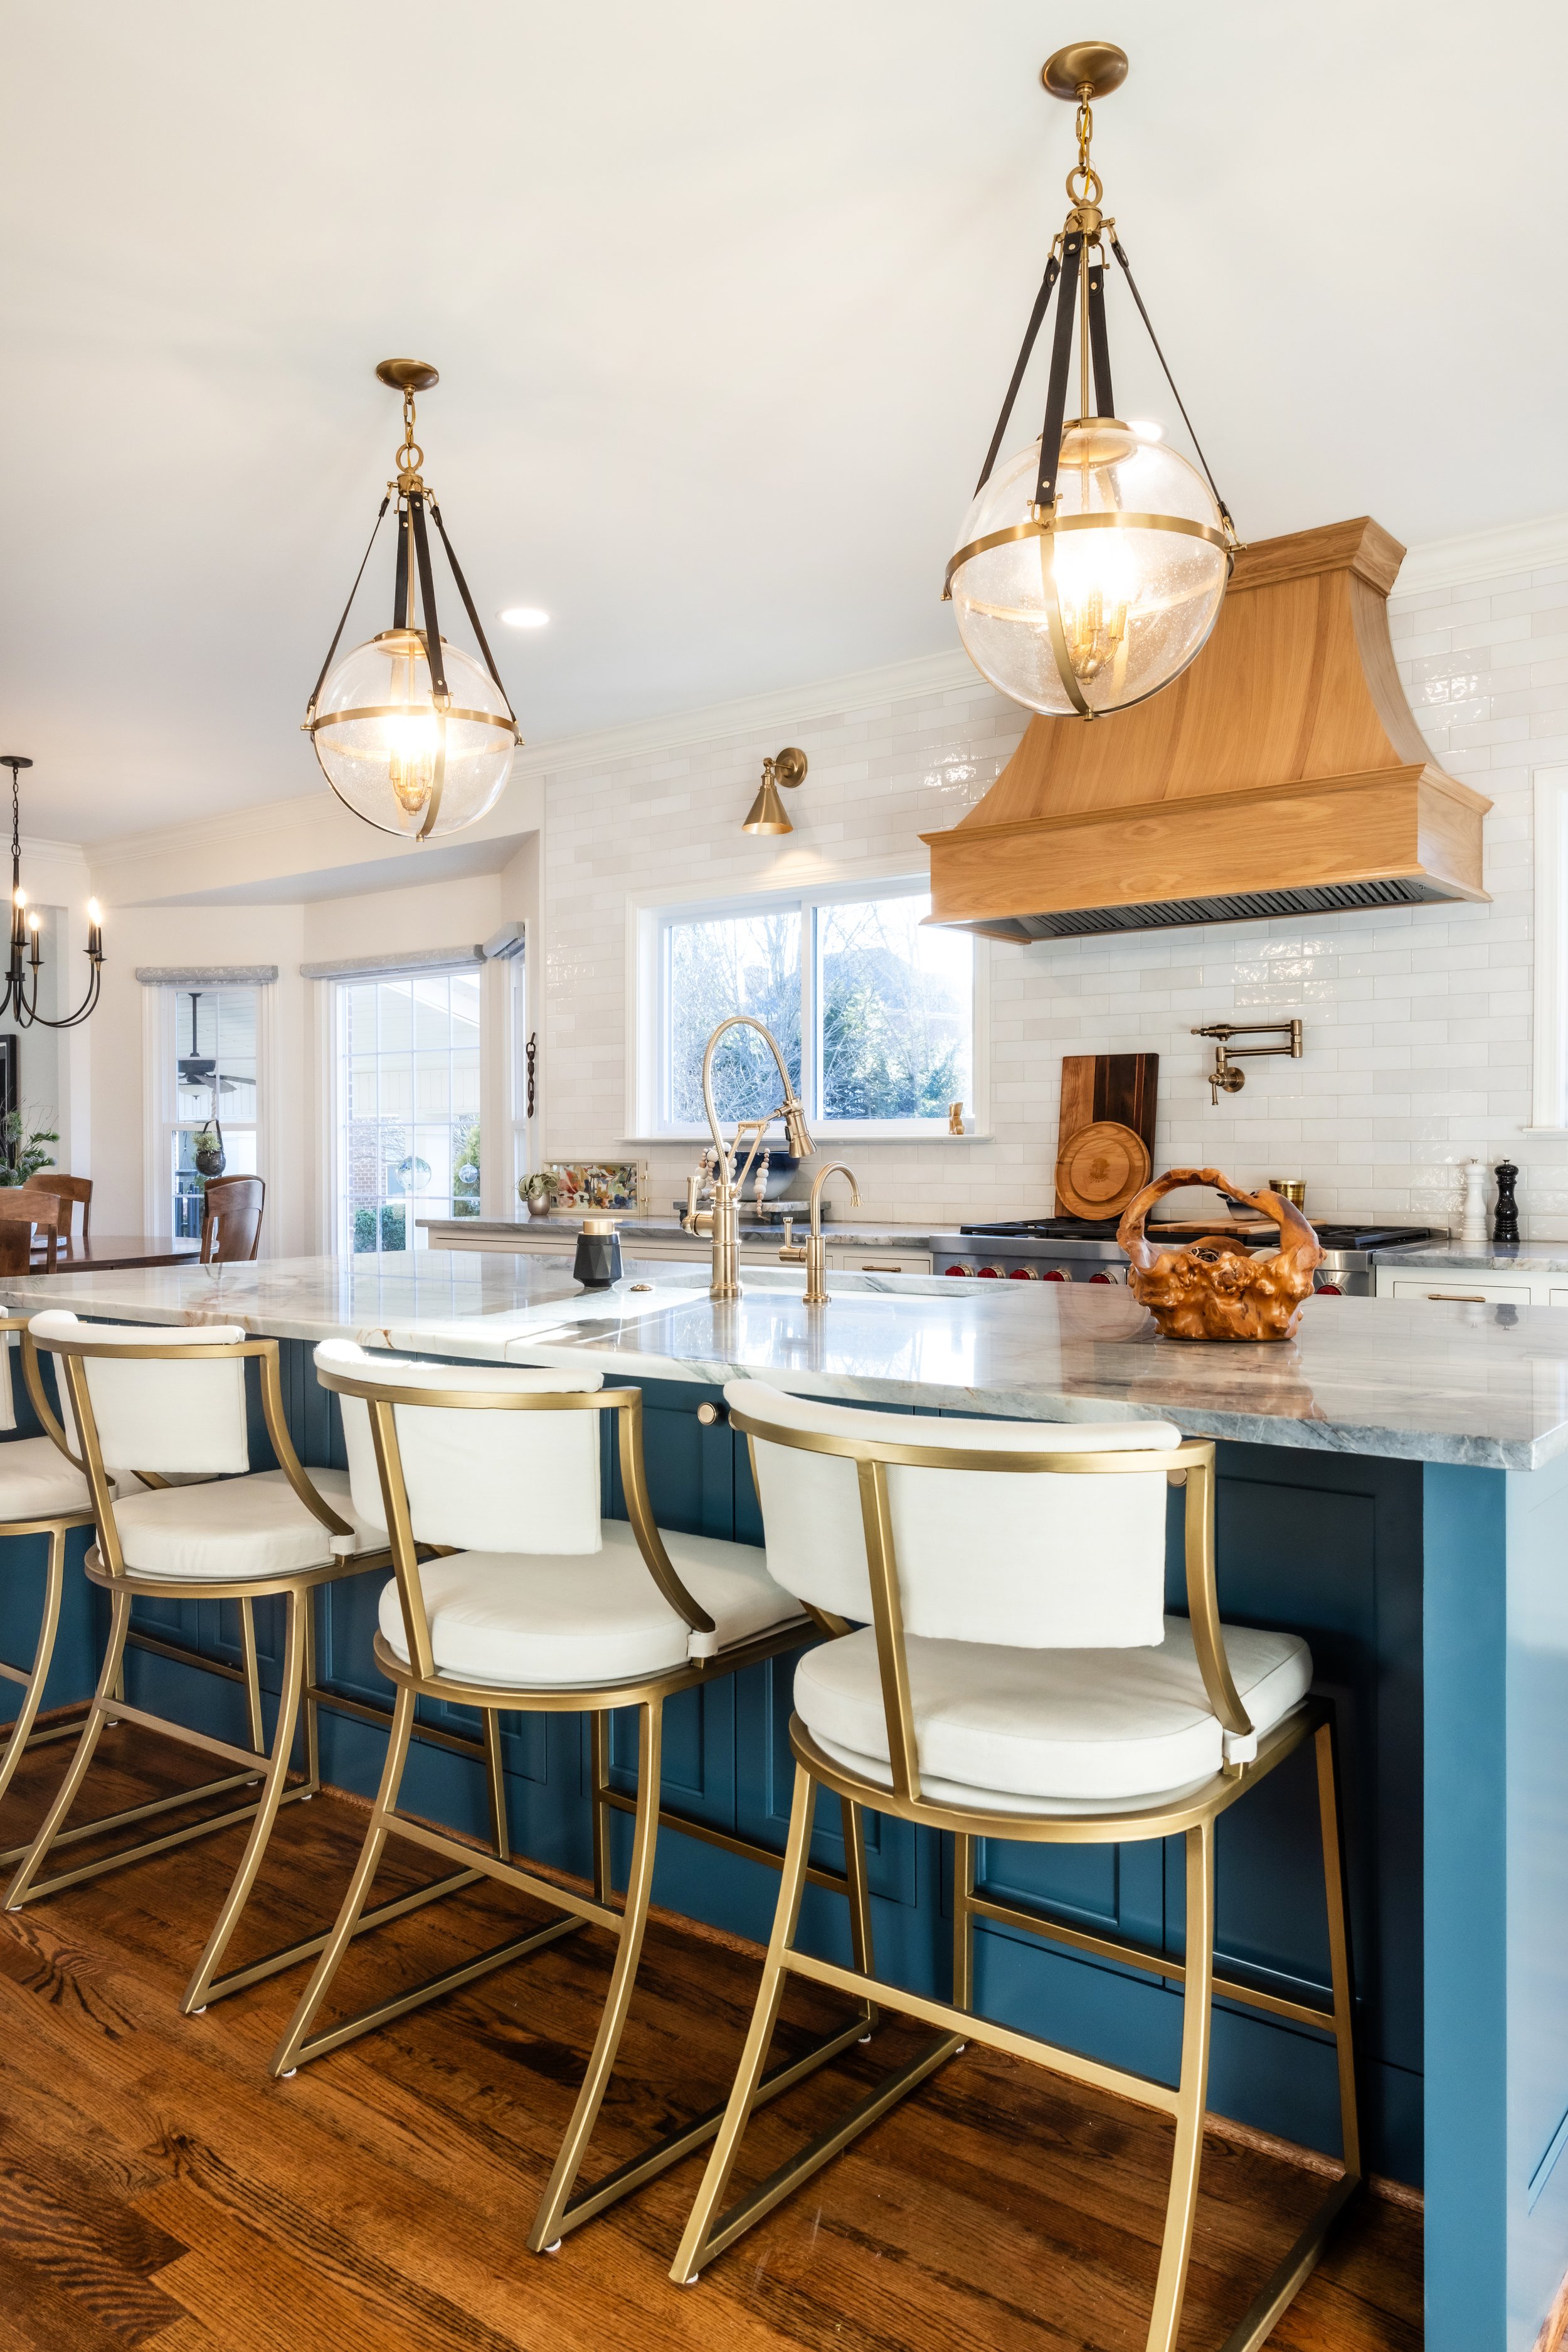

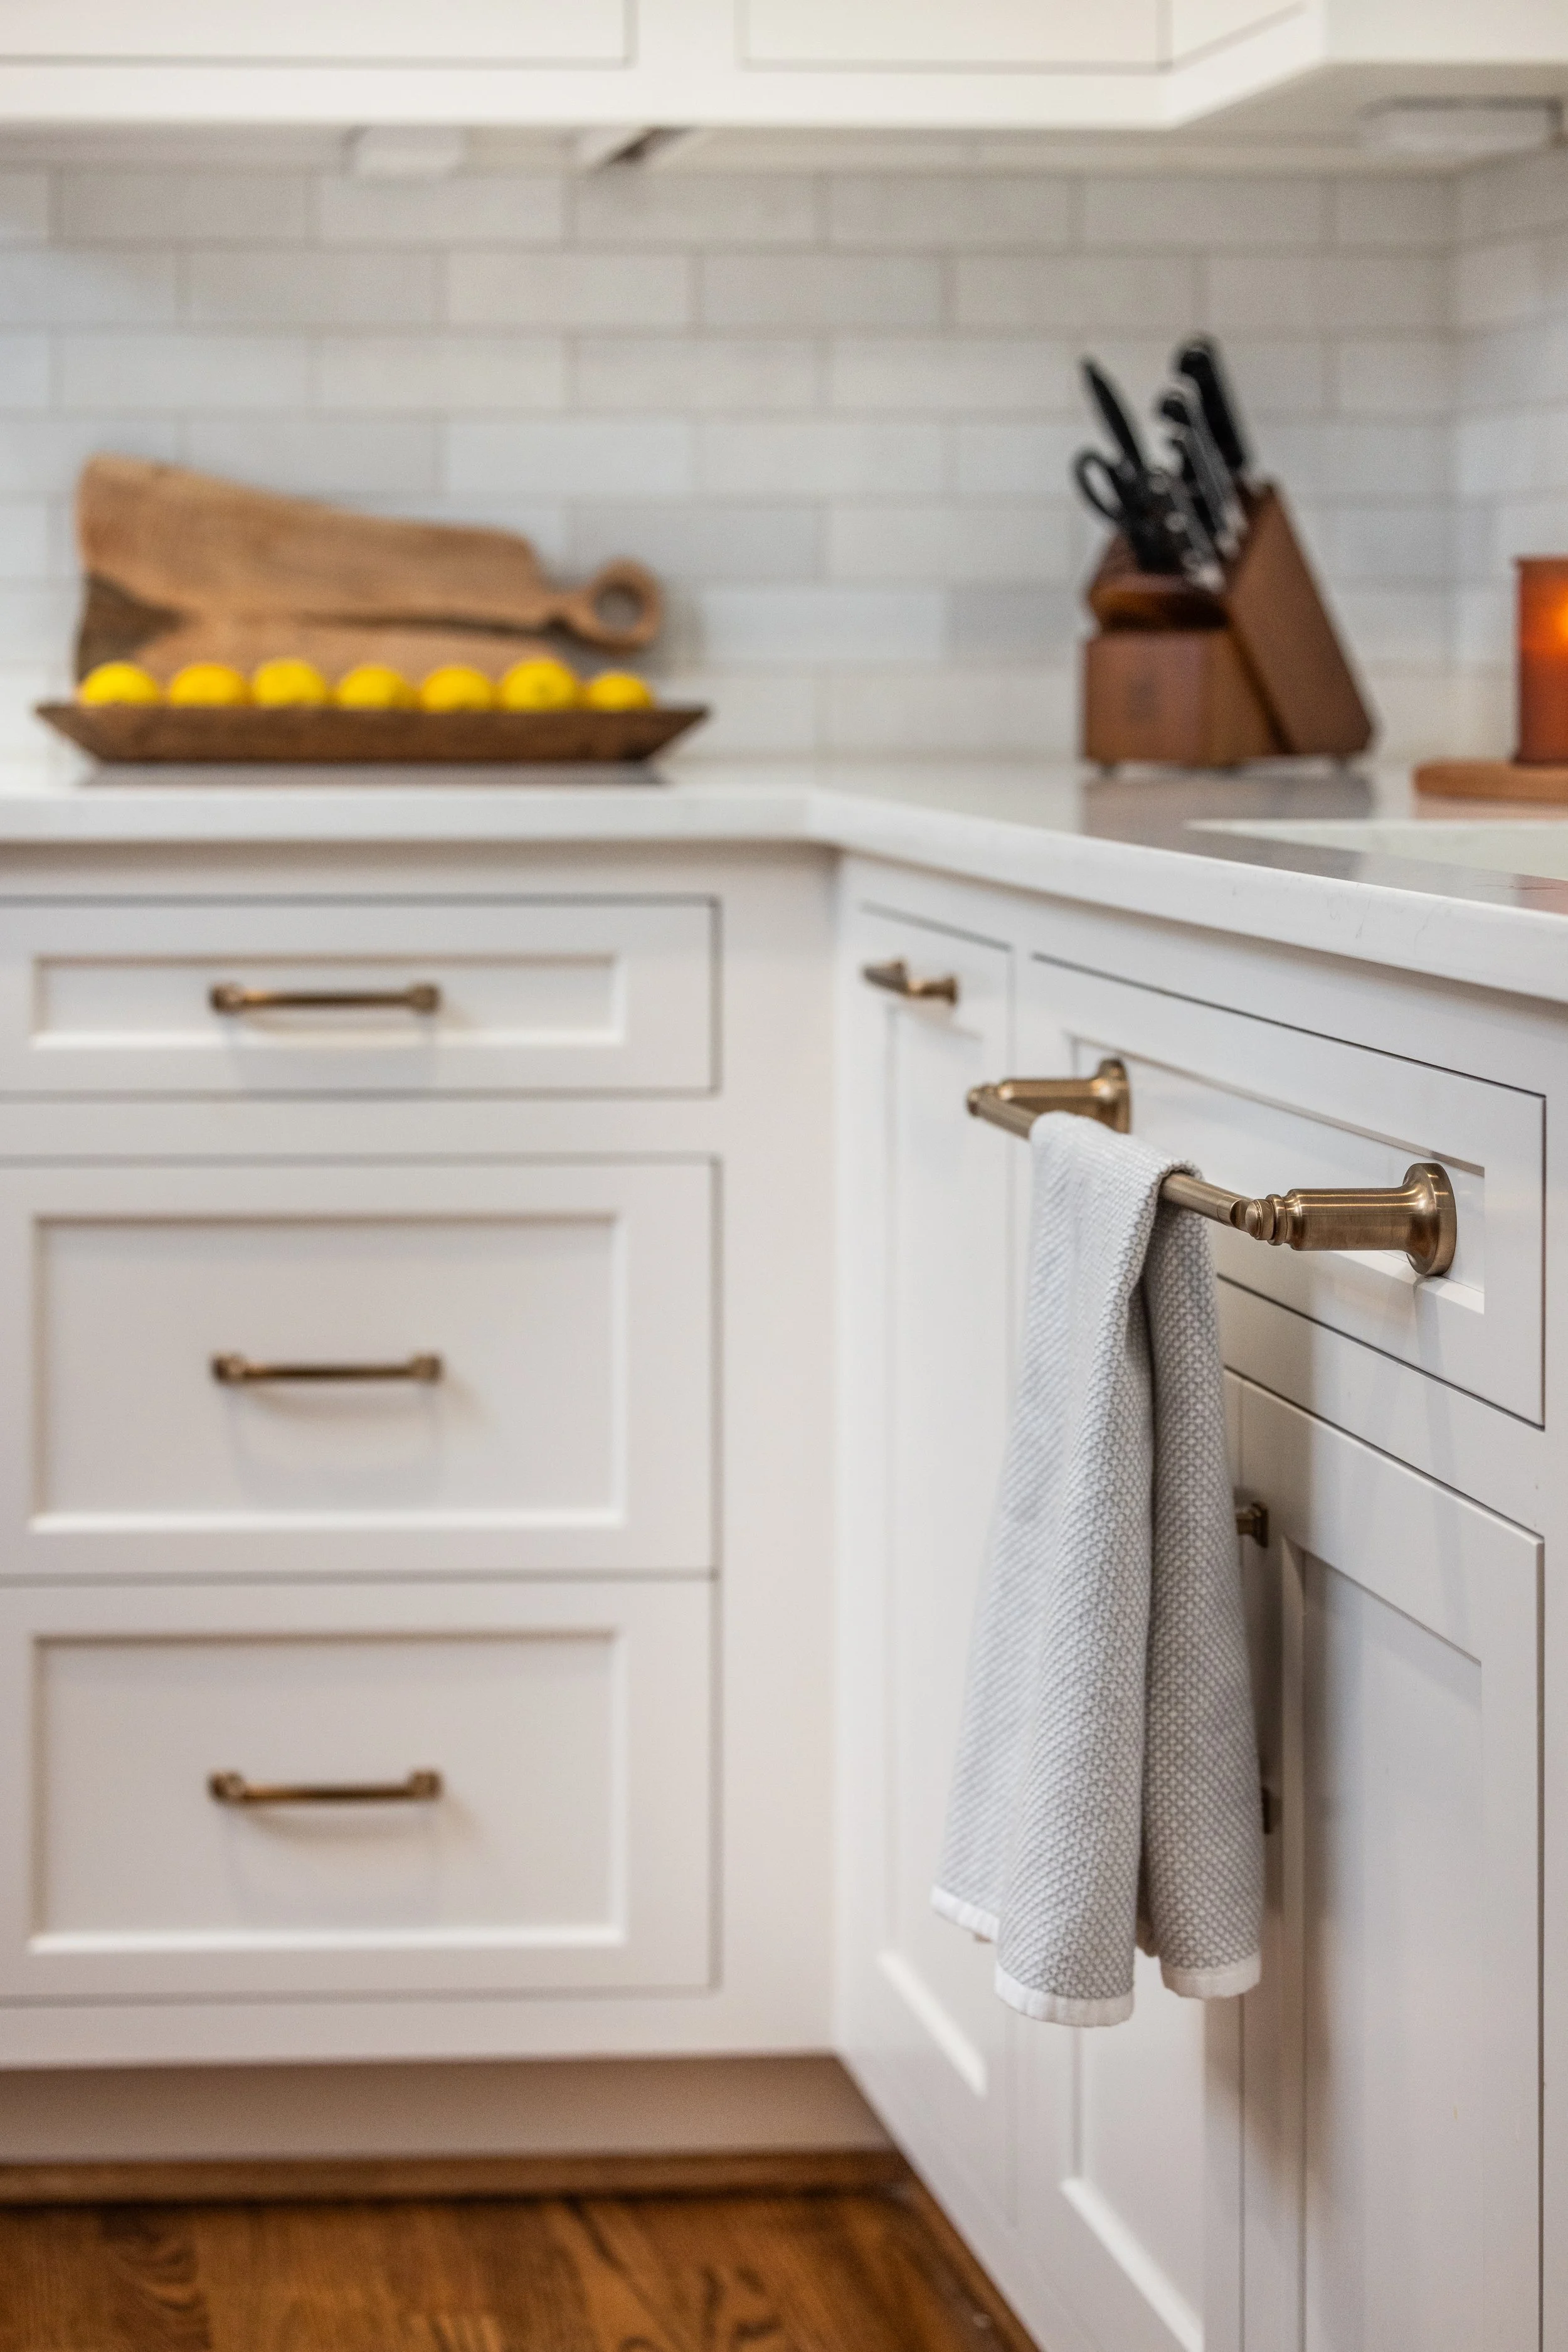


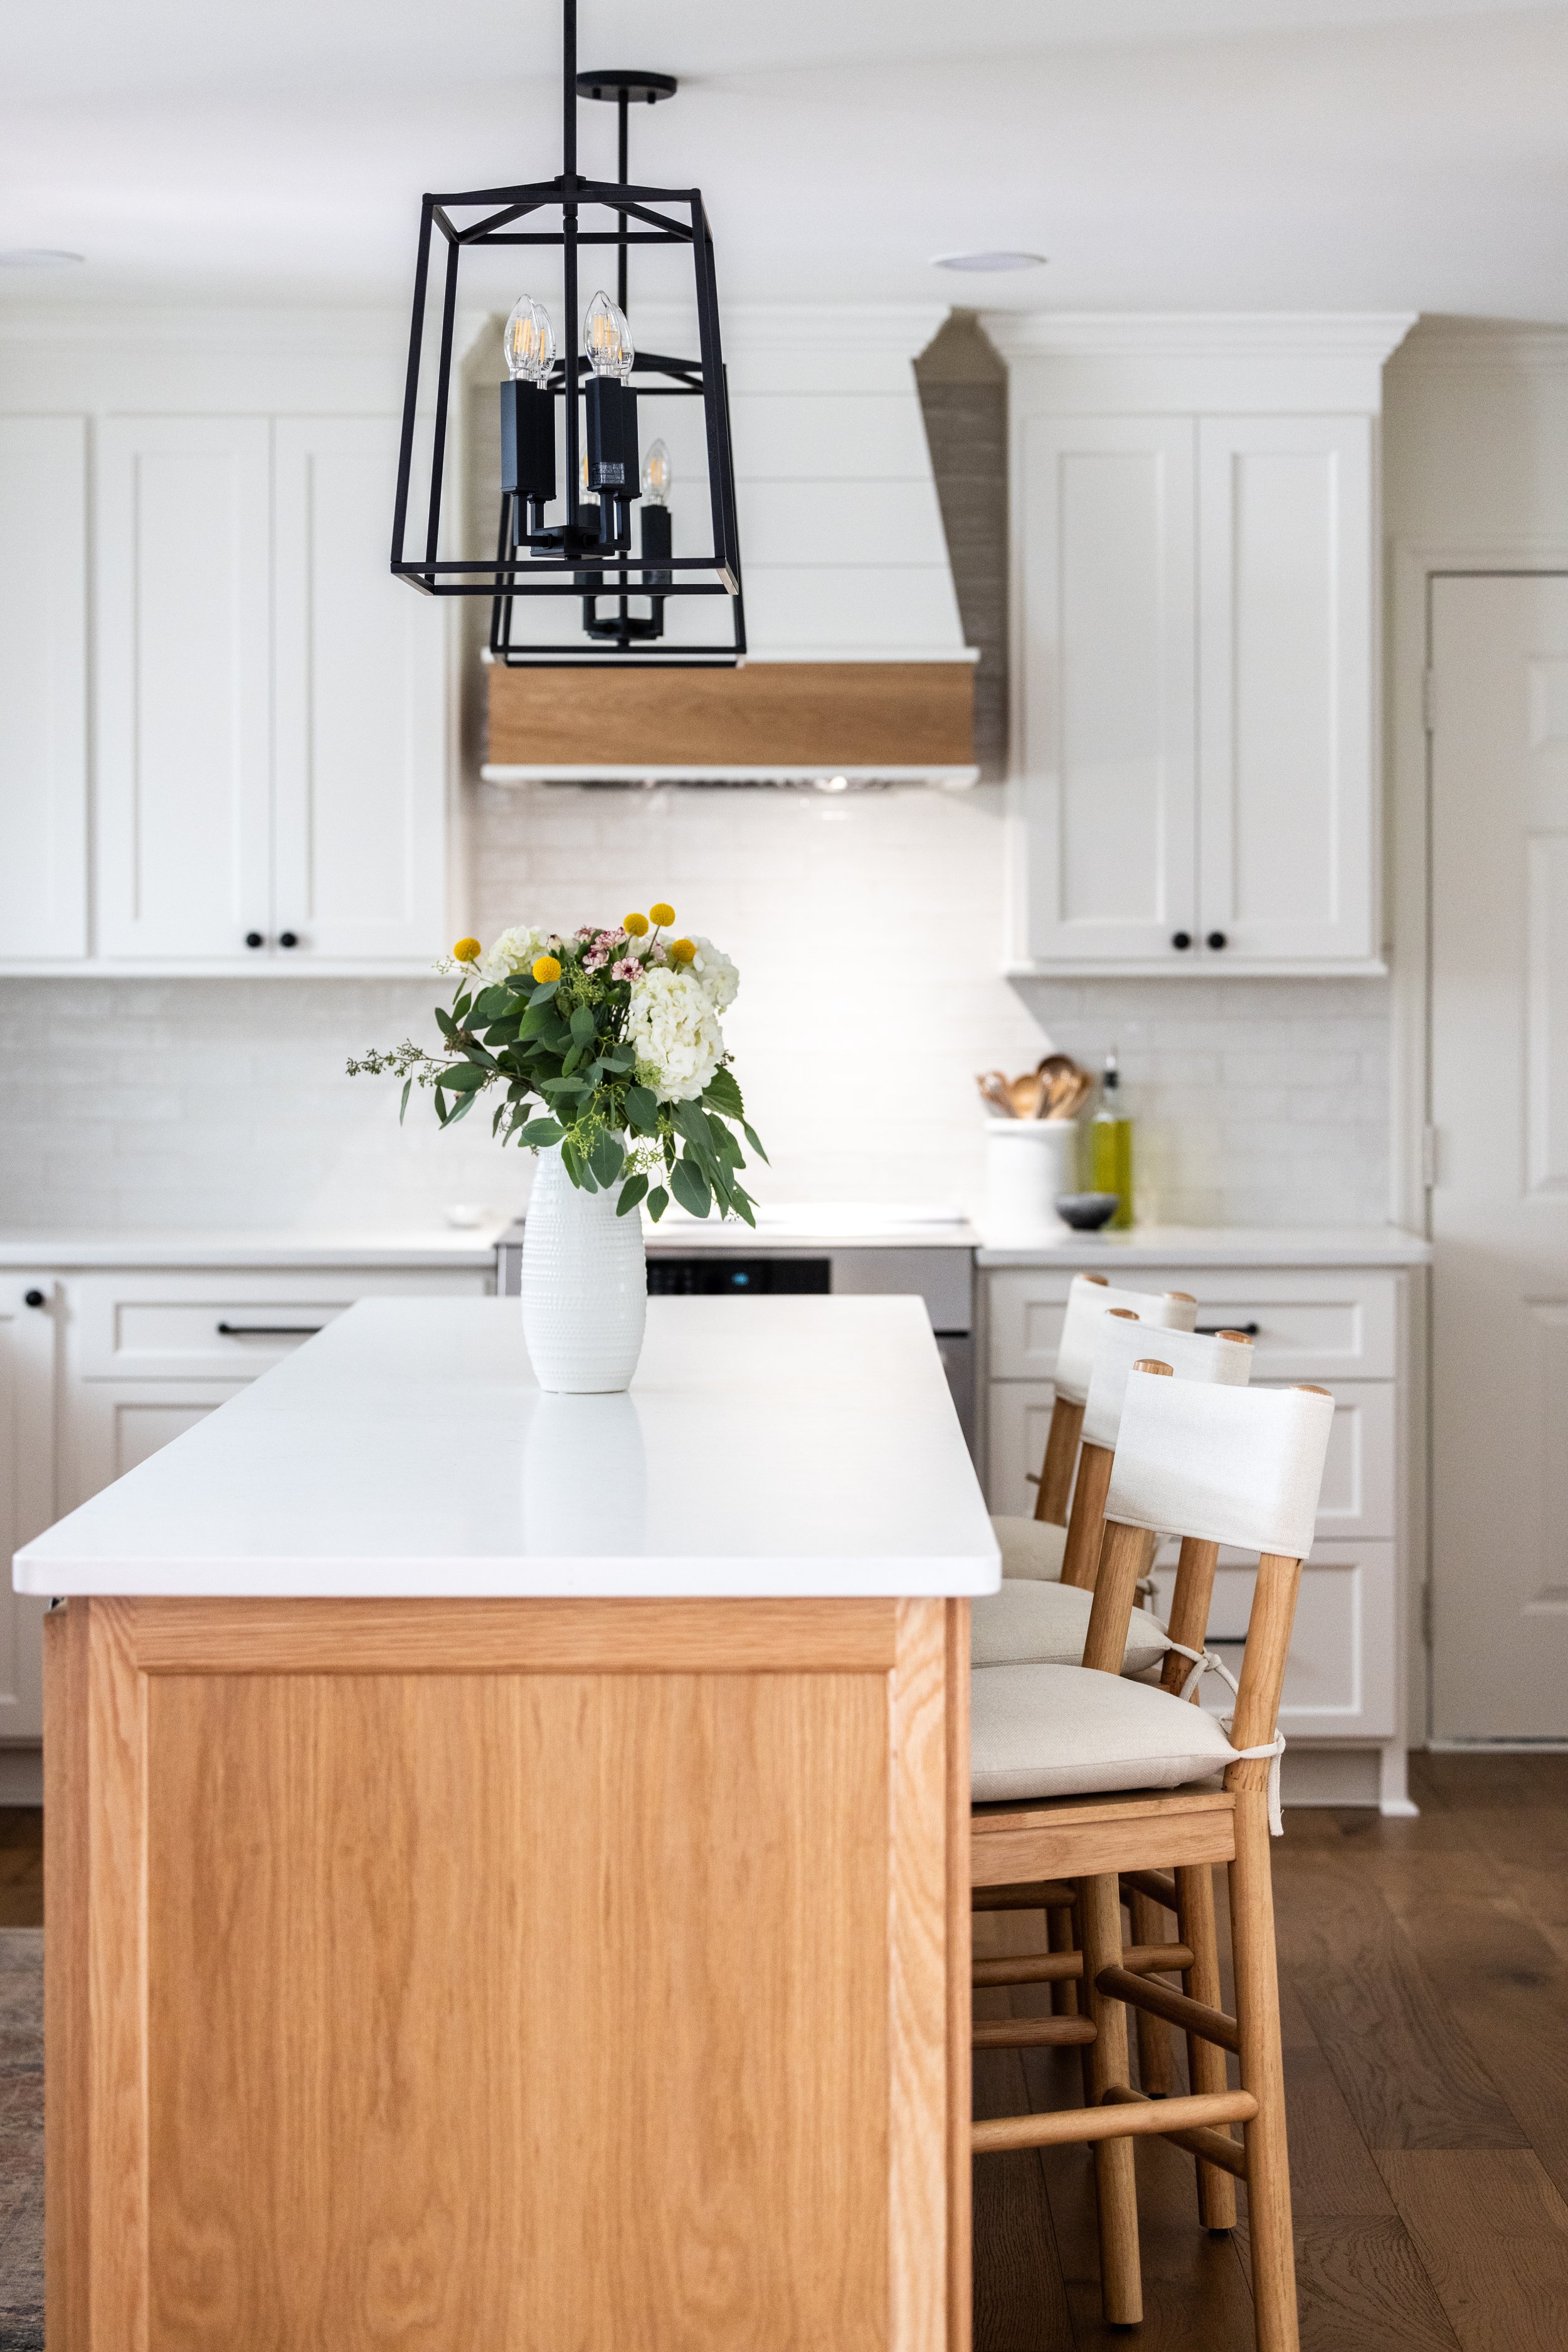


This beautiful custom kitchen on Lake Keowee, South Carolina features soft blue cabinetry, a custom island, and timeless lakefront design.