
Kitchen Renovation After Water Damage
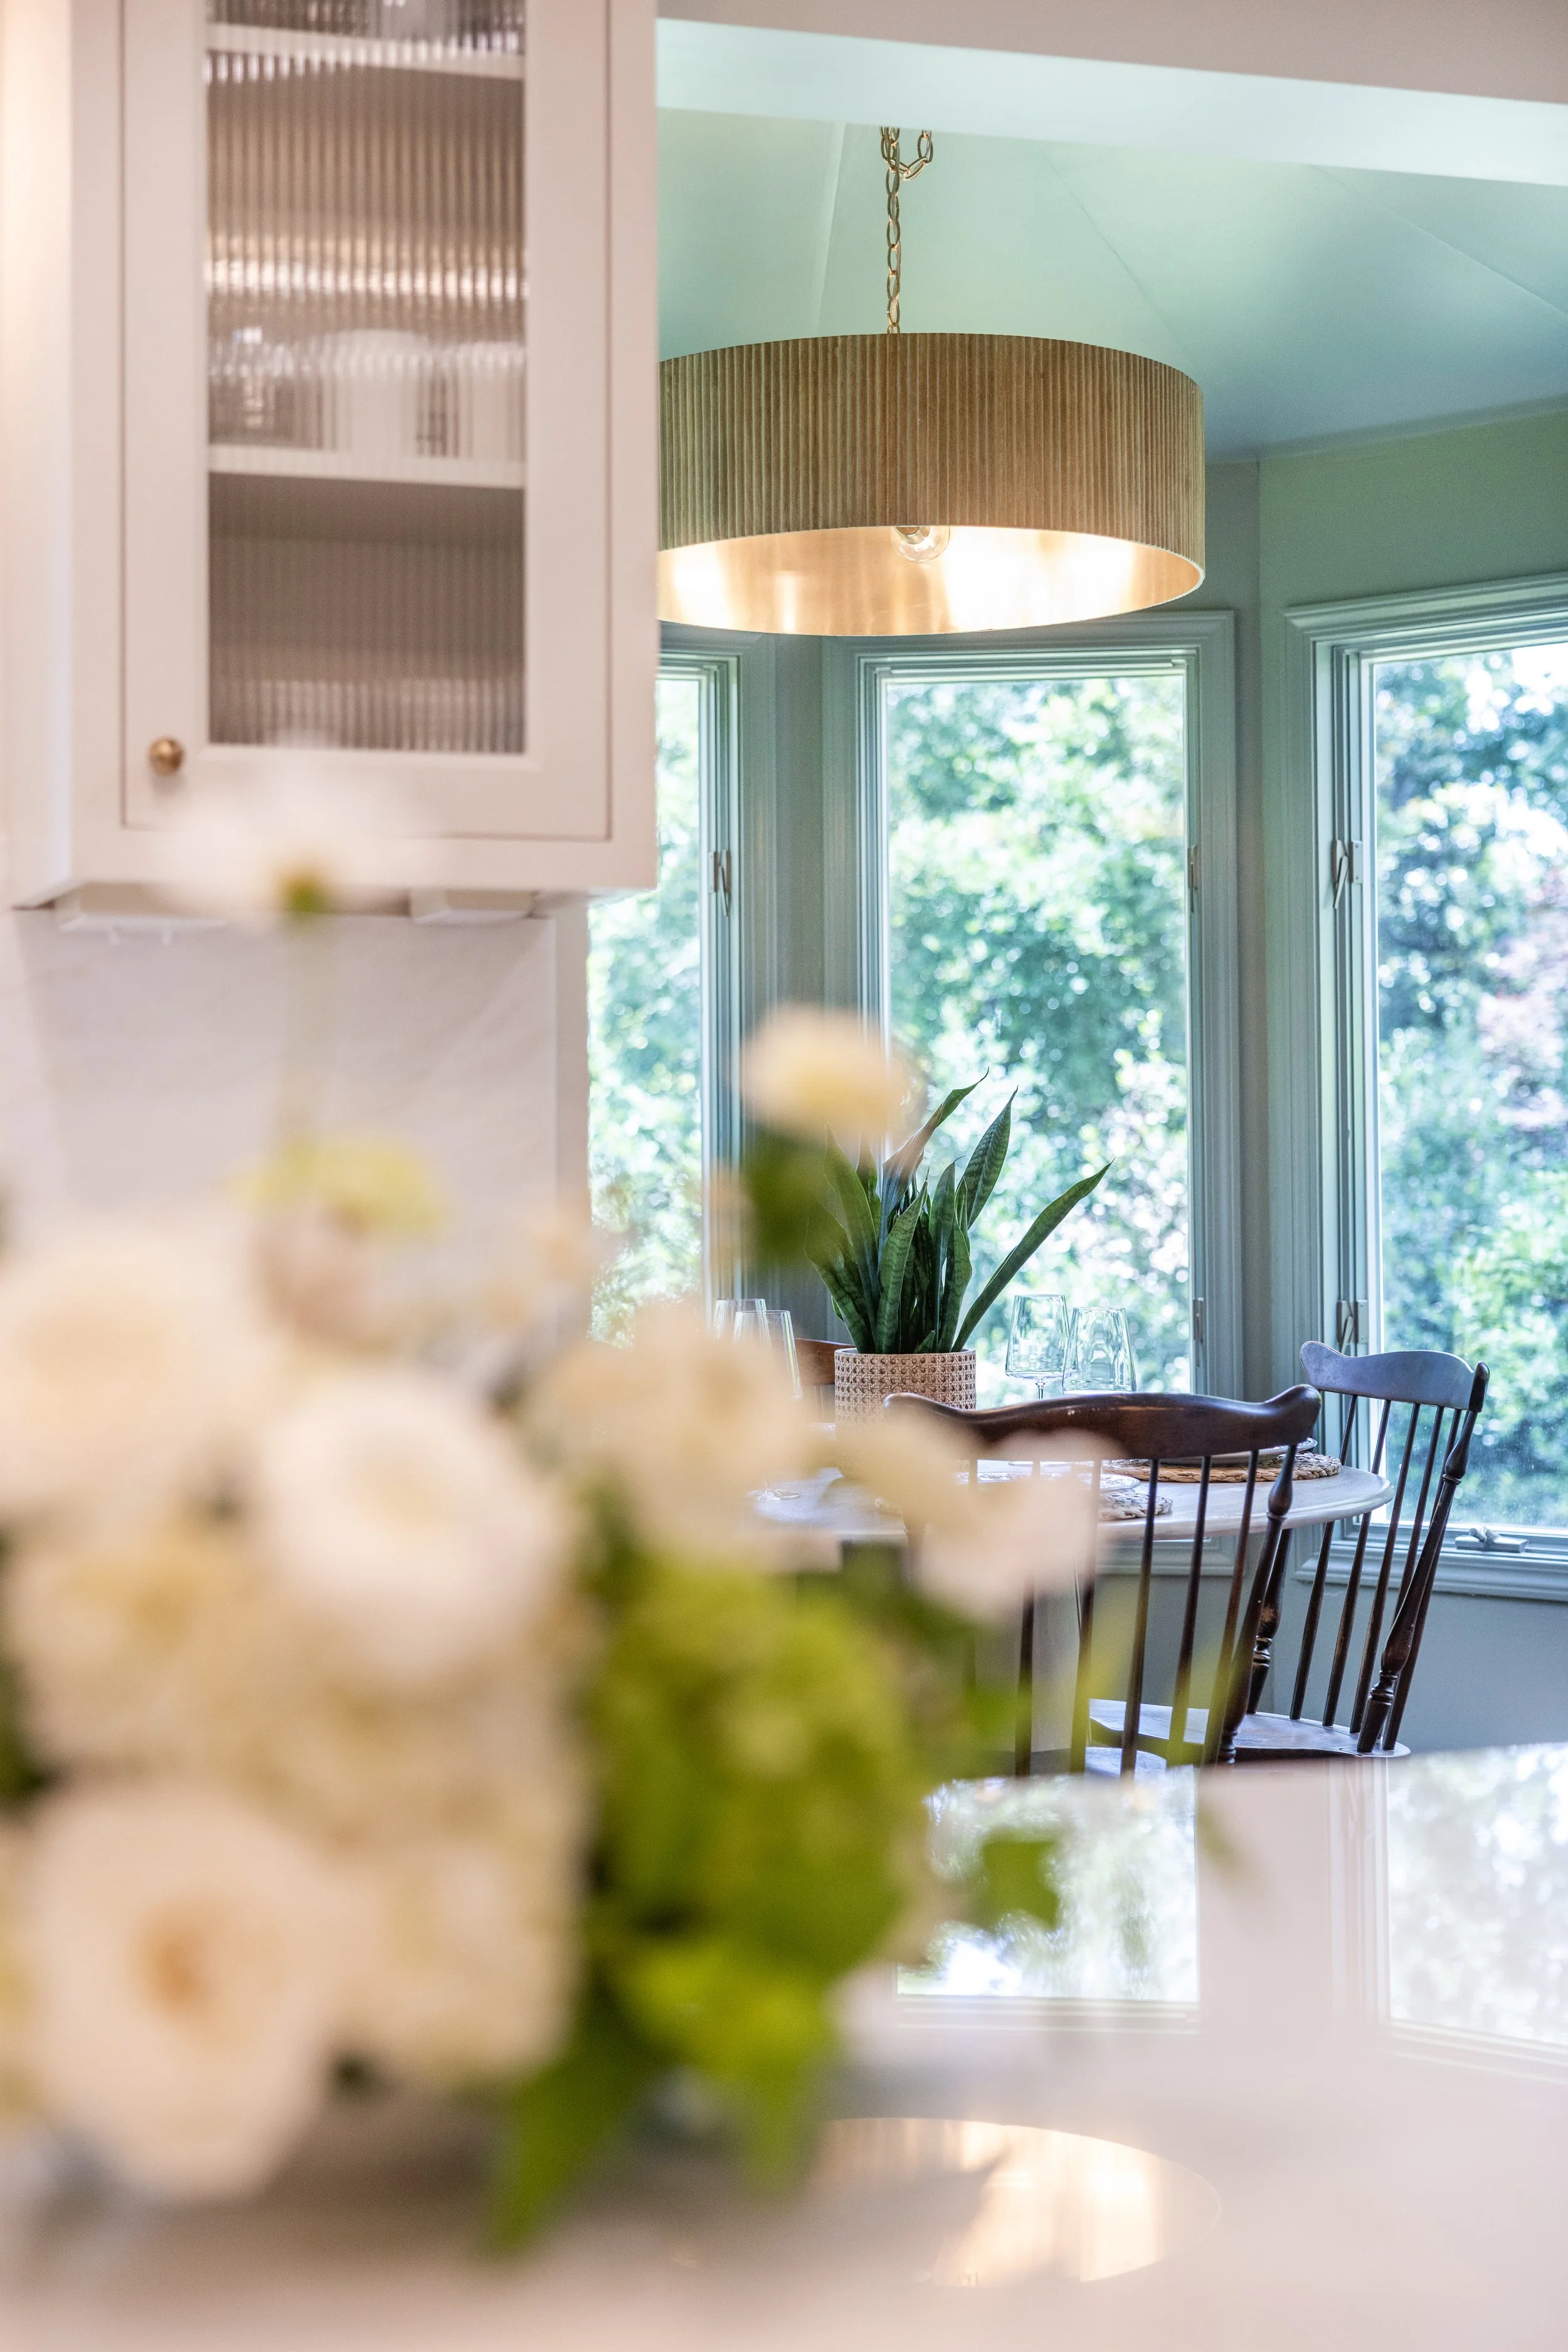
Accidents happen AND everything happens for a reason! A burst pipe flooded this Greer, SC kitchen, and left it ruined. However, it ended up being the perfect opportunity to revamp this family home with bright finishes and plenty of custom storage solutions.
Thanks to our team’s design-build process, we were able to get these clients back into their new and improved kitchen within a few months!
Kitchen Remodel After Water Damage
Not every renovation is planned months in advance. Our clients came to us after a pipe burst and left their kitchen with substantial water damage. Upon their first meeting, our president and founder, Doug Ashmore was not only able to schedule the kitchen renovation, but also helped the clients negotiate a higher payout with their home insurance provider.
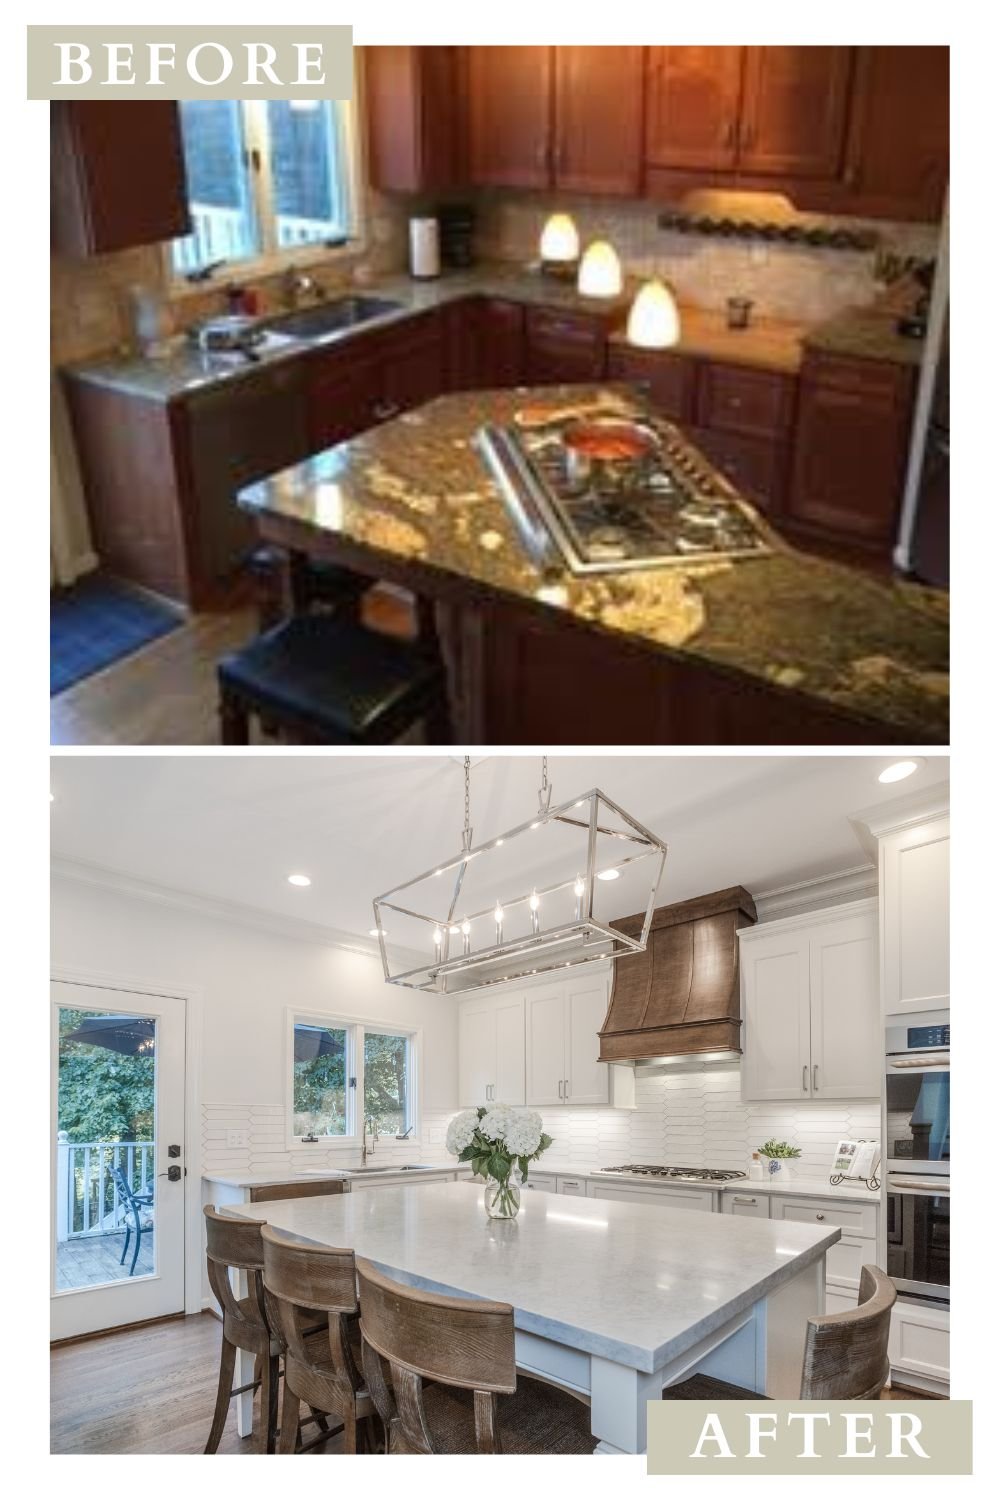
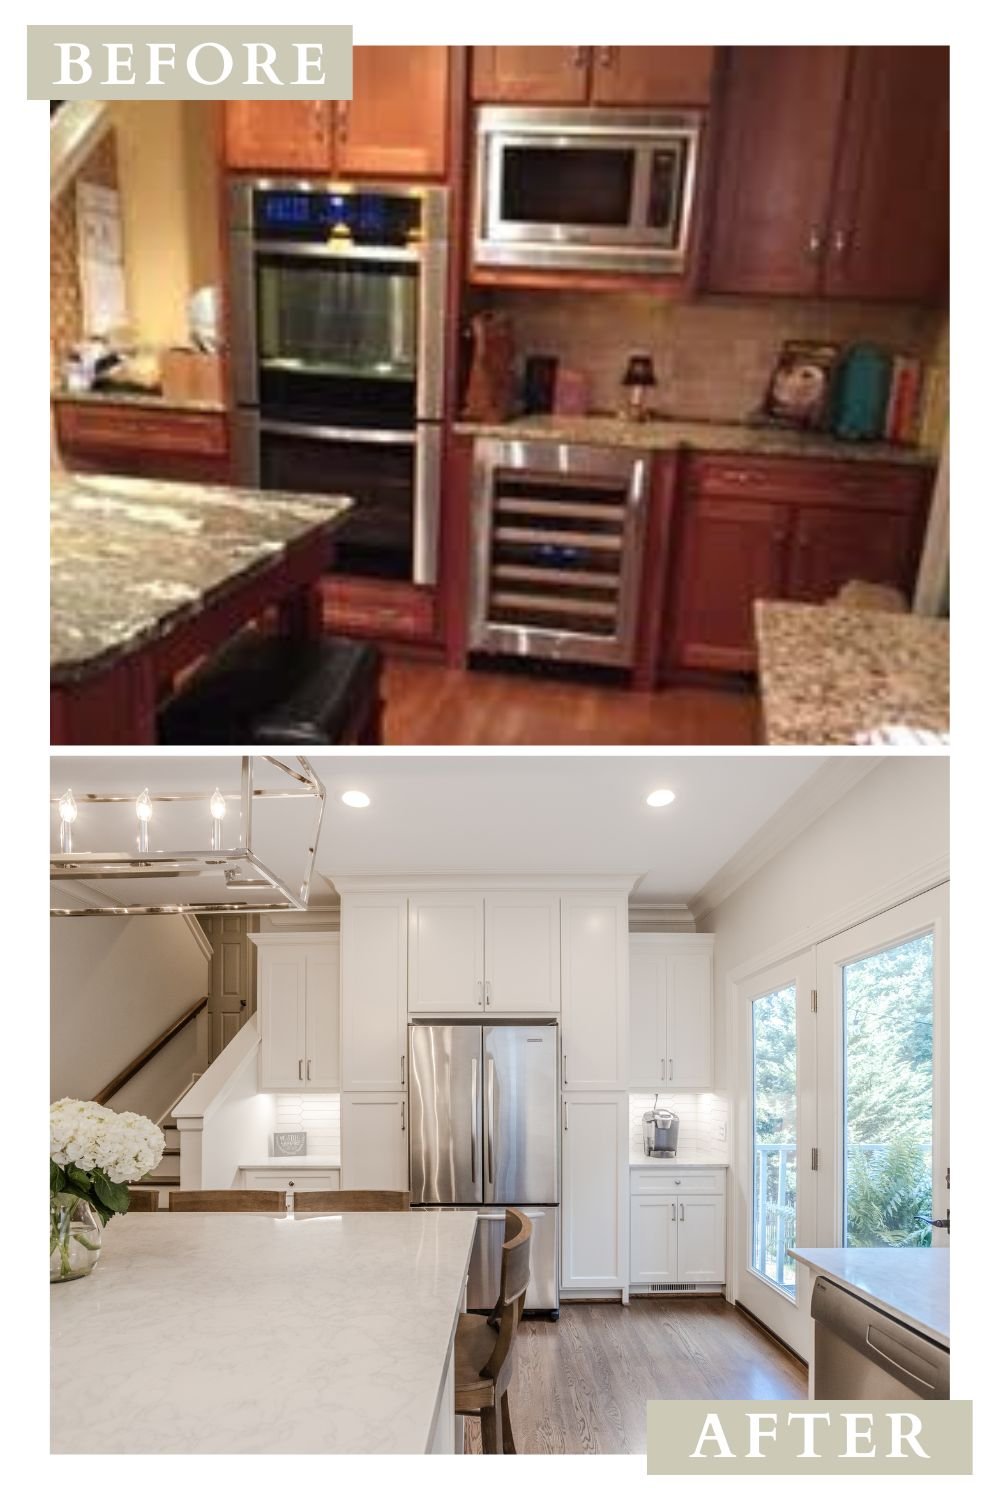
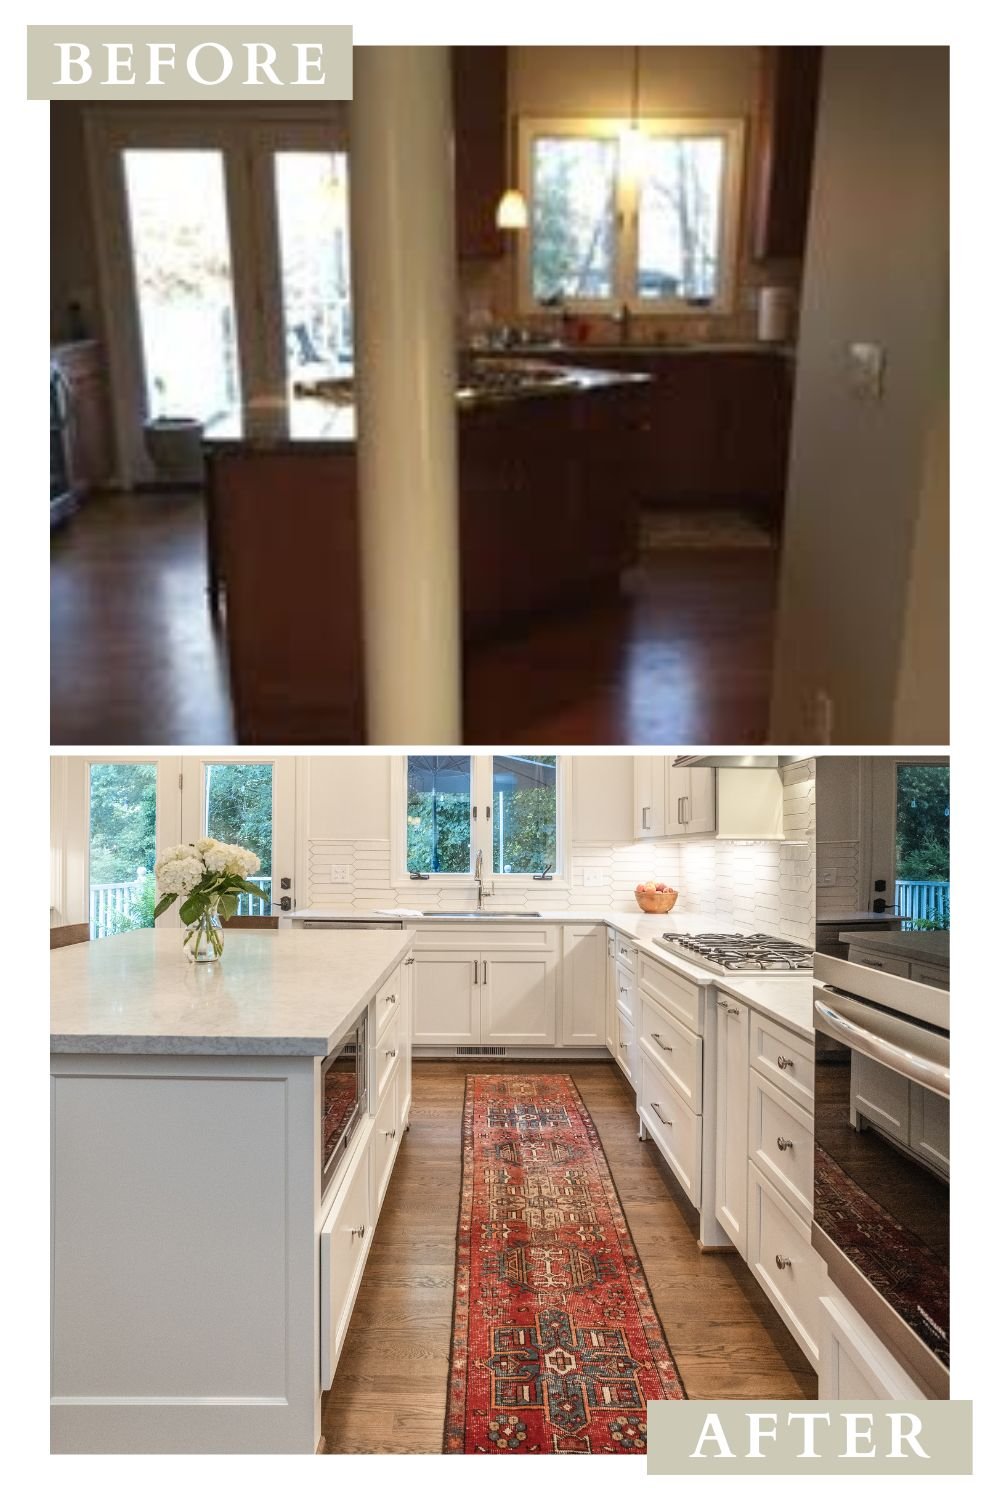
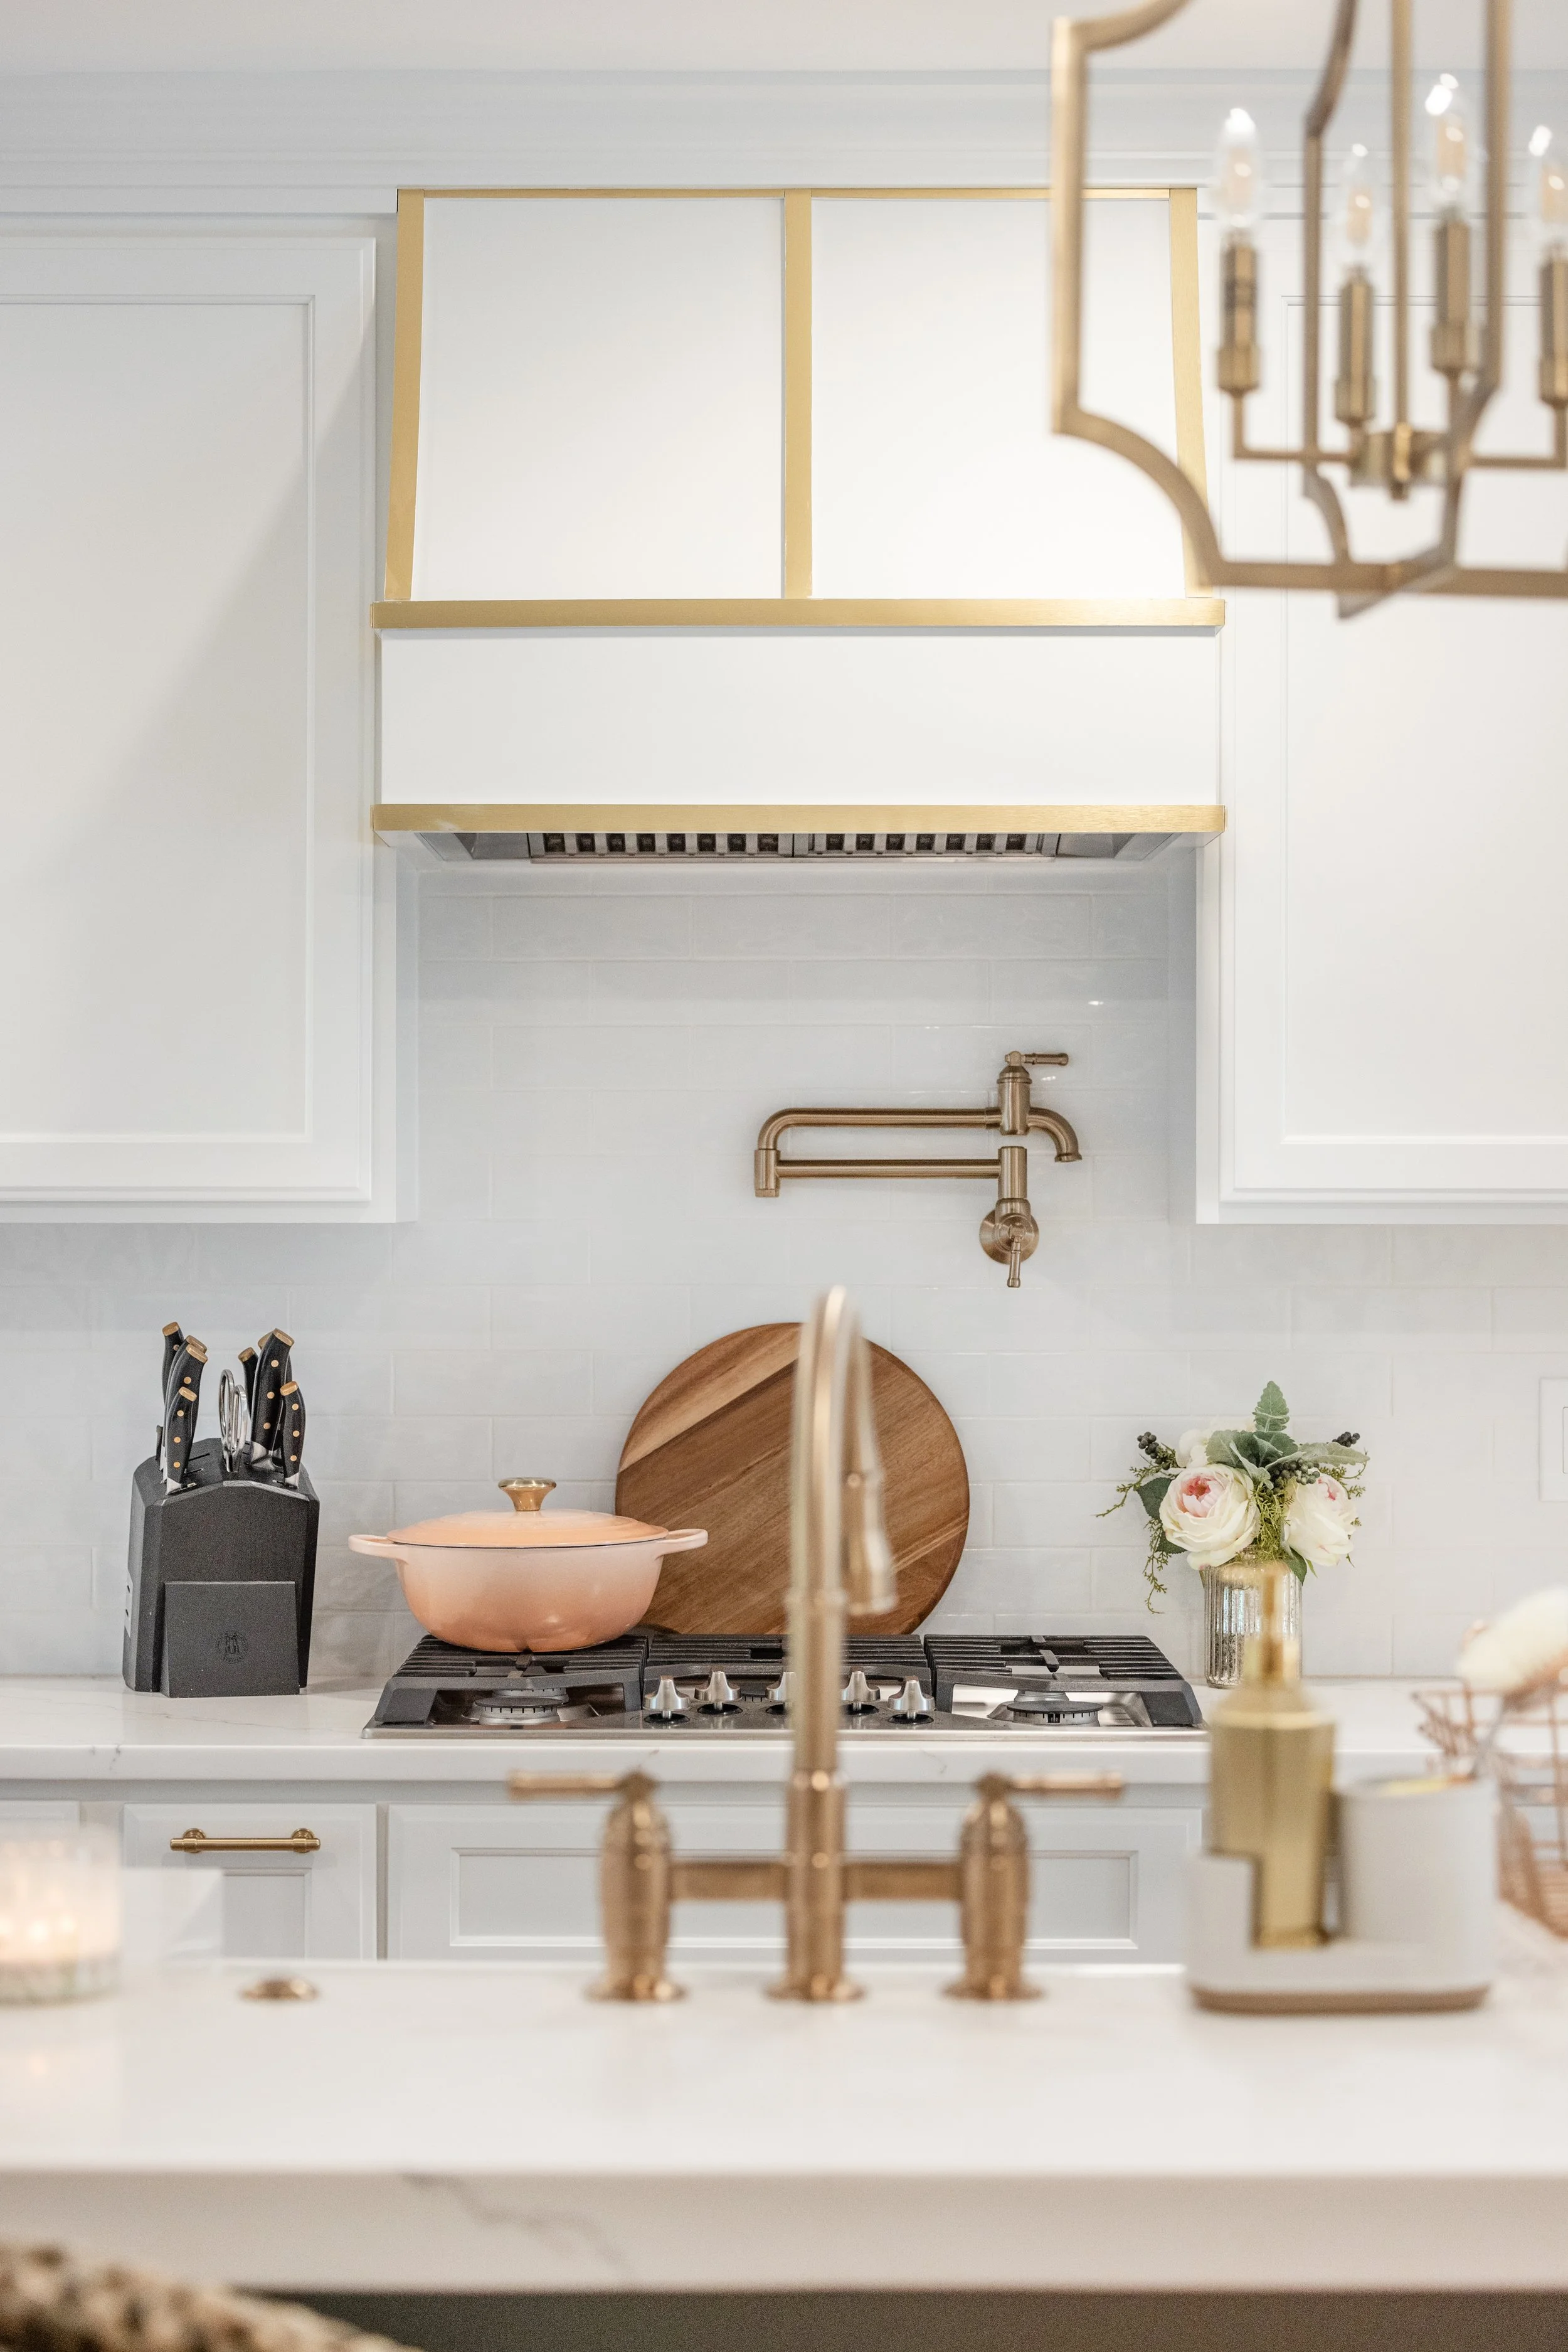
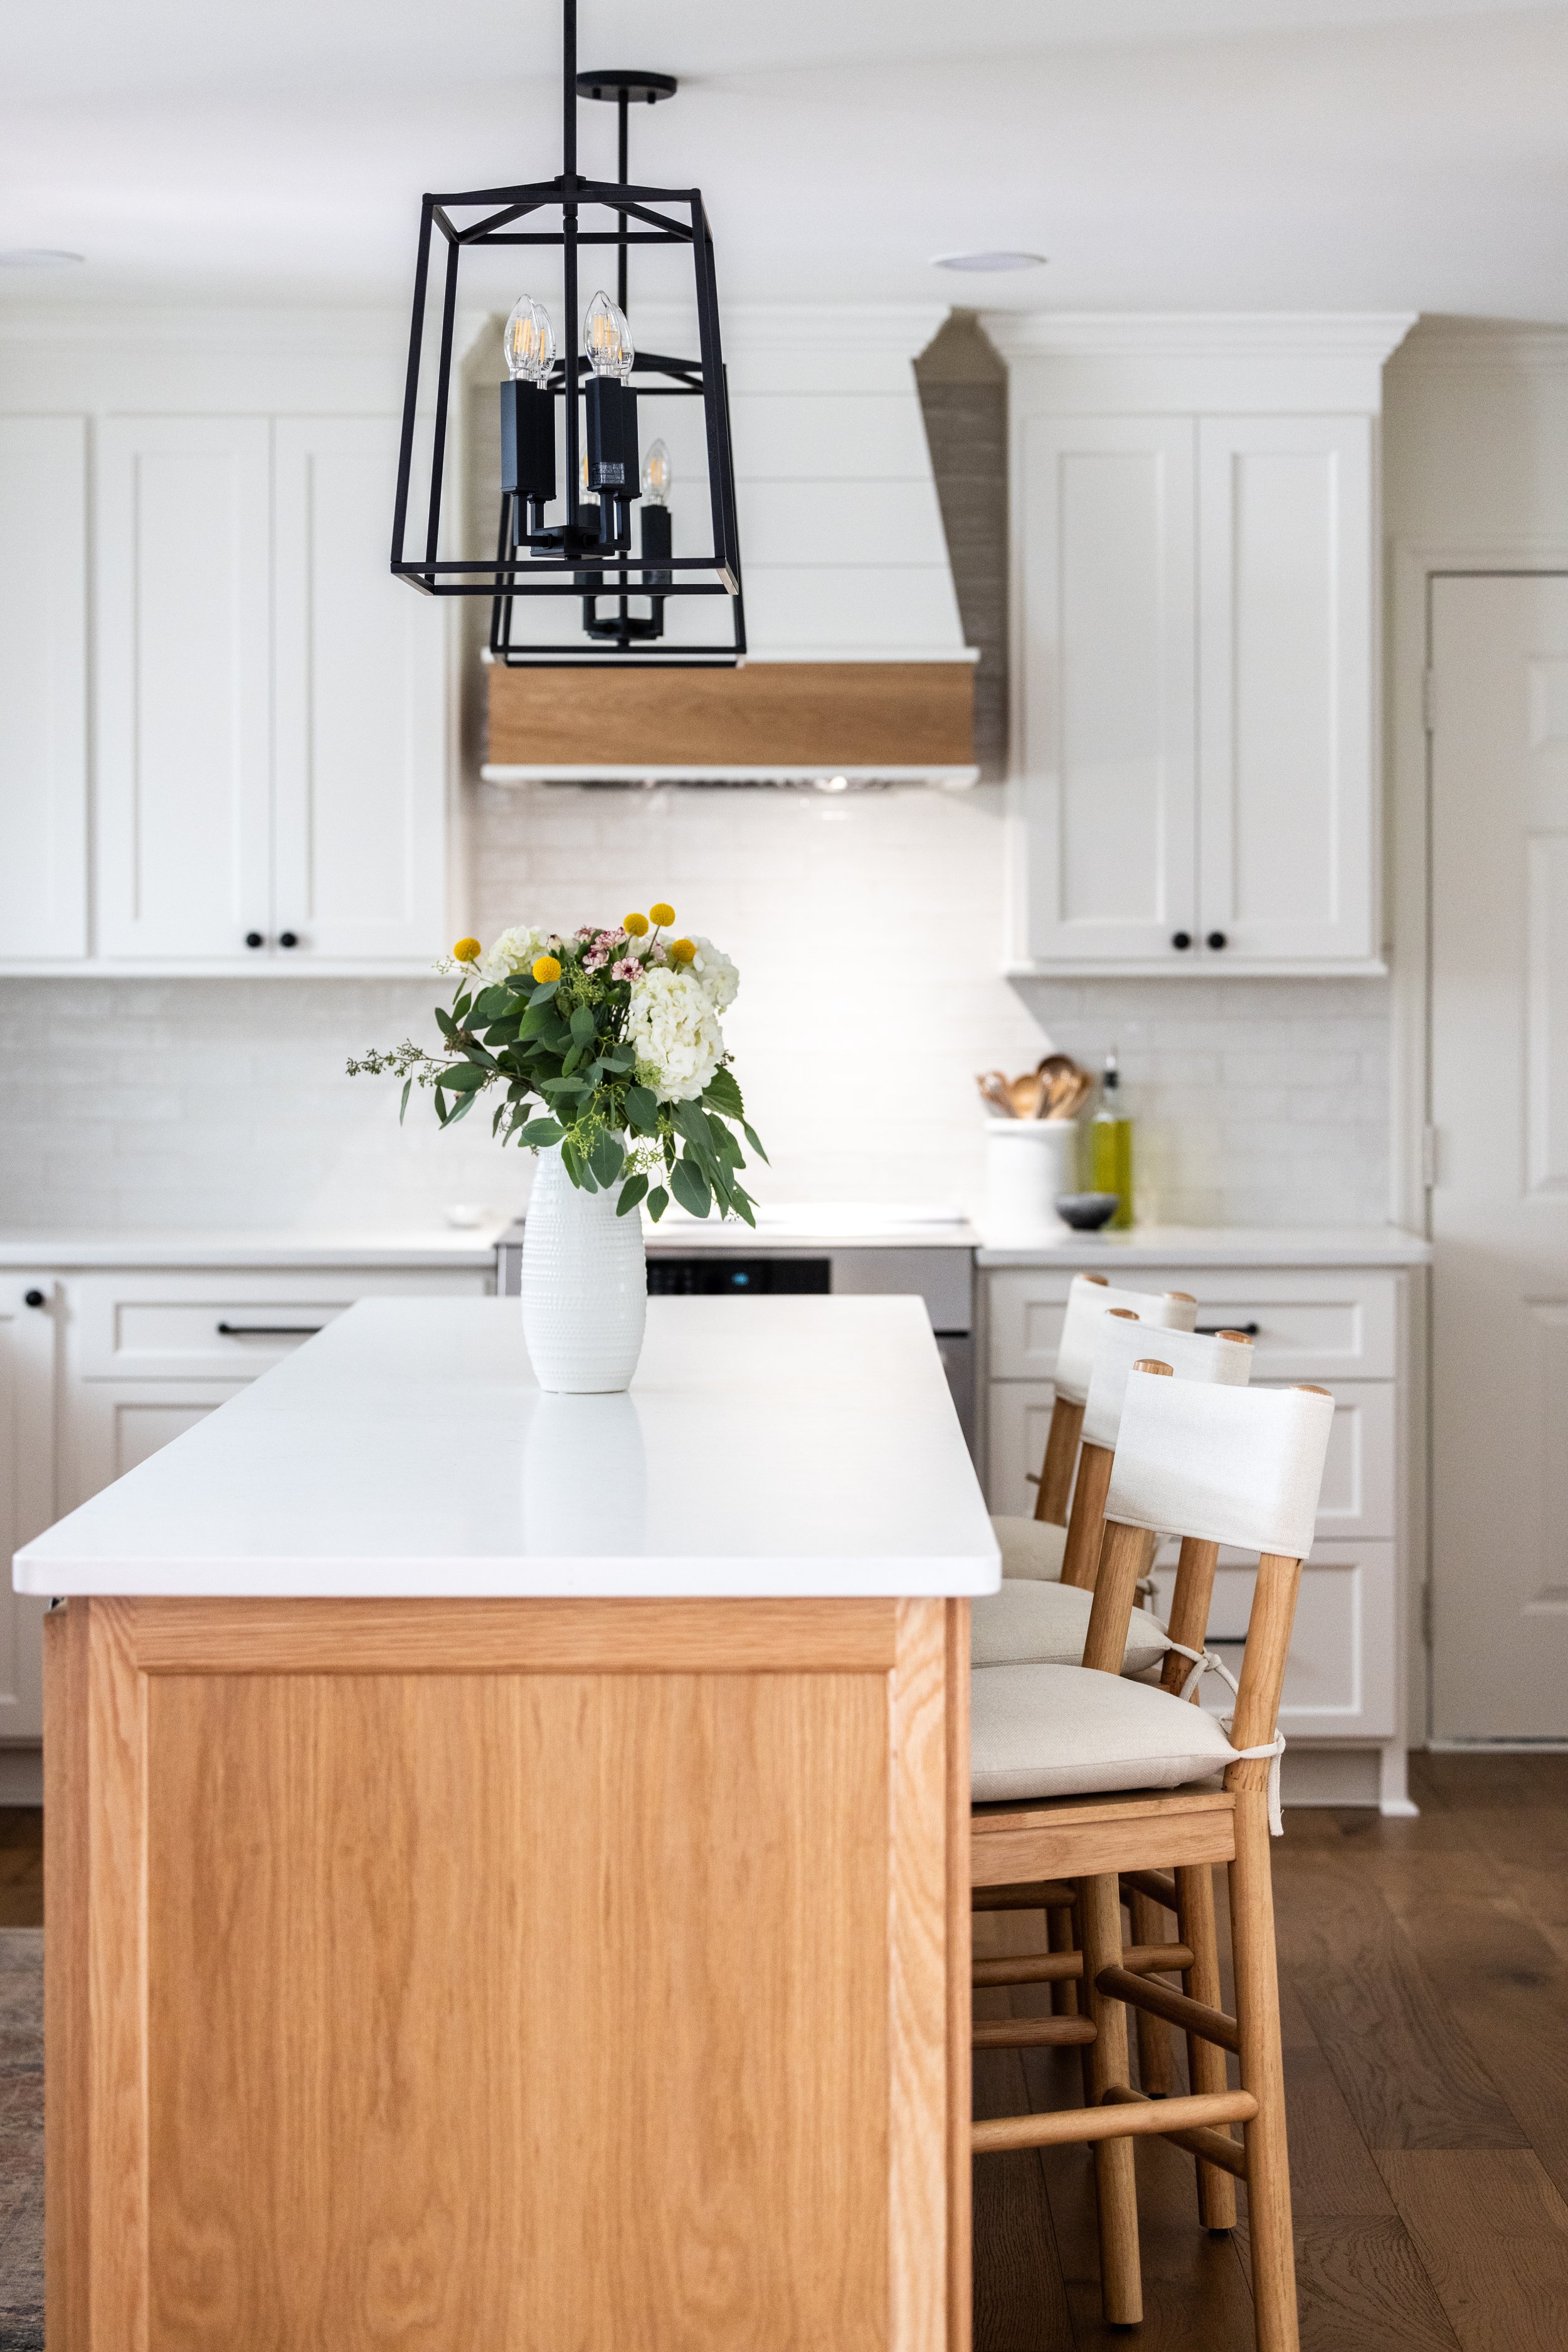
This water damaged kitchen did a complete 180 from where it began. By switching the placement of the oven and the refrigerator, our clients are able to have all cooking utensils, and appliances at arm’s reach. The refrigerator was placed at the back of the kitchen, next to the pantry and new coffee bar. Moving the cooktop from the island to the counter leaves more space on the large island for meal prep and entertaining.
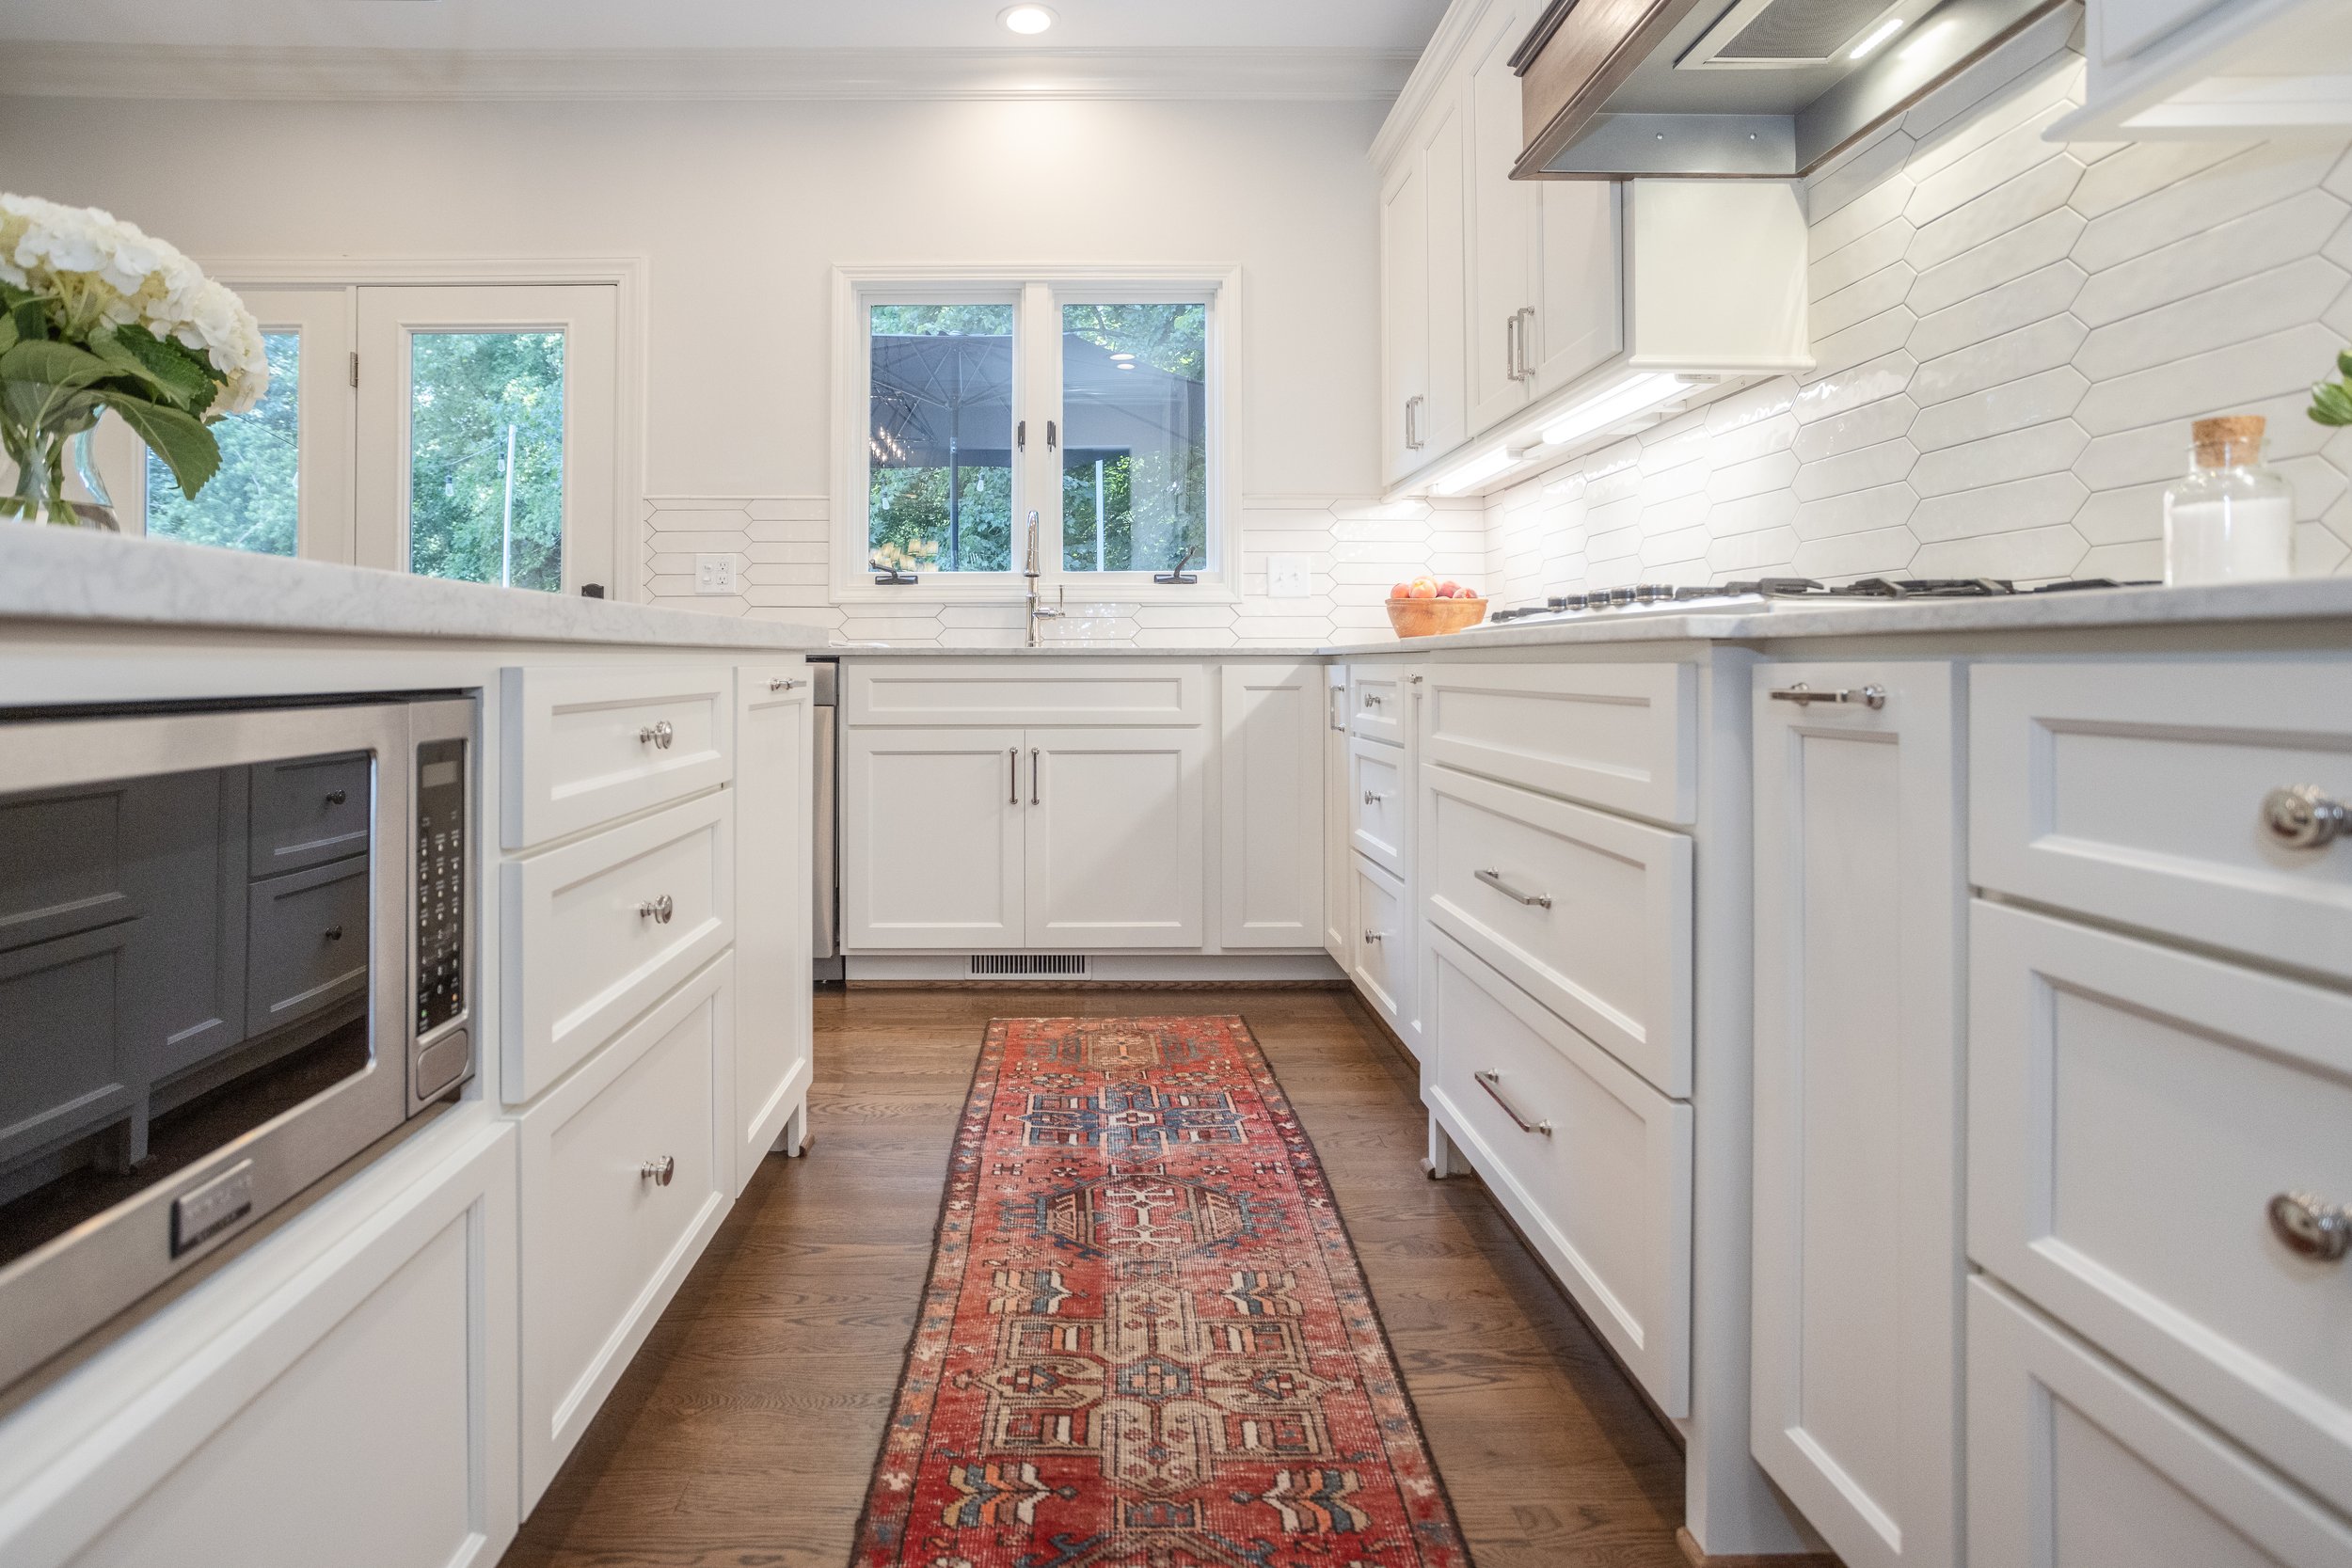
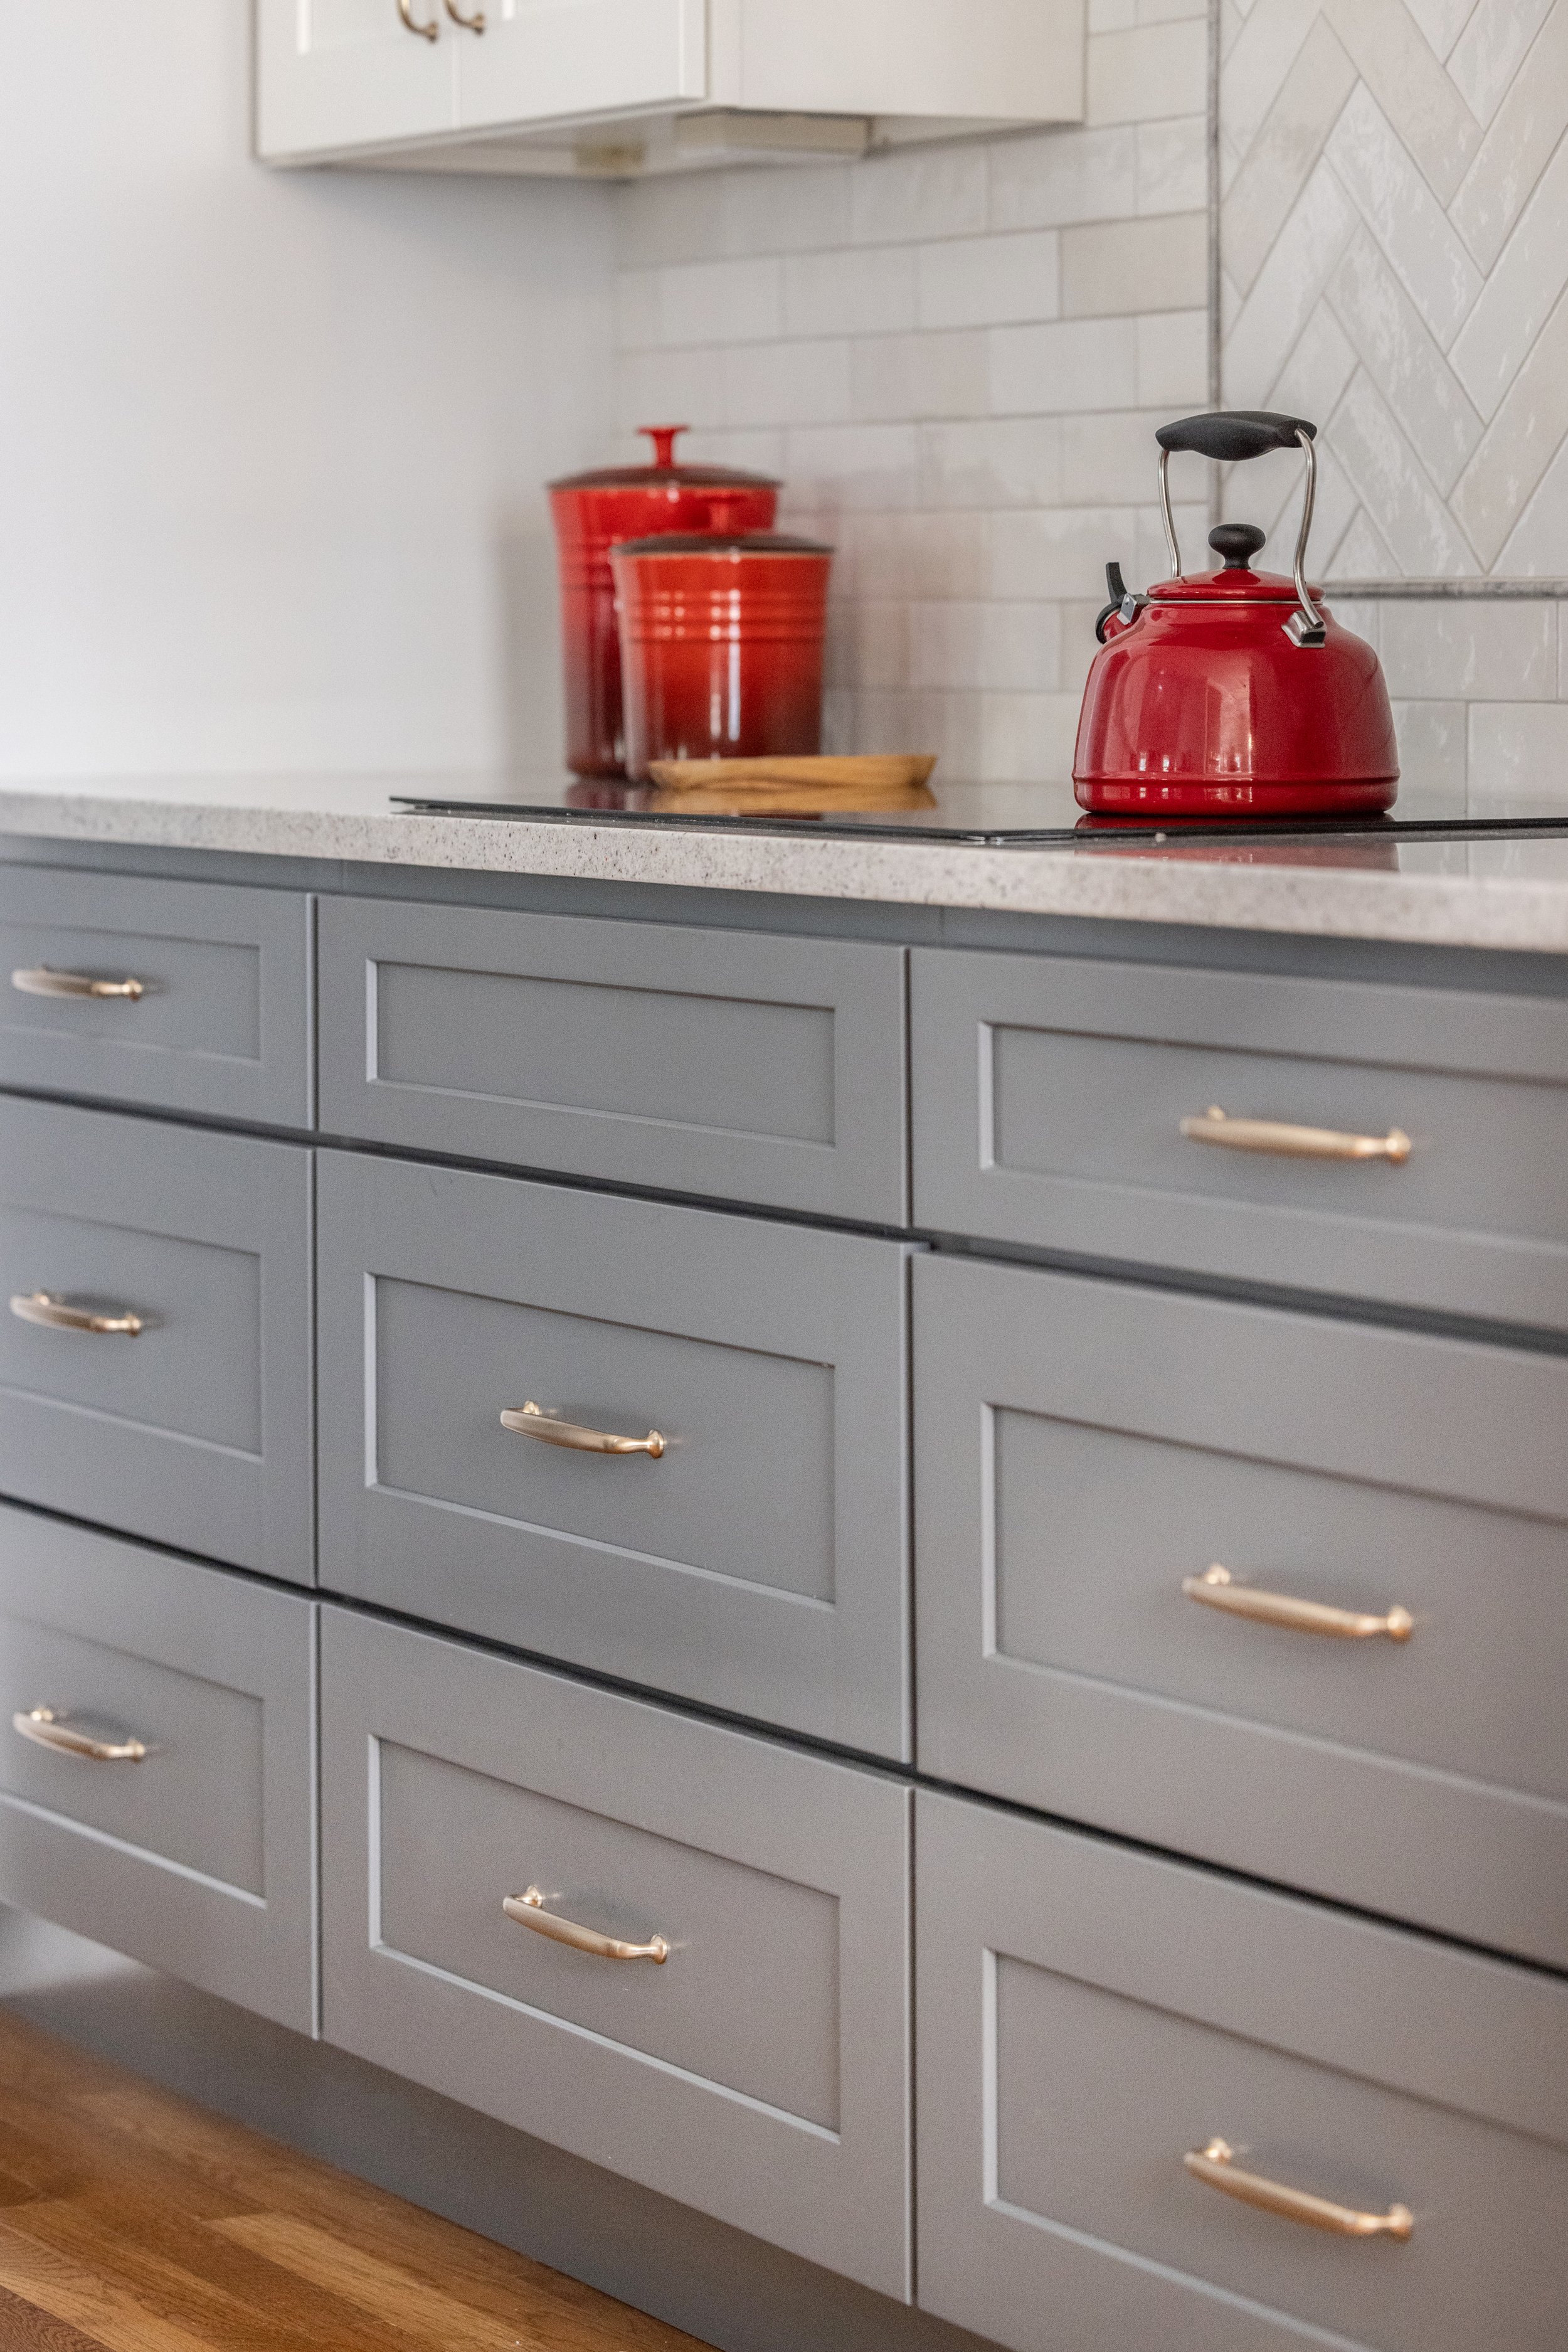
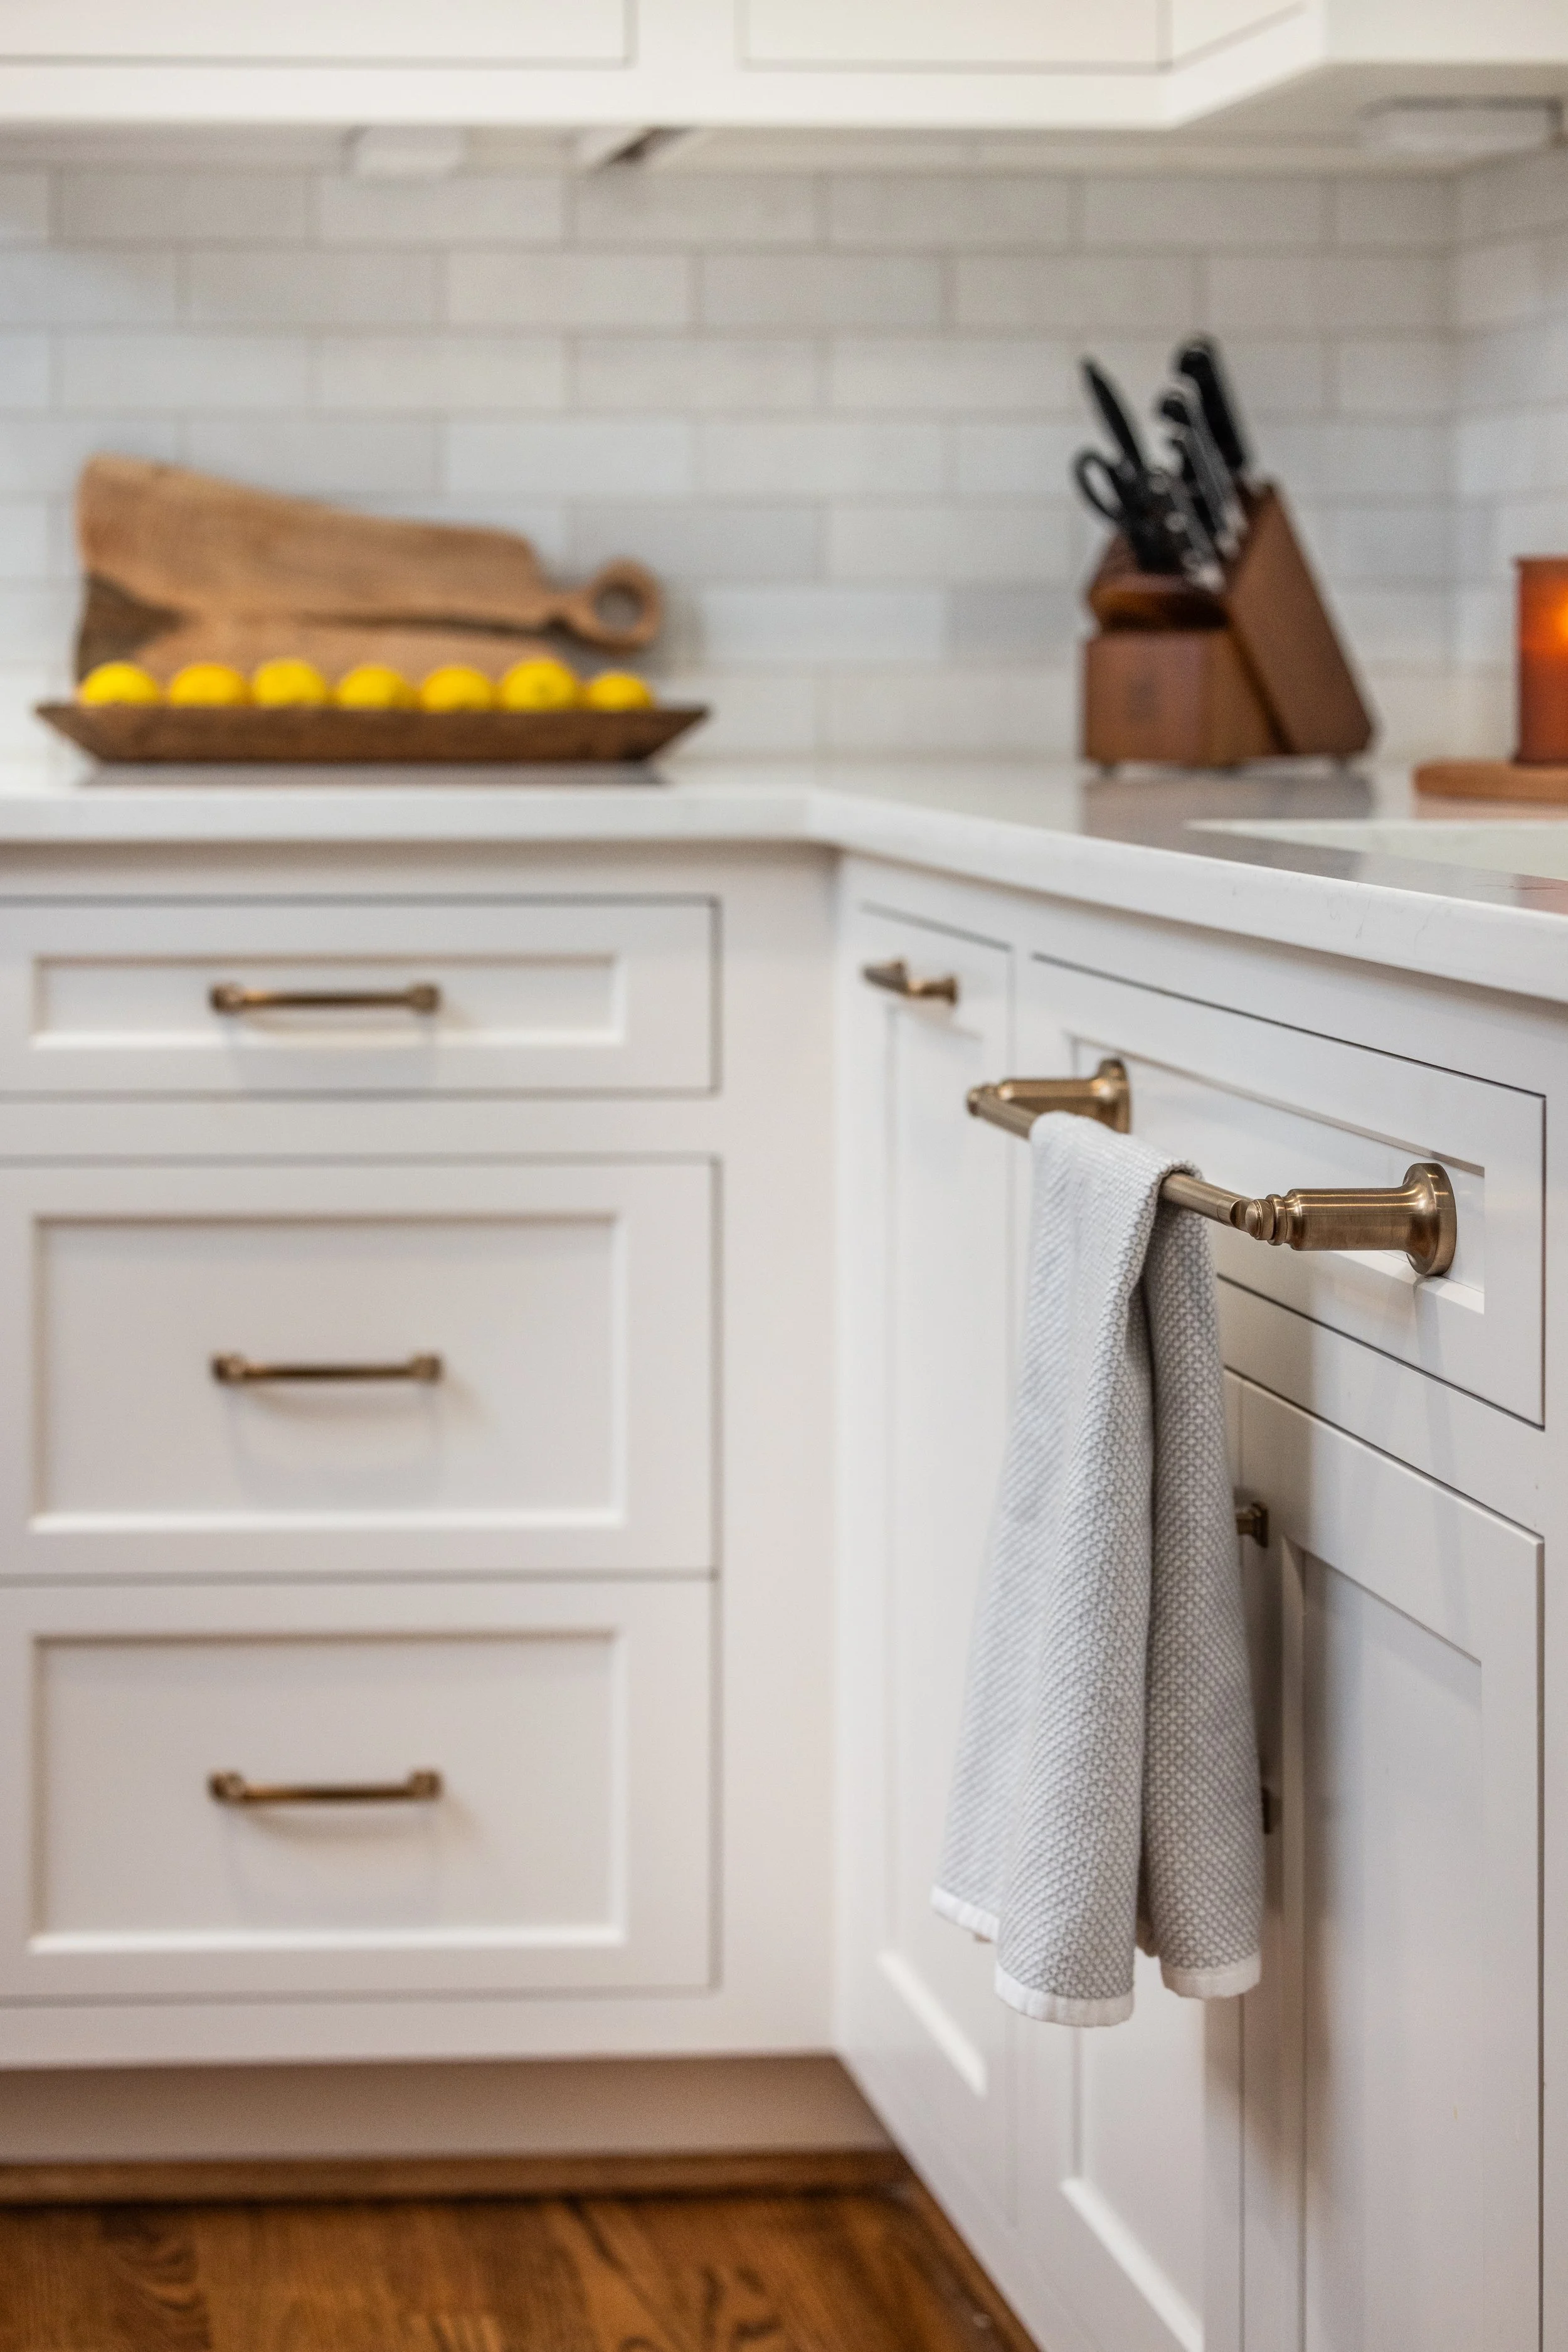
The kitchen’s picket tile backsplash is a modern twist on the classic, white subway tile. We have had multiple clients choose picket tile for its ability to put a subtle, contemporary touch to any kitchen.
Looking for more picket tile backsplash inspiration? Check out these kitchen remodels:
Custom cabinetry throughout the kitchen allows for better organization and more practical storage for this family home. This unfortunate instance turned out to be the perfect opportunity to turn this kitchen from dark and outdated to bright and beautiful!
Modern Farmhouse Kitchen Design



How to Prevent a Burst Pipe
Water pipes will burst for any number of reasons, but the most common is due to cold temperatures.
We don’t get that many days below freezing here in Upstate South Carolina, but cold temperatures below 32 degrees Fahrenheit will cause your home’s water lines and pipes to burst.
Here’s a list of 5 ways to prevent frozen or burst pipes during winter months:
Insulate Exposed Pipes
Apply pipe insulation to any exposed pipes, especially those in unheated areas like basements, attics, or crawl spaces. This helps to retain heat and prevent freezing during cold weather.
Seal Cracks and Holes
Seal any gaps, cracks, or holes in your home's exterior walls or foundation where cold air can enter and affect the pipes. Use caulking or insulation to fill these openings and minimize exposure to freezing temperatures.
Maintain Proper Heating
Keep your home adequately heated, especially in areas where pipes are located. Maintain a consistent temperature, even when away from home, to prevent drastic drops in temperature that could lead to frozen pipes.
Allow Faucets to Drip
During extremely cold weather, allow faucets connected to vulnerable pipes to drip slightly. Running water, even at a trickle, can help prevent pipes from freezing by relieving pressure buildup caused by ice formation.
Drain Outdoor Pipes
Before winter sets in, disconnect and drain outdoor hoses and faucets to prevent water from freezing and expanding inside the pipes. Store hoses indoors and shut off outdoor water sources to reduce the risk of frozen pipes.
Before and After
Selections
Kristin Hanson with Bird House Interior Design helped our clients design this stunning modern farmhouse kitchen.
Photos by Kim DeLoach Photography.
Paint
Cabinets and trim painted Pearly White by Sherwin Williams.
Contrasting island in Dorian Gray by Sherwin Williams.
Walls are Drift of Mist by Sherwin Williams.
Hard Surfaces
All tile selections made through Clayton Tile.
Granite purchased through Upstate Granite Solutions.
Accents
Chandelier purchased through Greer Lighting Center.
Custom island legs by Osborne Wood Products.




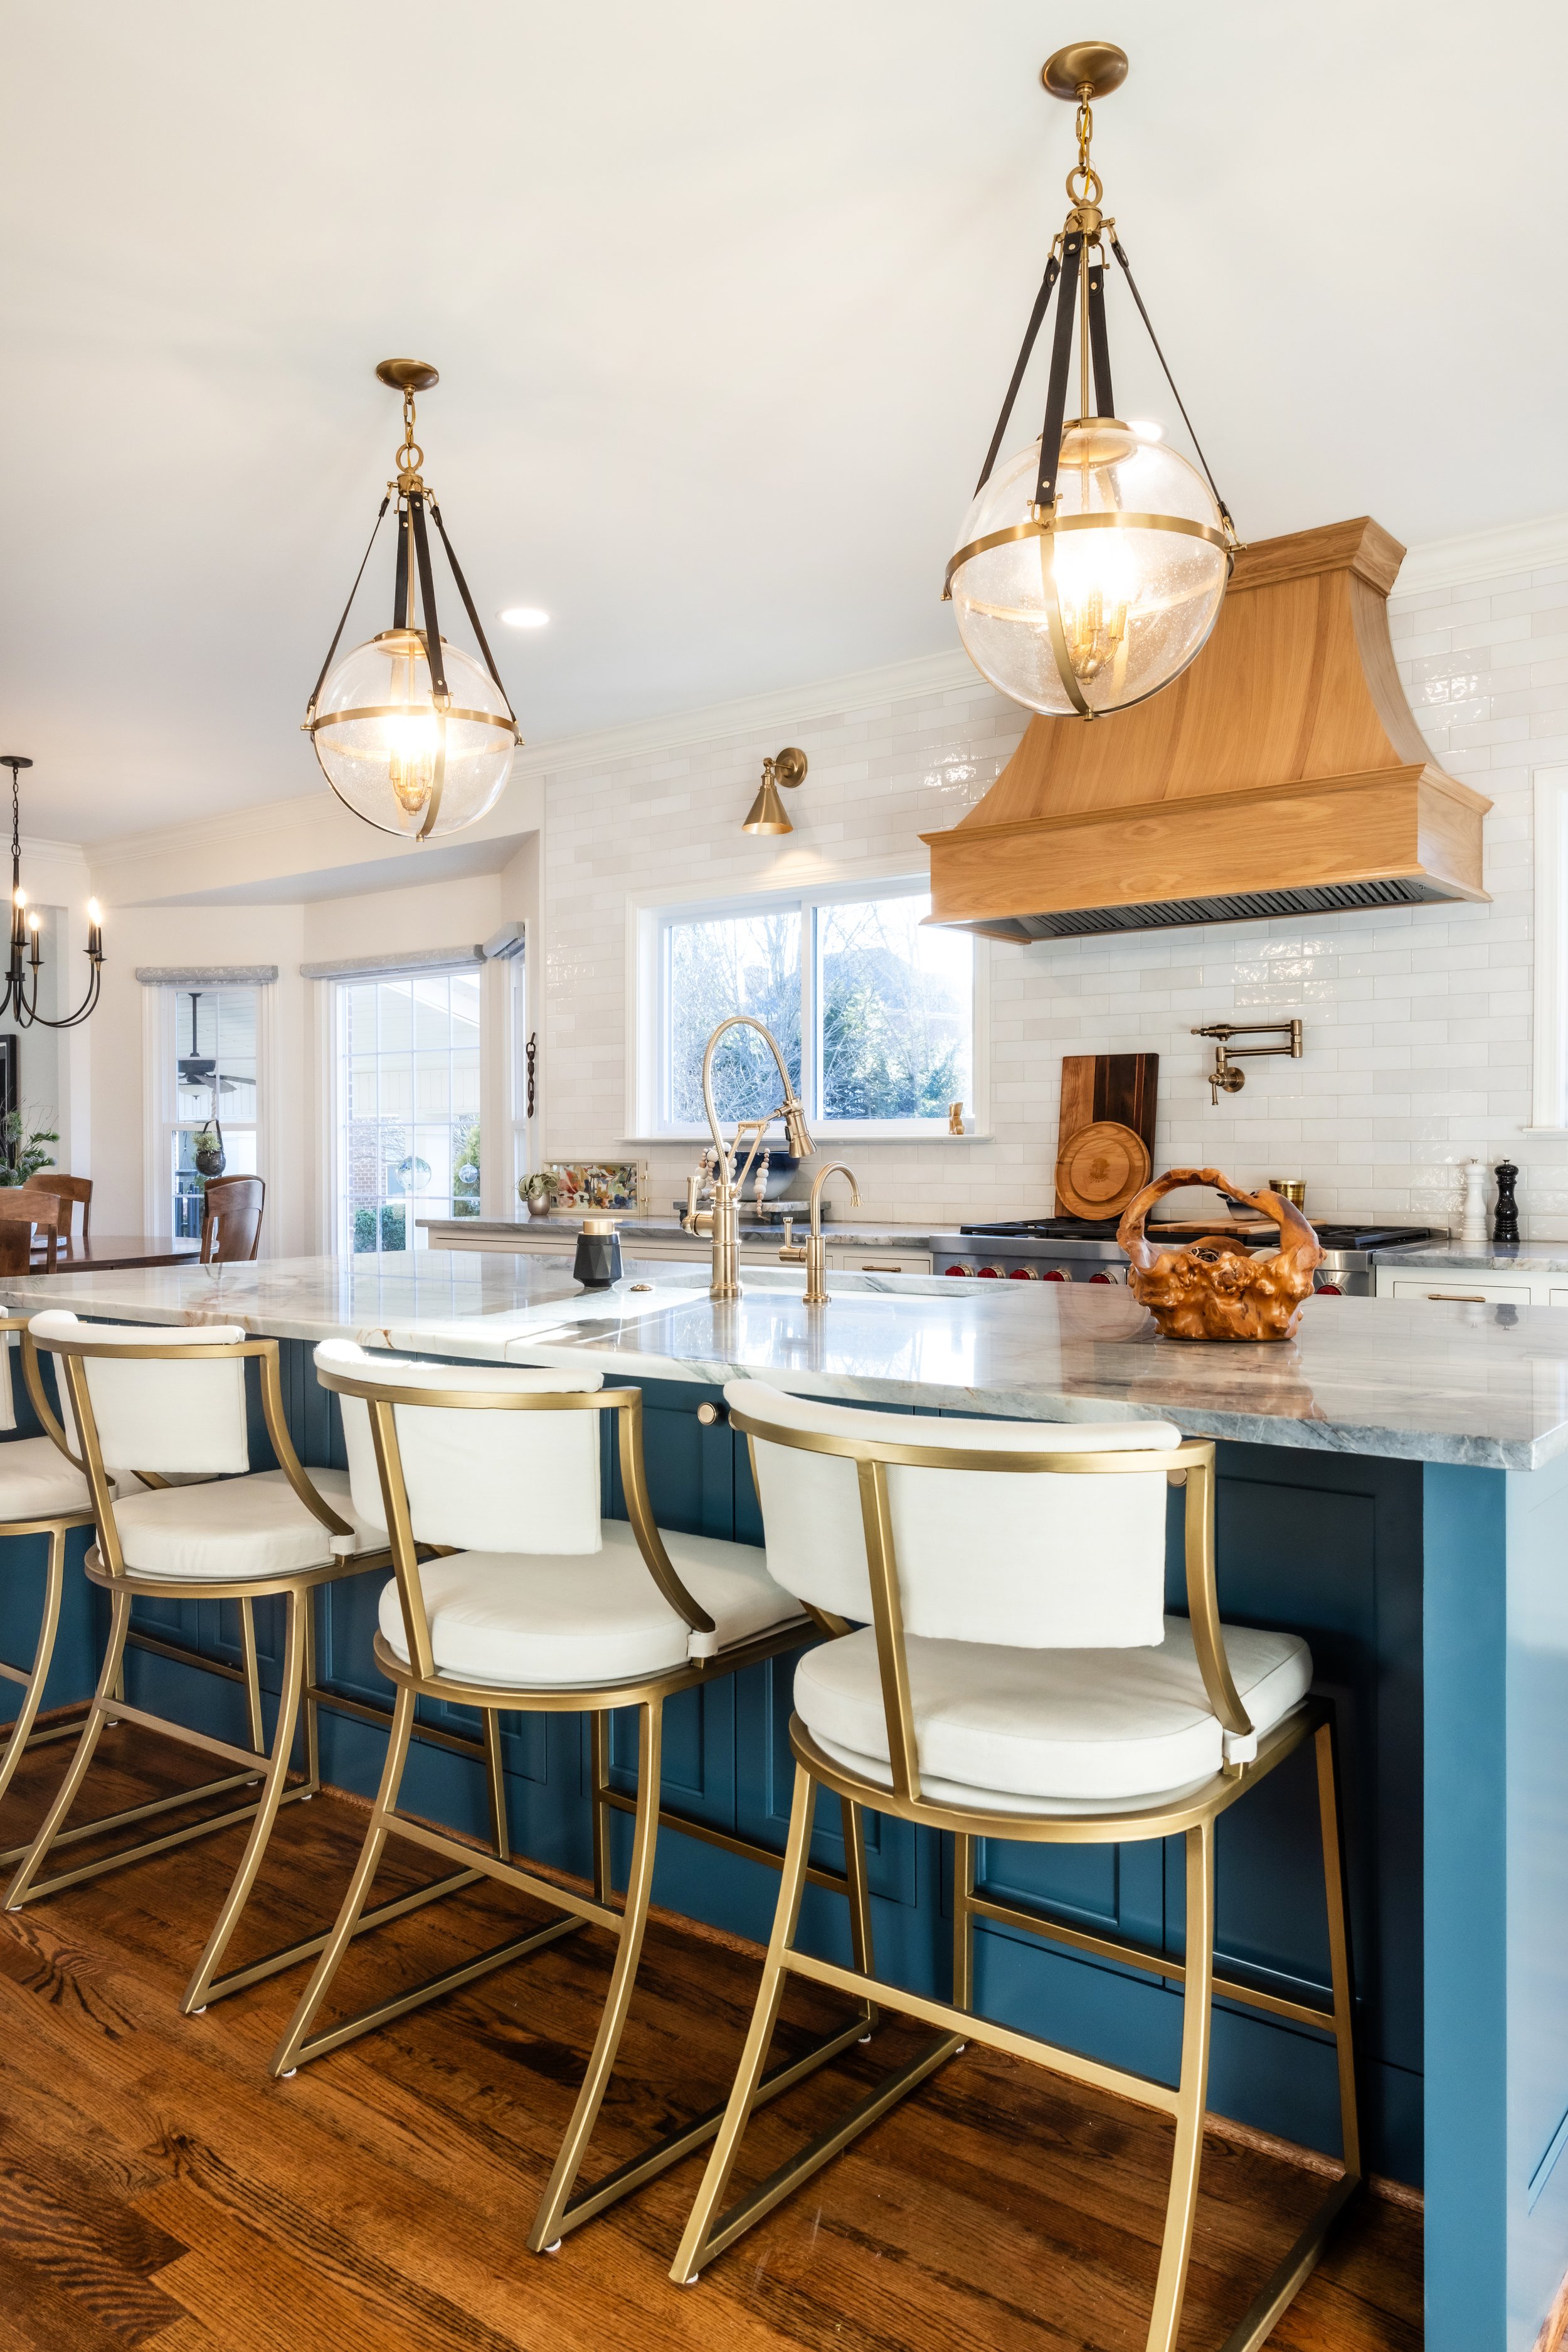





This beautiful custom kitchen on Lake Keowee, South Carolina features soft blue cabinetry, a custom island, and timeless lakefront design.